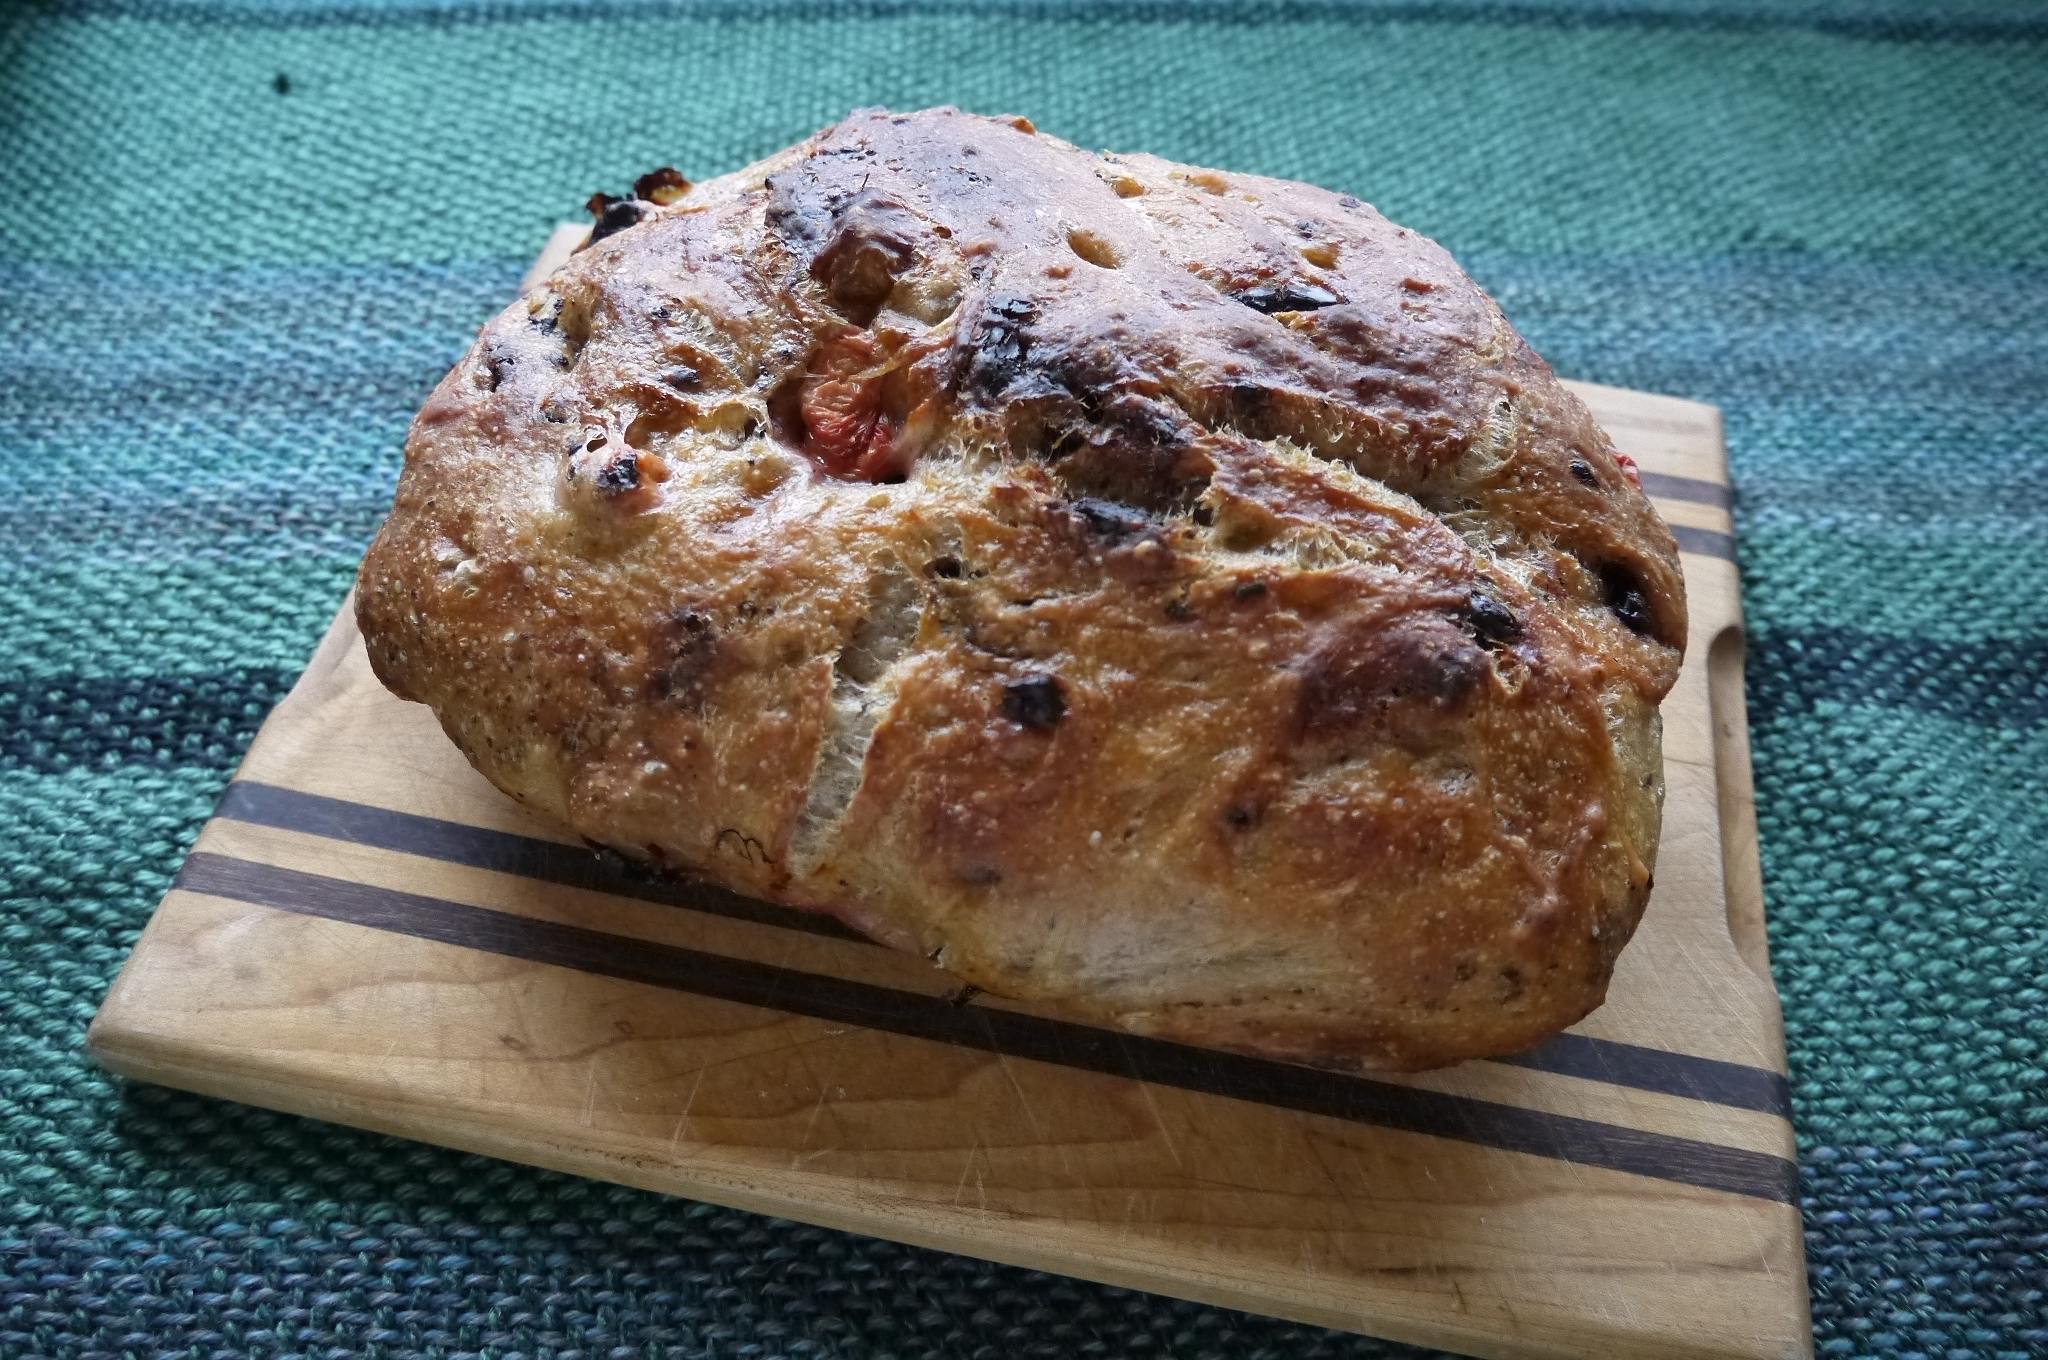
My mom says, “This is the best bread I have ever had.” And my mom has had a lot of good bread, much of it made by her, so I consider that the strongest endorsement for this delicious chocolate sour cherry bread.
This isn’t a sweet bread, just a loaf of my usual no-knead (Jim Lahey recipe) bread, with the addition of sour cherries I picked in summer and froze, and some good quality dark chocolate. If you’re unfamiliar with no-knead bread, it’s a bread that is left to rise overnight. It is baked in a dutch oven, which helps to create a crunchy crust. So delicious! Just takes a bit of planning ahead – there’s very little hands-on time, but you need to move the dough a few hours before baking.
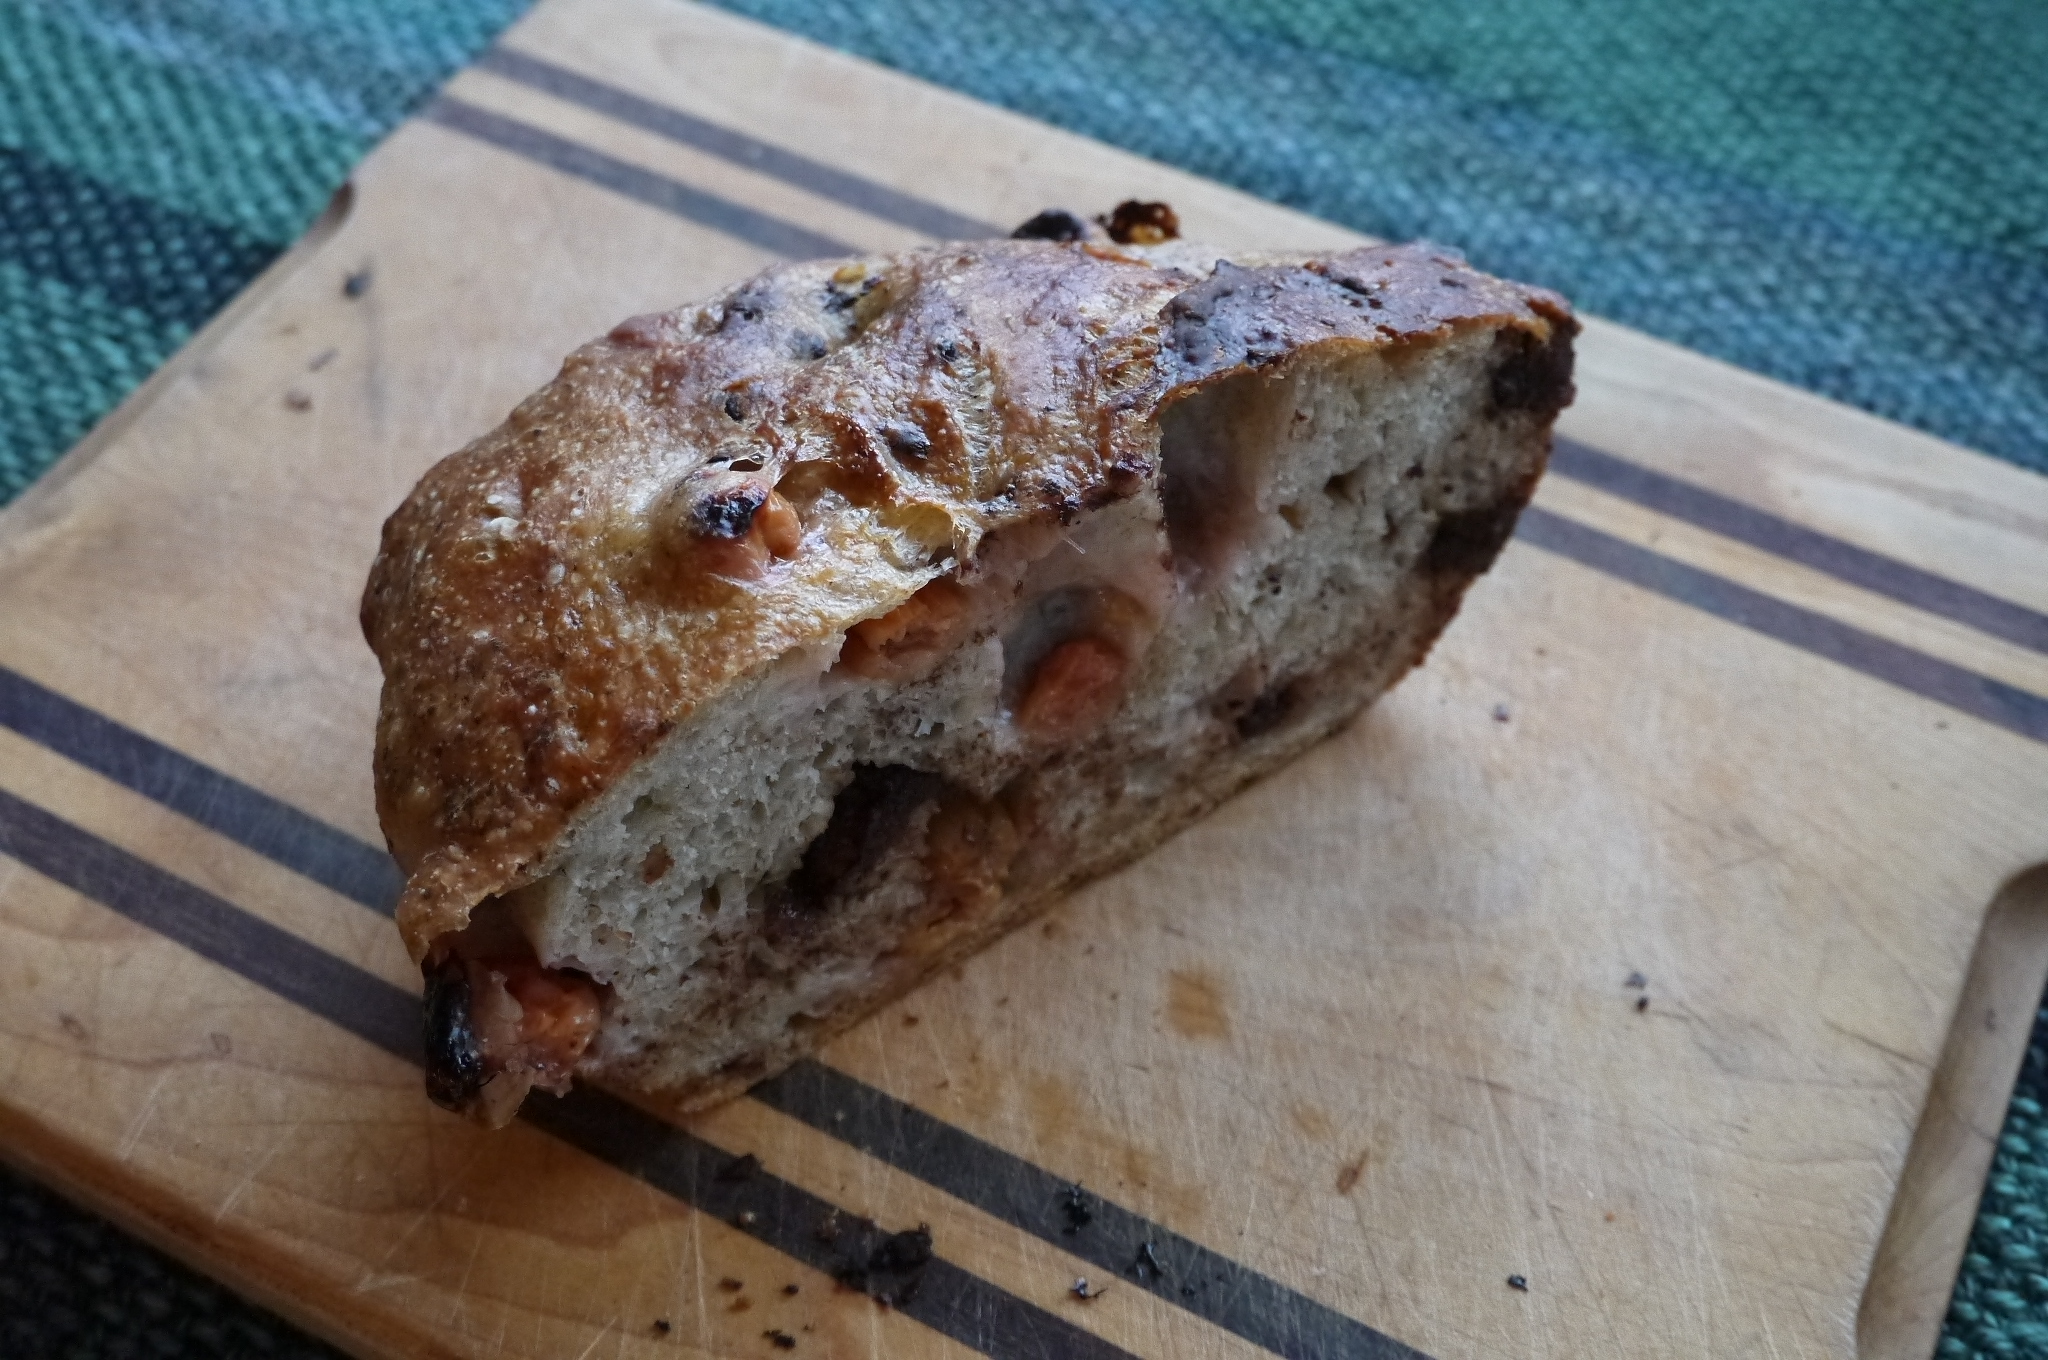
It was the most delicious the day it was baked, and while still a little warm. But it was also very nice the next day, toasted, with a little butter.
Feel free to add a bit more chocolate or cherries if you want!
What you need:
- 2 & 1/4 cups all-purpose flour
- 3/4 cup rye flour (or use all ap flour)
- 1/4 teaspoon instant yeast
- 1 & 1/4 teaspoons salt
- 1 & 1/3 cups water, room temperature
- 6 oz good quality dark chocolate, chopped (I used Ghirardelli 60%, Bittersweet)
- 1 cup pitted sour cherries (if using frozen cherries, do not thaw before adding)
What you do:
- In a large bowl combine the flour, yeast and salt. Add the water and stir just until it comes together. It will look a bit shaggy, but it’s fine.
- Cover the bowl with a lid, plate or plastic wrap and leave to sit at room temperature for 12 to 18 hours. Eighteen-ish hours is preferable, especially if it’s a little cooler in your place. This time around I left mine even longer, and it was probably my best ever. After about 4 hours you can work in the chocolate and cherries. I experimented with adding then in the beginning, but somehow it doesn’t rise as well.
- About two hours before baking time, spread out a large piece of parchment paper and put a coating of olive oil over it. Use a spatula to coax the dough out of the bowl, and then use floured hands to gently form it into a loaf, and place it seam-side down onto the parchment paper. Invert the bowl over the dough and allow this to sit for about 2 hours.
- About 1/2 an hour before baking, turn the oven to 450°F/ 232°C. (If using a Romertopf/clay baker, make sure you have pre-soaked it, and then place it in the oven BEFORE turning the oven on.) If using a cast iron dutch oven, place it in the cold oven to heat along with the oven.
- When the oven is ready, gently place the dough, seam side down, into the lidded baker. This should be pretty easy to do, since you can just pick up the corners of the parchment paper and transfer the whole thing into the pot. If you want to, you can use a sharp knife to make a few slashes a few centimetres deep into the top of the bread.
- Place the lid on the baking dish and bake for 30 minutes. After that time, remove the lid and bake for 15-25 minutes. The crust should be dark, and the bread should sound hollow when you tap it.
- Allow the bread to cool on a wire rack for about an hour. When it is hot it will be too sticky inside to cut, but after an hour the bread will still be warm enough for the perfect tasting experience.
- Enjoy!