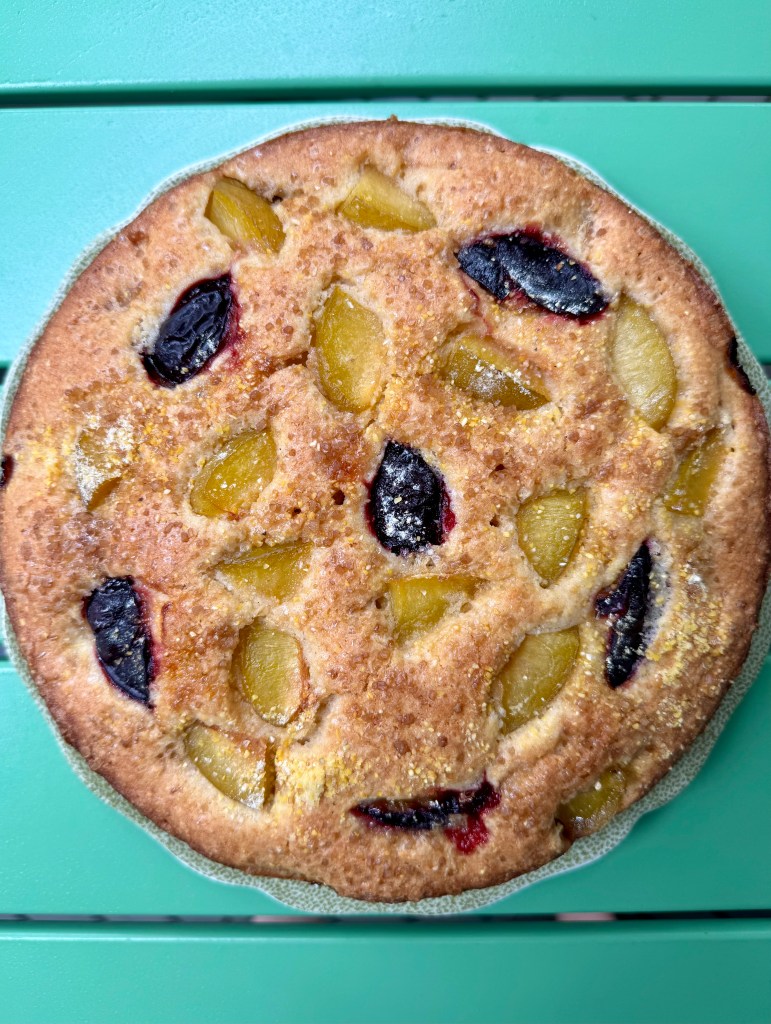
This plum cornmeal cake from the Two Peas and Their Pod blog is so great! It is nice and light, has a little bit of tartness from the plums, and a bit of crunch on top from the cornmeal and Turbinado sugar topping. It was pretty simple to make, and it was soooo delicious! I brought some to work to share with colleagues the next day and it tasted just as good as it did on the first day.
For my cake, I used a combination of purple and green plums. The store I bought them in didn’t note what kind they were, but I think they were Prune plums and Greengage plums.
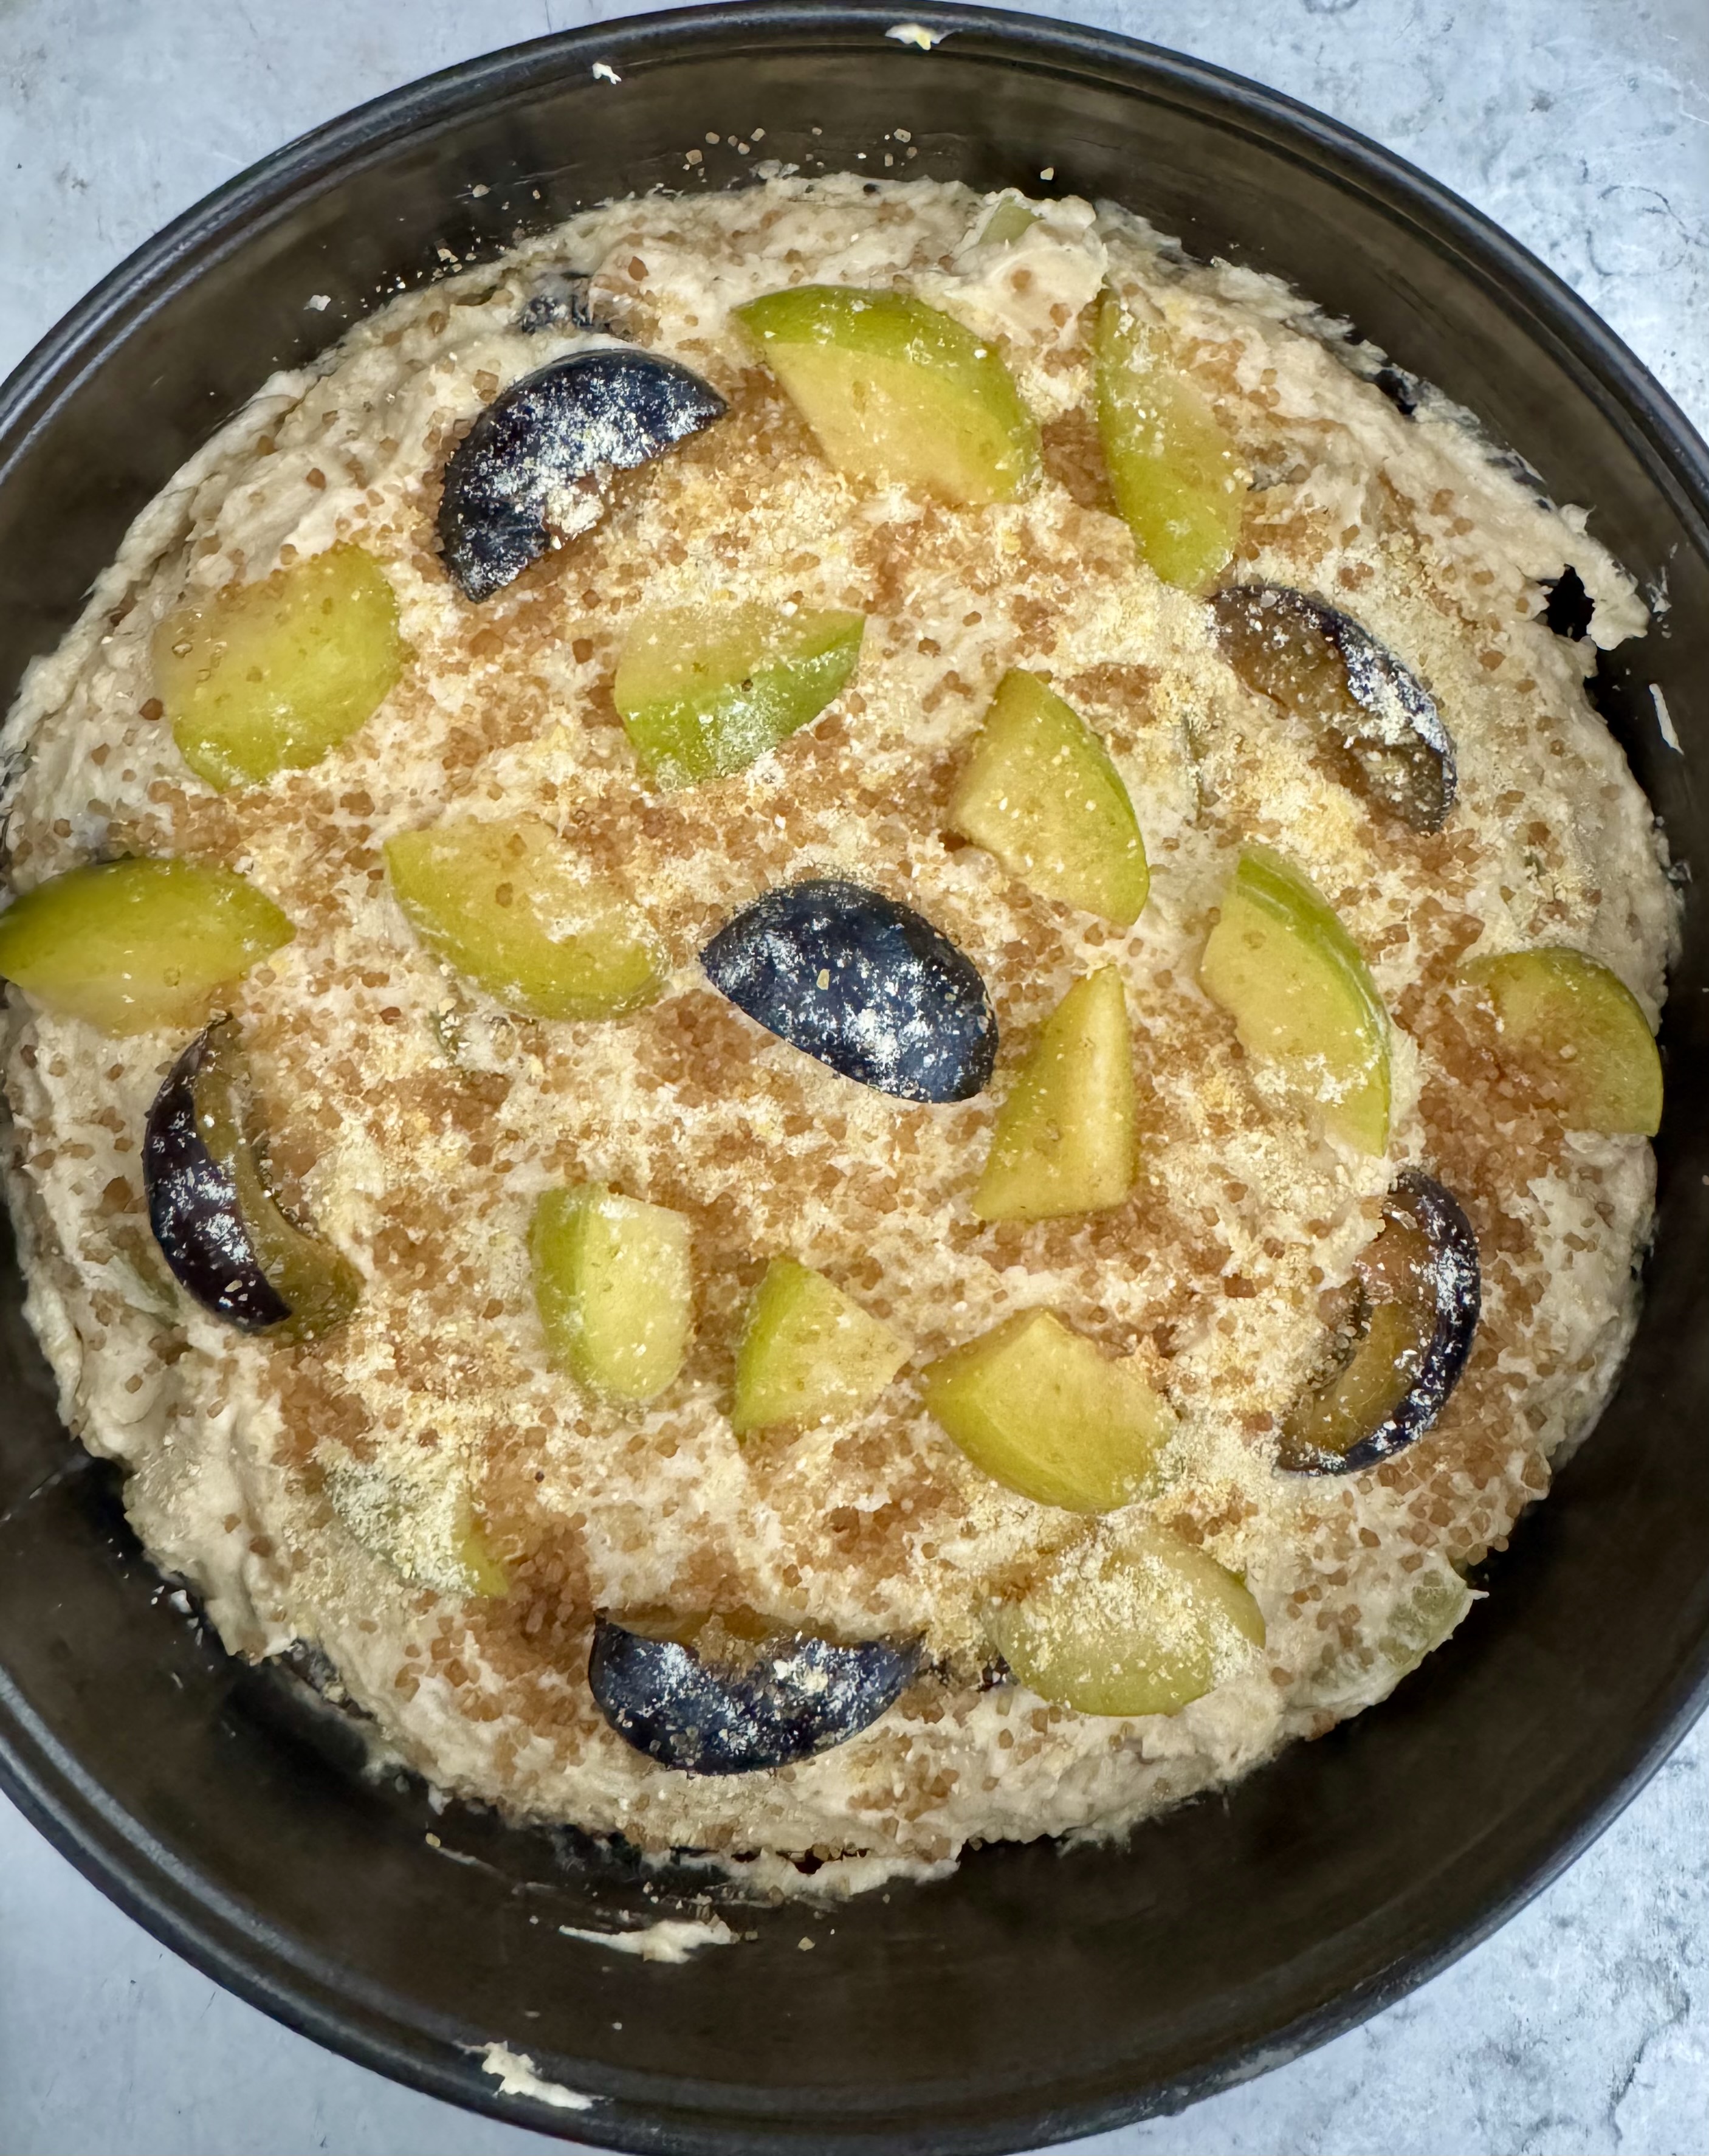
The original recipe called for 4-6 plums, but since they are all such different sizes, it was difficult to figure out how much that added up to. When I cut up 6 small purple and 2 larger green plums, it seemed like it was going to be a lot, but after tasting the final product, I wished I had added more. I didn’t want to add too many plums and make the cake too liquid so it might not bake well, but I could have gotten away with a little more. I didn’t actually measure the amount I ended up using, but below I posted a picture of what it looked like before baking, in case that helps you decide how much to put in. Keep in mind there are two layers of plums, so you can only see half in the photo.
This recipe was so good, and I only altered it slightly. I used a few more plums than the original, and would use even more next time – which will be soon! I had only salted butter in my fridge, and it worked just fine! I ran out of the coarse grind cornmeal, so for the topping I used medium grind. I ended up having to bake my cake longer than the recipe suggested., adding about seven minutes extra before it was fully baked.
After baking, I fully cooled the cake and then stored the remaining piece in plastic wrap. It was still amazing after the first two days, and still good after five days! If you think you won’t get all of it eaten within a day or two, you can wrap it up and put it in the freezer for a few weeks.
Please let me know if you tried this recipe, and how it worked out for you!
What you need:
- 1 & 1/2 cups all-purpose flour
- 1 teaspoon baking powder
- 1/4 teaspoon ground cinnamon
- 1/8 teaspoon salt
- 1/2 cup plus 1 tablespoon coarse cornmeal
- 12 tablespoons/ 170 grams unsalted butter (room temperature)
- 1 cup granulated sugar
- 3 large eggs (room temperature)
- 1 teaspoon vanilla extract
- 1/3 cup buttermilk
- 7-9 ripe plums (depending on size you may need more or less)
- 1-2 Tablespoons Turbinado sugar (to sprinkle on top)
What you do:
- Preheat the oven to 350F. Butter a 9″ springform pan.
- Cut up the plums and set aside.
- Sift the flour, baking powder, and cinnamon into a medium sized bowl. Add the salt and 1/2 cup of the cornmeal.
- In a large bowl, beat the sugar and butter with a mixer for a few minutes, until it is light and fluffy. Beat in the eggs one at a time. Beat in the vanilla.
- Add about 1/3 of the dry ingredients and mix until just incorporated, then mix in half of the buttermilk. Repeat, adding dry, then liquid, then dry, again just until incorporated.
- Add half of the batter to the pan, then arrange half of the plums on top. Add the rest of the batter, then arrange the rest of the plums on top of that. Sprinkle with the remaining one tablespoon of cornmeal, and the Turbinado sugar.
- Bake for about 50 minutes, testing by poking with a toothpick or cake tester to see if it comes out clean. I needed almost 60 minutes to finish mine.
- Take the cake out of the oven and let it rest for about 15 minutes. Run a sharp knife around the edge and remove the ring.
- Enjoy!