This blog is my way of sharing recipes I love. I don't make a penny from the blog, it's just for fun! I do pay to keep it Ad-Free so it's a better experience for you. Please write a comment if you use a recipe! I'd love to hear your thoughts.
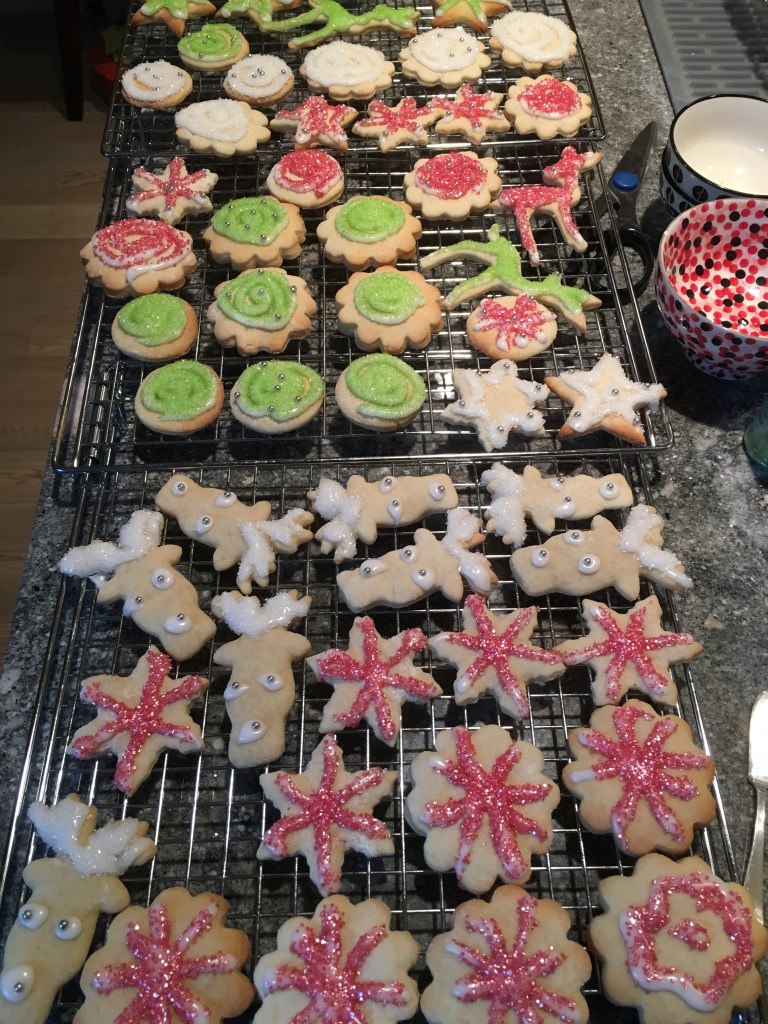
This post is all about some of my favourite holiday baking treats over the 10+ years of TrustInKim, so bakers have it all in one place. There are more recipes to come this year too!
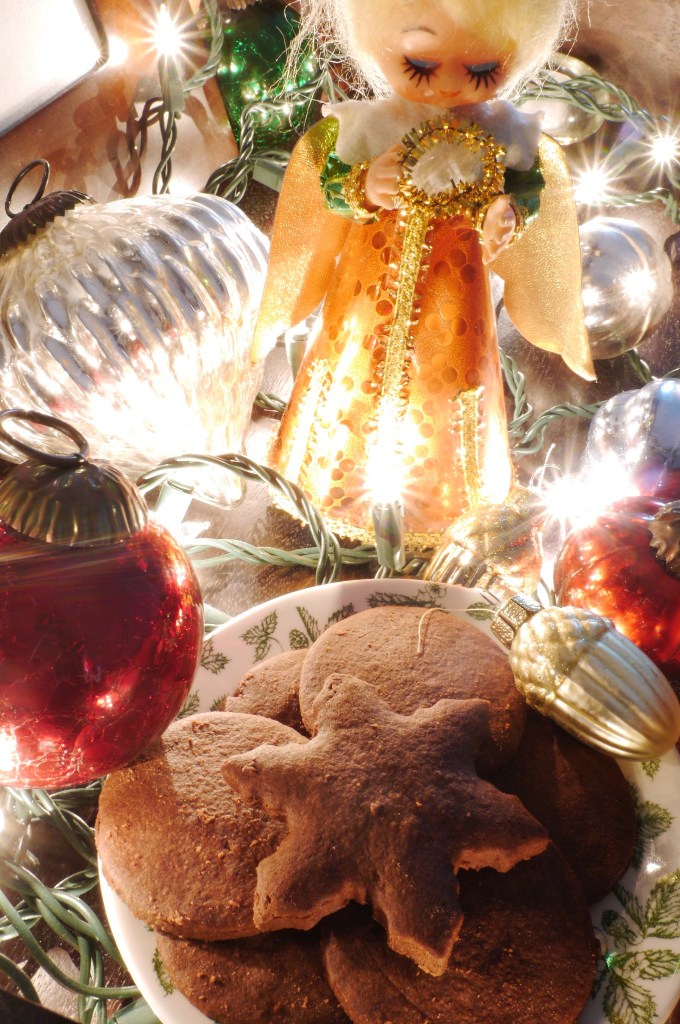
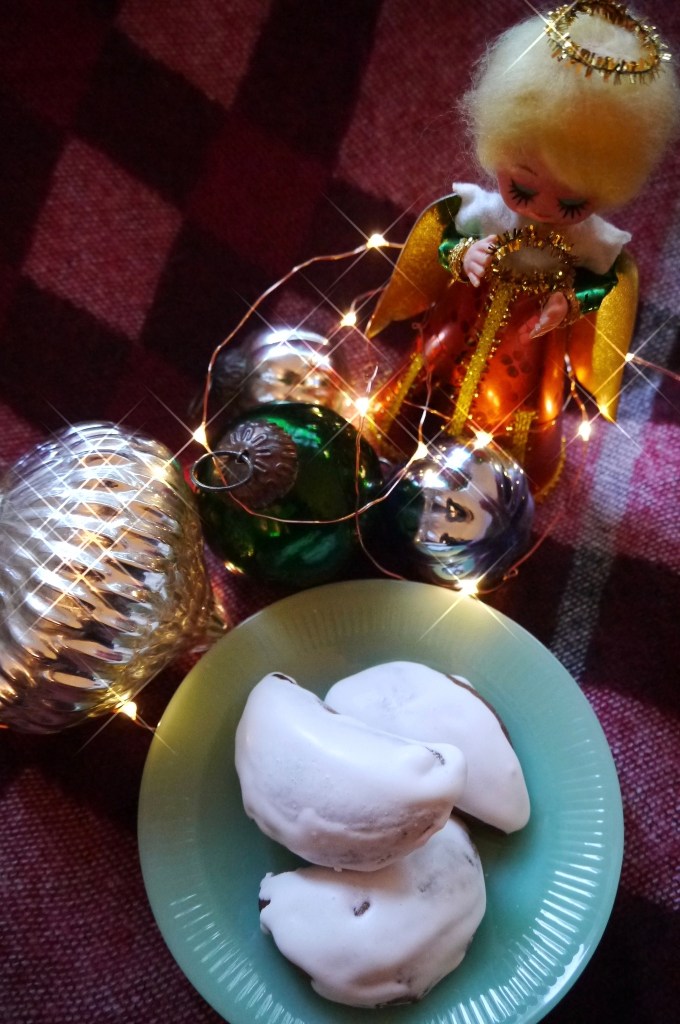
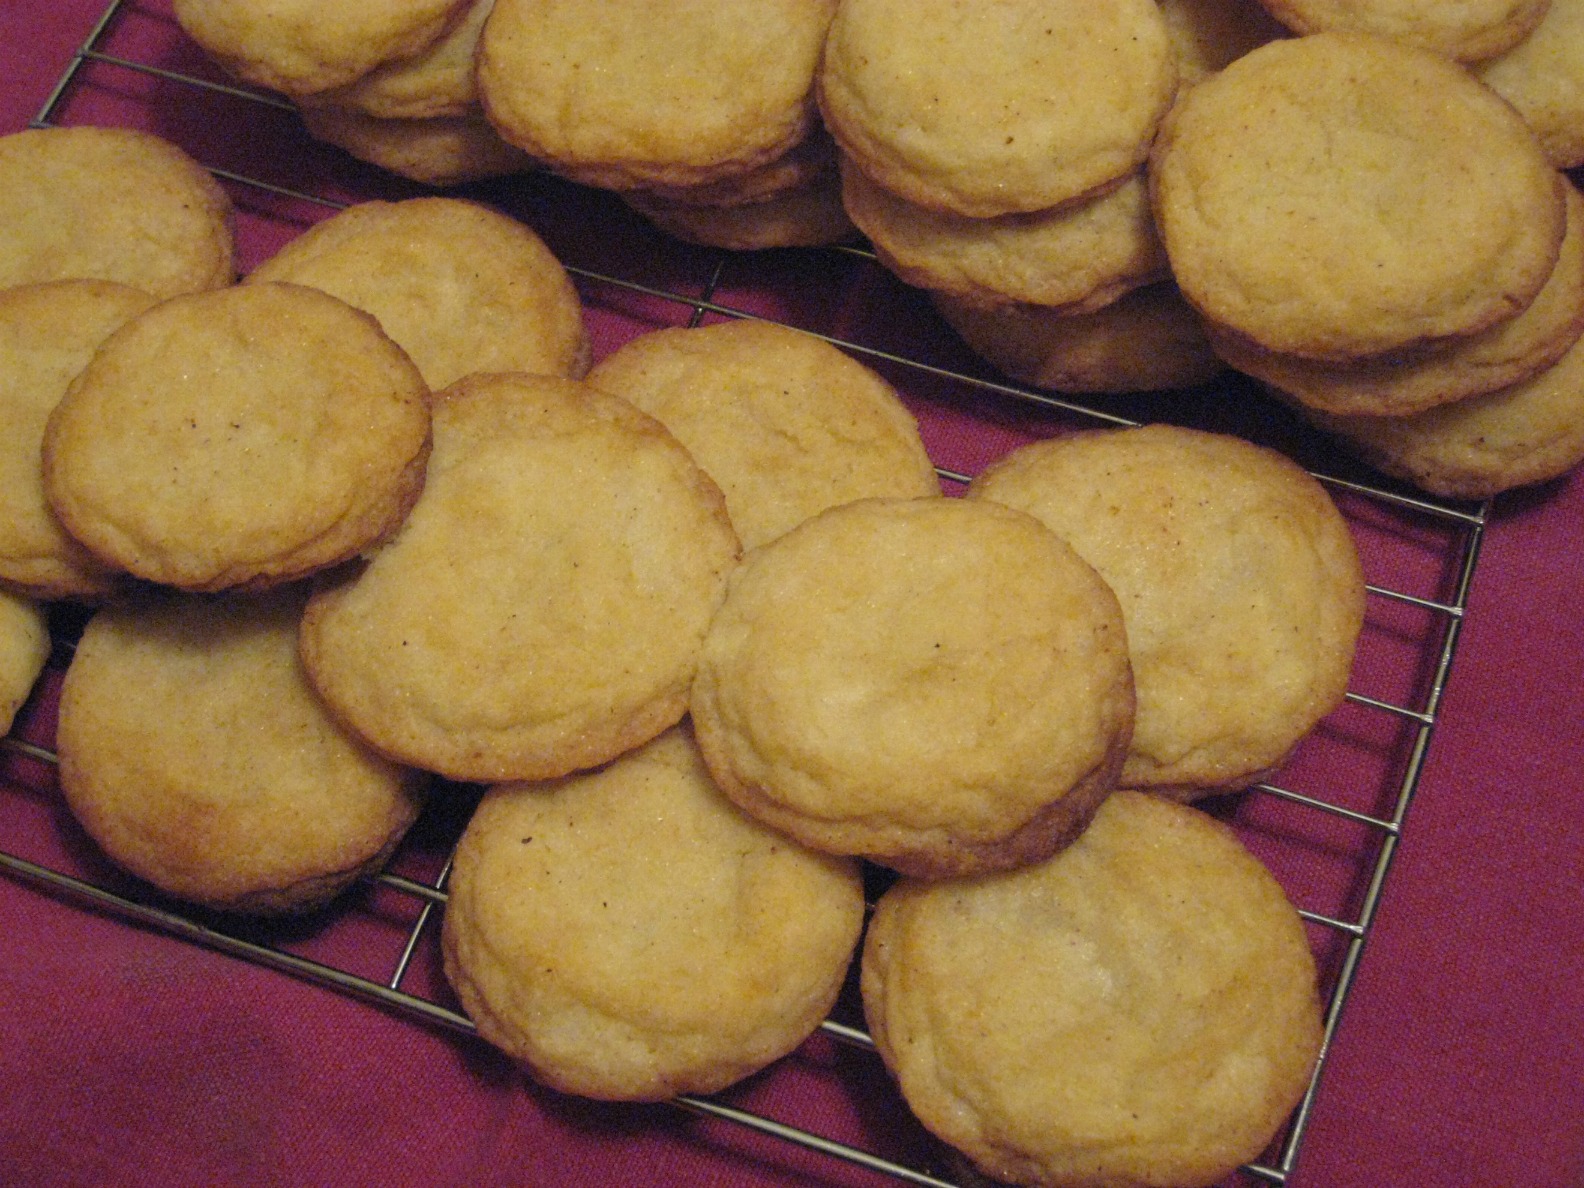
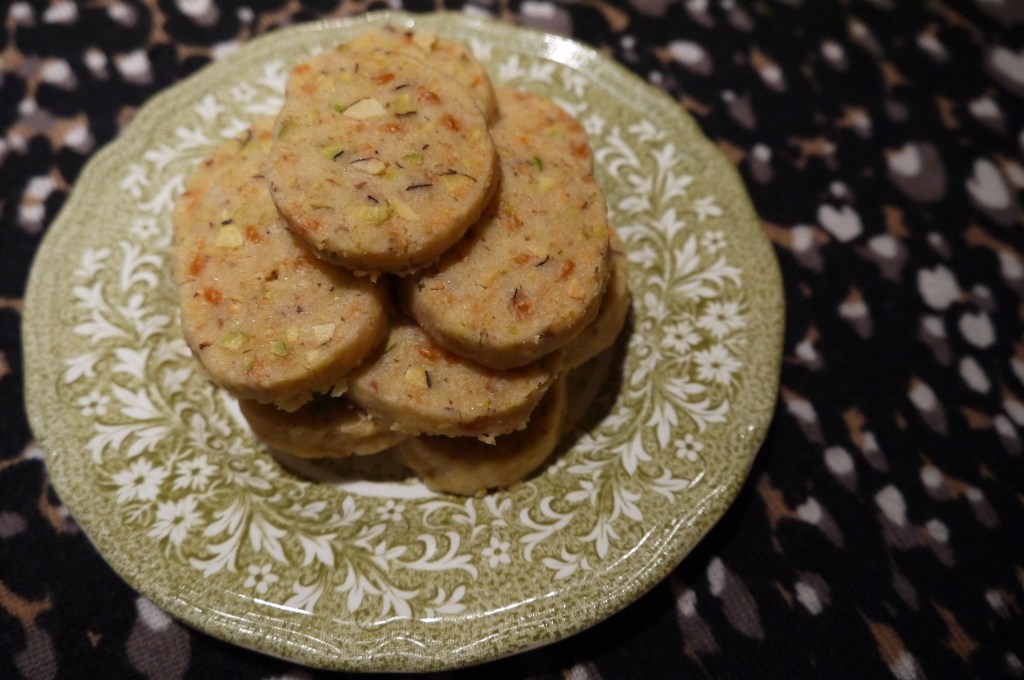
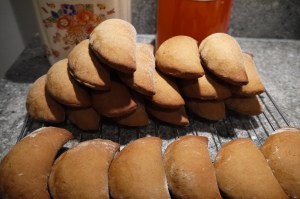
My Oma used to make cookie like this, a spice cookie with damson jam inside, and coated in a crispy egg white frosting. As far as I know she never had a recipe, and I never got to learn to make them from her. Since she is gone now I’ve been trying to recreate, as best I can, her cookie recipe. This is year two in the attempt. This one was successful! Countless hours researching and working, but success nonetheless!
Oma called her cookies “ammonia cookies,” which never seemed unusual to me – that’s just what they were called. Now I realize it doesn’t sound very appetizing, so I’ve renamed them. Baking ammonia, also known as ammonium carbonate or hartshorn, is a substance that was used before baking powder and baking soda. It makes baked goods nice and crispy. But…
it smells soooo bad!
But only before they are baked. Then they smell heavenly.
I was surprised when I first opened the bottle of baking ammonia last year, after I finally tracked some down, and was assaulted by the foul smell. Ammonium carbonate is what was used in olden days to rouse a person who had fainted – also known as smelling salts. So this year I opened the patio door wide before opening the bottle and working with the baking ammonia. You can find baker’s ammonia at Gourmet Warehouse in Vancouver, or online here.
This might not seem like the most appealing recipe, but once you’ve dealt with the smell, mixing up the dough, rolling out and cutting circles of dough, filling them with jam and pinching shut, baking, making the frosting and going through the tricky process of coating the cookies with your fingers, well, after that you have some amazing cookies! The nostalgia of trying to make something that my Oma had made, and knowing that some of my family members would appreciate trying them, made the process enjoyable.
And the soundtrack for this lengthy process helped: The Over the Rhine Christmas album, Snow Angels.
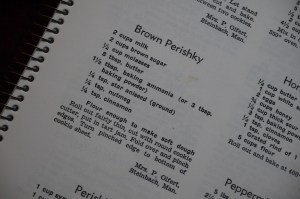
The recipe I used is from the 1962 edition of The Mennonite Treasury of Recipes. With instructions like “flour enough to make soft dough,” beat egg whites “well,” cook sugar and water “until it strings??,”and no indication of how to mix, or what temperature to bake at or for how long, I did my best to figure out how to make this work. And (after one batch of cookies was too thick at the seams, and a batch of frosting had sugar lumps in it). . . success! Delicious, no jam leaking out (thanks mom for the extra thick damson plum jam), crispy exterior and frosting. So good! I think Oma would say I did a good job.
A word on the frosting method: last year the struggle was with the jam oozing out, but this year that problem was solved. Today I battled the frosting; the recipe didn’t specify how much to beat the egg whites, nor did it tell me what sugar and water forming “strings” meant. So after one bad batch (I was stubborn and used it on some of the cookies – not terrible, but they have a lumpy appearance), I managed to figure out how to do it right. I brought the sugar and water to a low boil AFTER beating the egg whites, so it was ready to beat in right away, and didn’t continue to cook or crystallize in the hot pot. Research revealed that the right temperature for the sugar and water is between 110 and 112C, but my candy thermometer isn’t so precise, so I overcooked it. In the instructions below I wrote about how to test when the sugar “strings,” or makes threads. Oh, and then there is the messy messy job of applying the frosting. Yay. I wish I had someone here to film it. My hands were too messy to do it myself.
Needless to say I’ll probably never make these again. Oma, how did you do this, with 5 kids, and all that other food to make? Amazing. Simply amazing.
For me these cookies brought back some good memories – I’m a sucker for nostalgia.
What you need for the cookies: (this is half a recipe)
1 cup very thick tart jam (damson plum jam is what Oma used)
What you need for the frosting:
1 cup sugar
4 tablespoons water
1 egg white
What you do:
Beat the butter and brown sugar together. Add the molasses and beat in, until fluffy.
Combine the dry ingredients.
Alternately add the dry ingredients and the milk, until it makes a soft dough. Remove the dough from the bowl onto a floured surface. Knead it until it is smooth.
Preheat the oven to 375F.
Divide the dough into 2 or 3 portions and roll them out thinly, about 3 mm thick.
Use a circular cookie cutter to cut the dough. Place about 1/2 teaspoon of jam in the centre of each cookie. If your jam isn’t very thick, sprinkle a little flour on top.
Fold the dough over and pinch the edges to seal each cookie. Place them on a parchment-lined baking tray. Bake for about 14 minutes. The cookies should look slightly browned.
Allow cookies to cool completely on a rack before making the frosting.
To make the frosting, learn from my mistakes. Beat the egg white until stiff peaks form when you pull the beaters out.
Put the sugar and water into a pot and bring to a boil. Test using a precise candy thermometer, at 110-112C, or use the finger test. Put a small amount of the syrup on a finger, then touch it with another finger. If a string forms between the fingers, it is done.
As soon as you reach the right temperature, slowly add the syrup to the eggs whites, beating on high, until incorporated and fluffy.
Now. Get ready to get messy. Place a cooling rack on the counter. Dip each cookie in the frosting, then use your hands to rub off some of the frosting. I know, if you’re doing this right now you’ve already spent countless hours making these cookies. And you’re wondering if they will be worth it… I sure hope so!
Place each frosted cookie on the cooling rack. Leave them to dry completely, for a few hours, before storing in an airtight container.