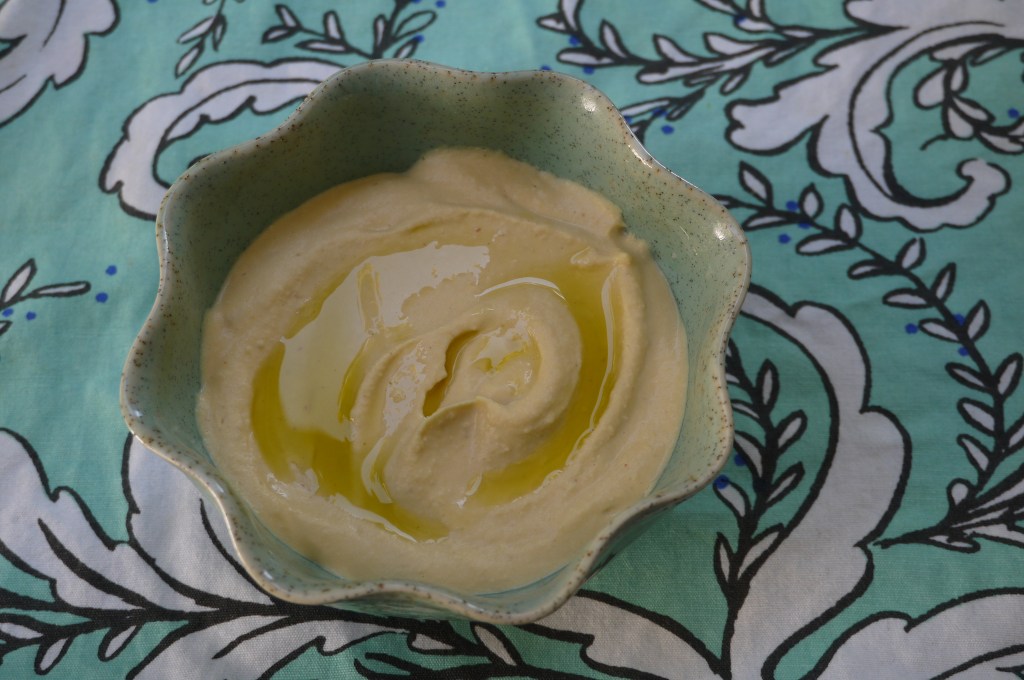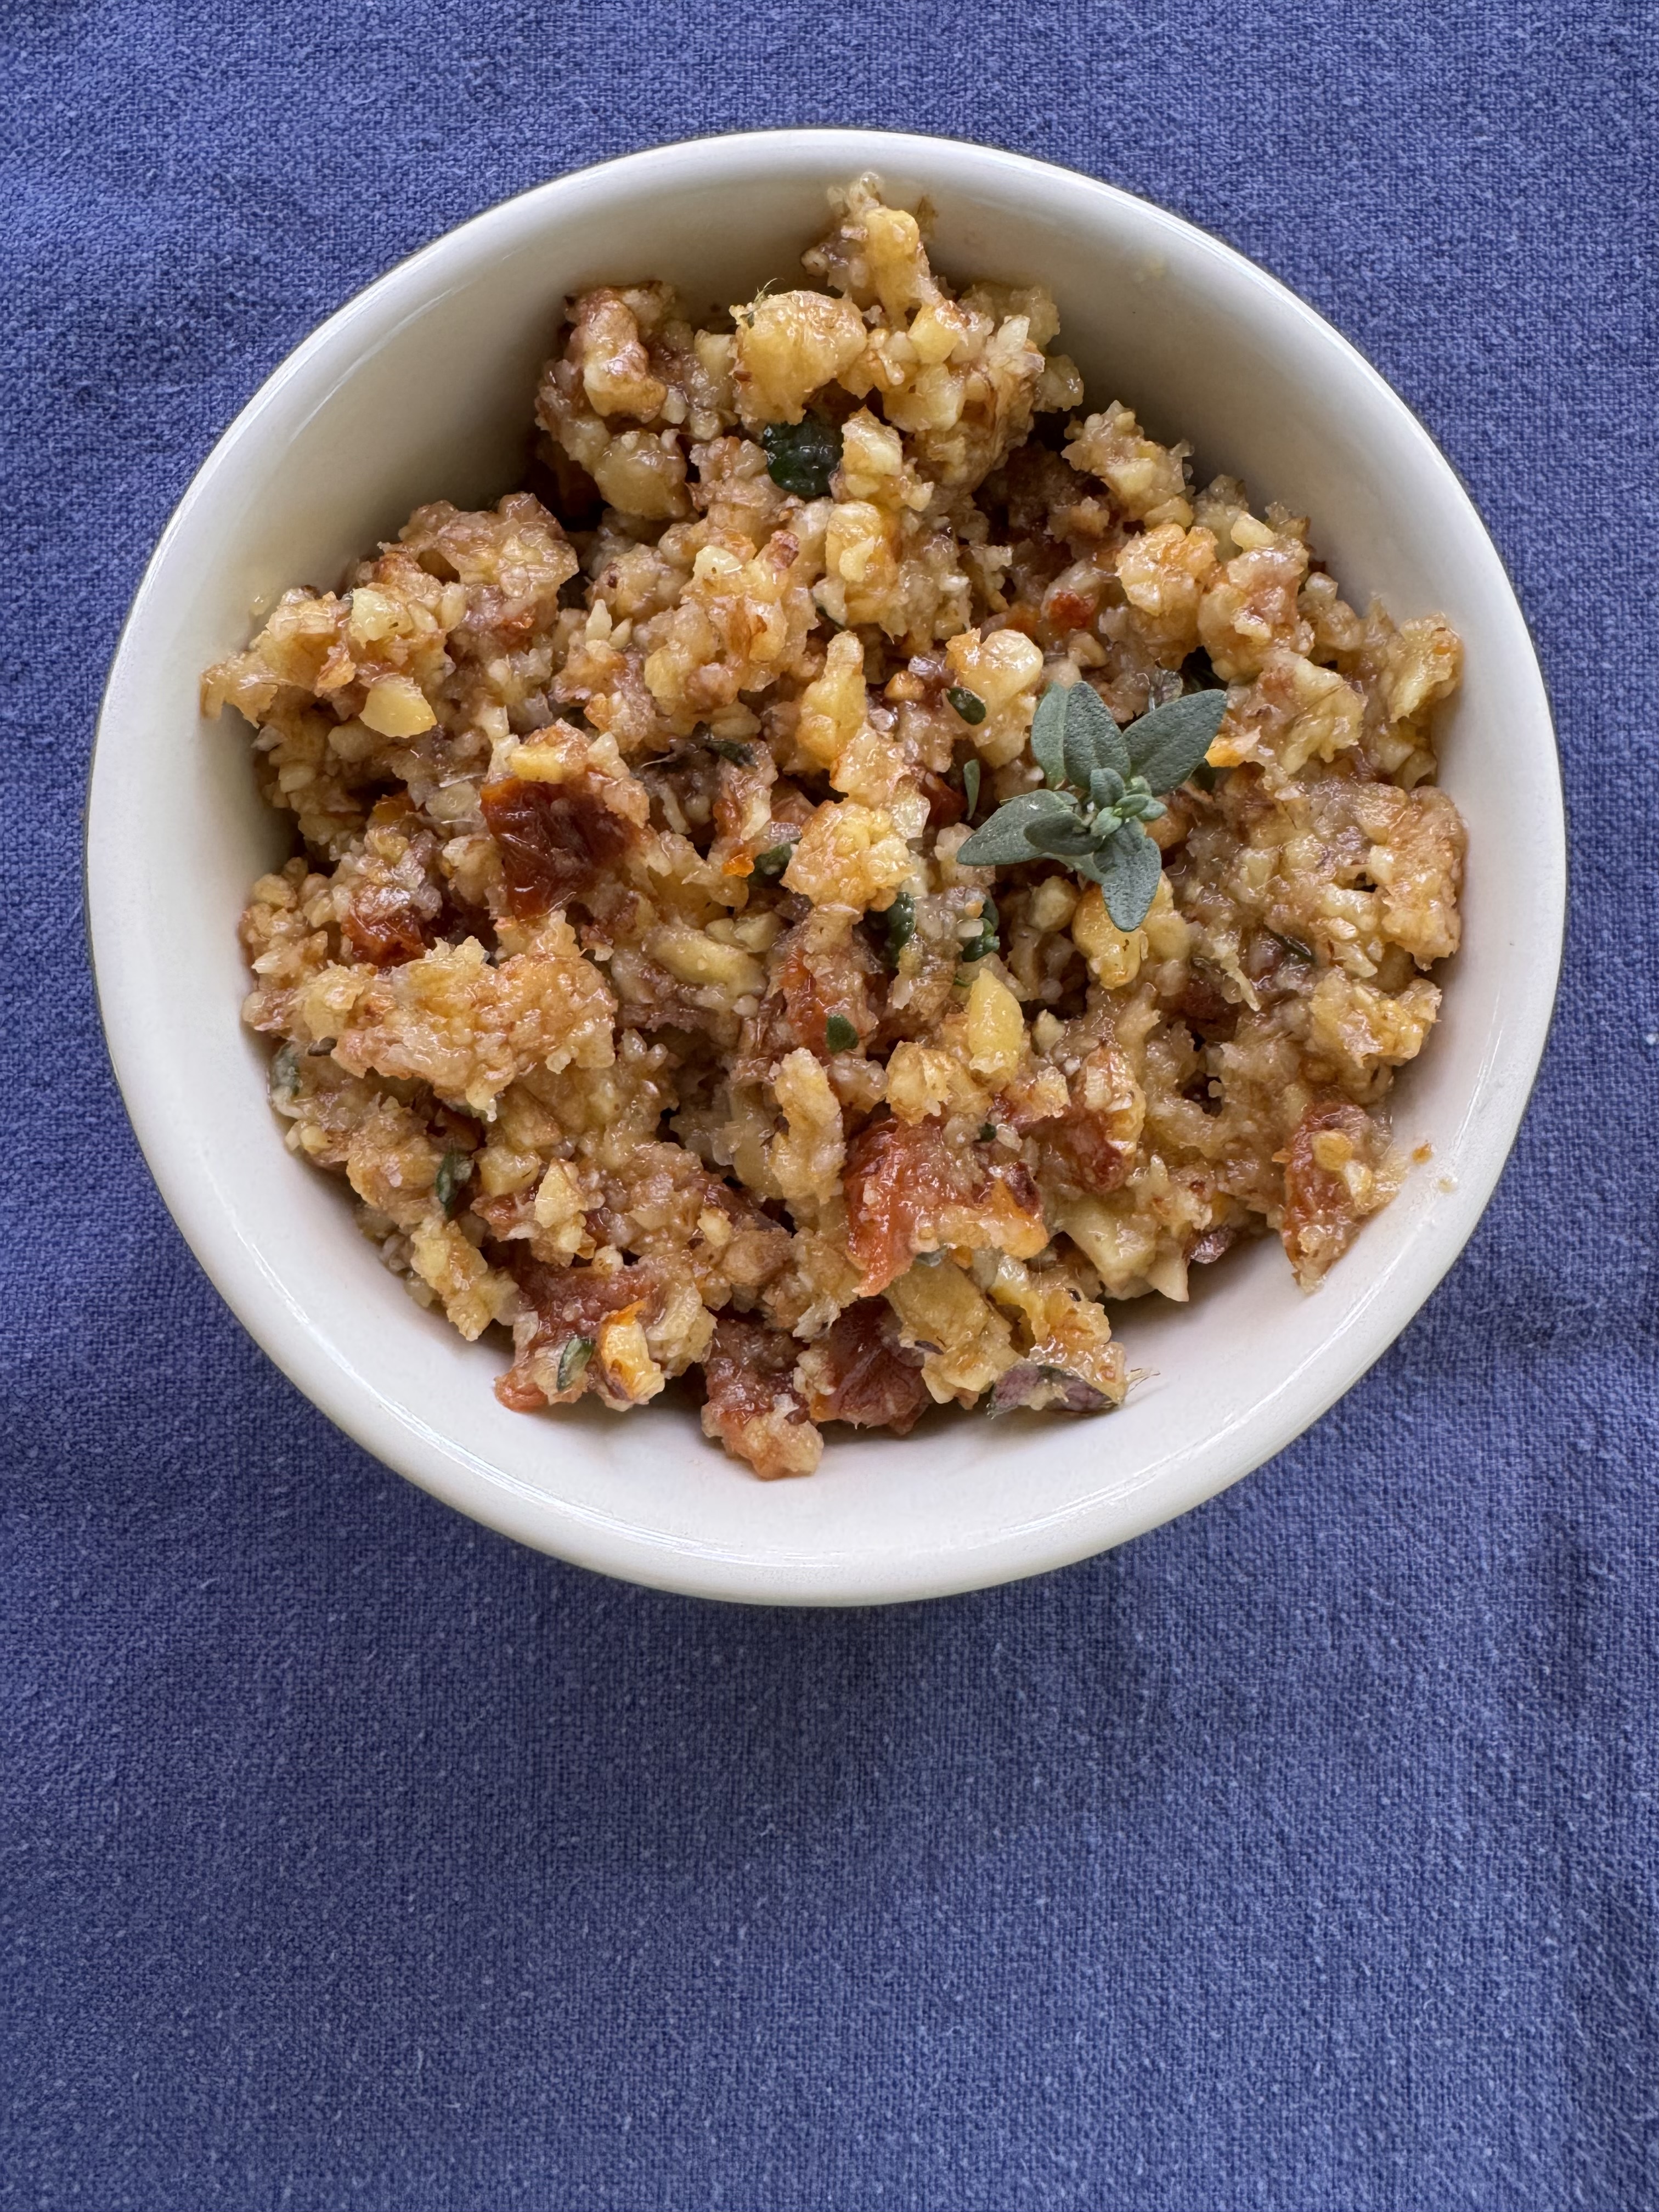
This walnut and sun-dried tomato spread is packed with flavour, and is an excellent vegetarian option. It can be made vegan if you use a non-dairy Parmesan option.
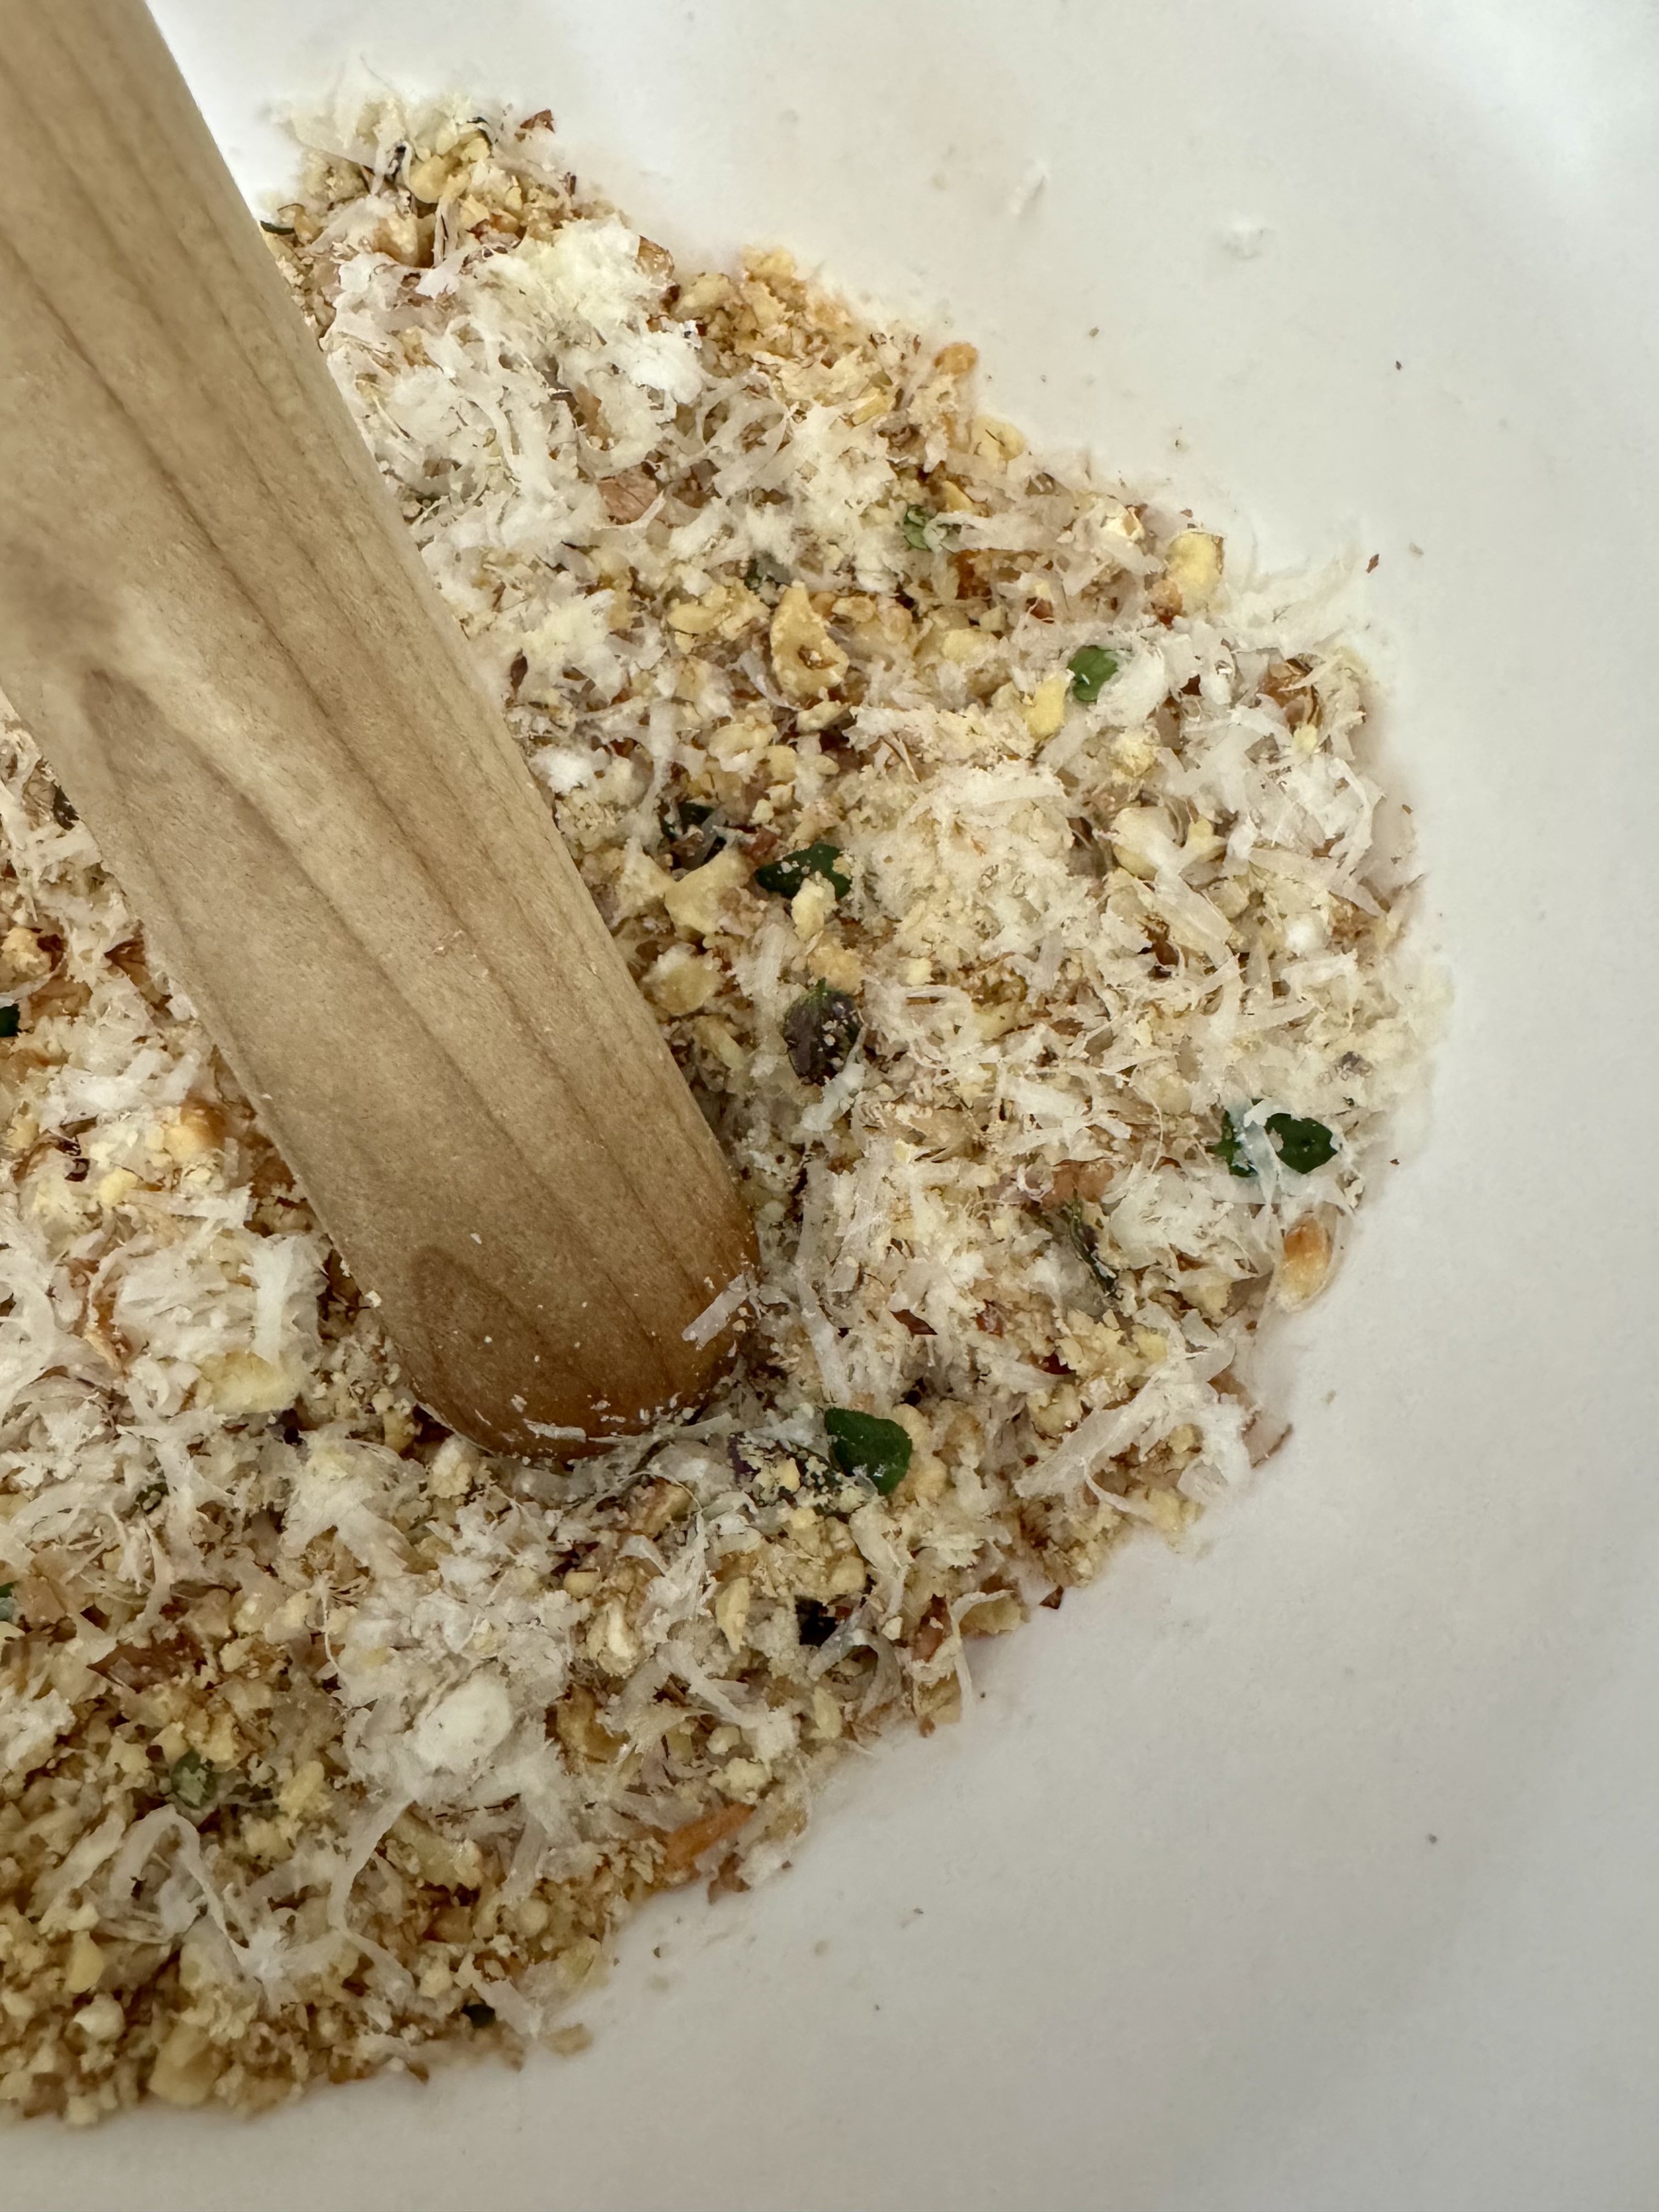
I’ve made this quite a few times to spread on baguette, and this time I think I figured out my one problem with it. I found it difficult to get the right consistency when I followed the instructions that called for the use of a food processor; it ended up being a little bit too paste-like when I did this. So this time I used a mortar and pestle to crush the walnuts, and then just mixed everything else in. I like that there are still small chunks of walnut, but they get softened by the oil and sun-dried tomatoes.
This recipe is from the amazing Smitten Kitchen website. This is one of my go-to sites when I’m not sure what to make for dinner. Check it out! She also has a few cookbooks that are winners!
Aside from the method of breaking up the walnuts, I use a lot less oil in my recipe, and I halved the amounts so it would be good for two people. I also “eyeball it” and take into account personal preferences when it comes to amounts for parmesan, garlic, and salt.
A note on the walnut toasting: I found that the one time I used smaller pieces of walnut, with some larger ones mixed in, the smaller pieces were over-toasted. I use walnut halves, and prefer to just toast gently in a frying pan on low heat on the stove top. It works well in the oven too.
What you need:
- 1/2 cup walnut halves, toasted and cooled
- 1-2 tablespoons grated Parmesan cheese
- 1/2 to 1 small garlic clove, minced
- leaves from 1-2 fresh sprigs of thyme (if you have to use dried thyme, just use a small amount, as it can be overwhelming)
- Red pepper flakes, to taste
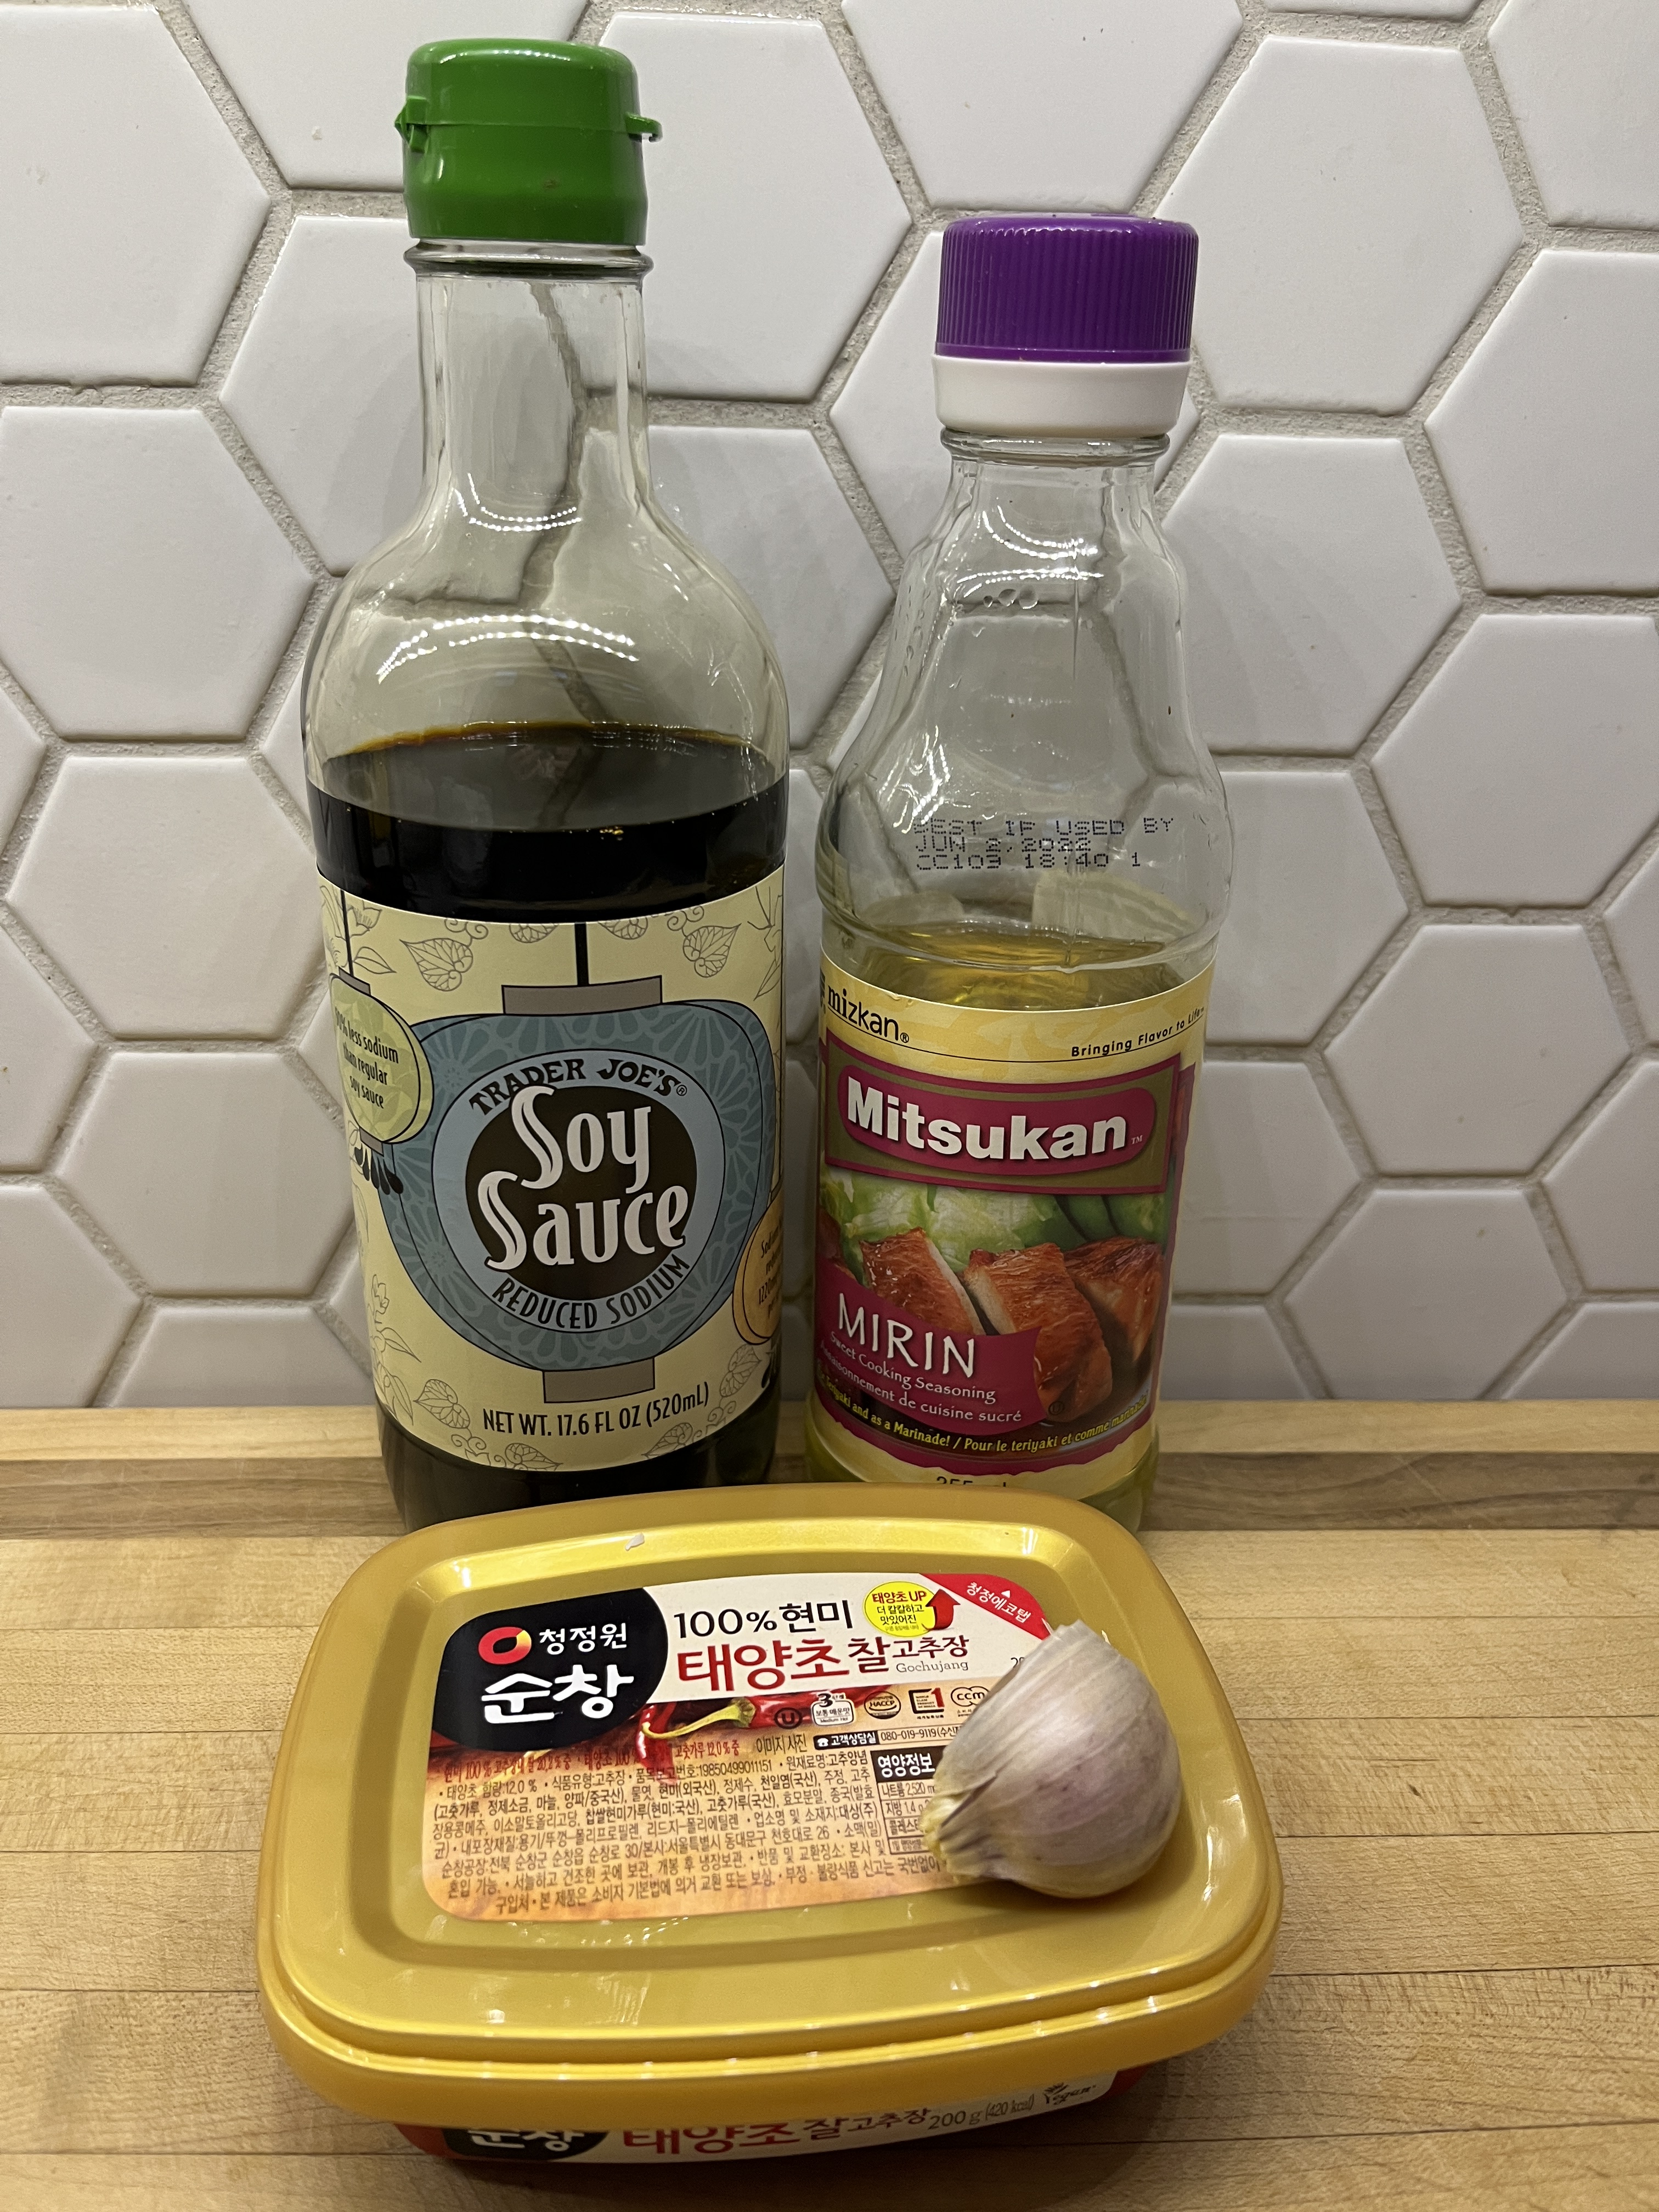
- 1/2 teaspoon sherry or red wine vinegar
- a drizzle or two of olive oil
- 1 tablespoon minced sun-dried tomatoes (oil packed)
- Salt, to taste
What you do:
- Place the cooled, toasted walnuts in a bowl or mortar and use a pestle to break them up. If you don’t have a mortar and pestle, you can use a wooden spoon to do the job.
- Add the Parmesan, minced garlic, thyme, pepper flakes, and vinegar to the bowl. Combine these ingredients.
- Add the vinegar, olive oil, tomatoes, and salt, then mix them in. Taste and add anything you think it needs.
- Enjoy spread on some lovely fresh baguette!