Green Salad with Roasted Beets, Walnuts and Goat Cheese

roasted beet goat cheese and walnut salad - trust in kim

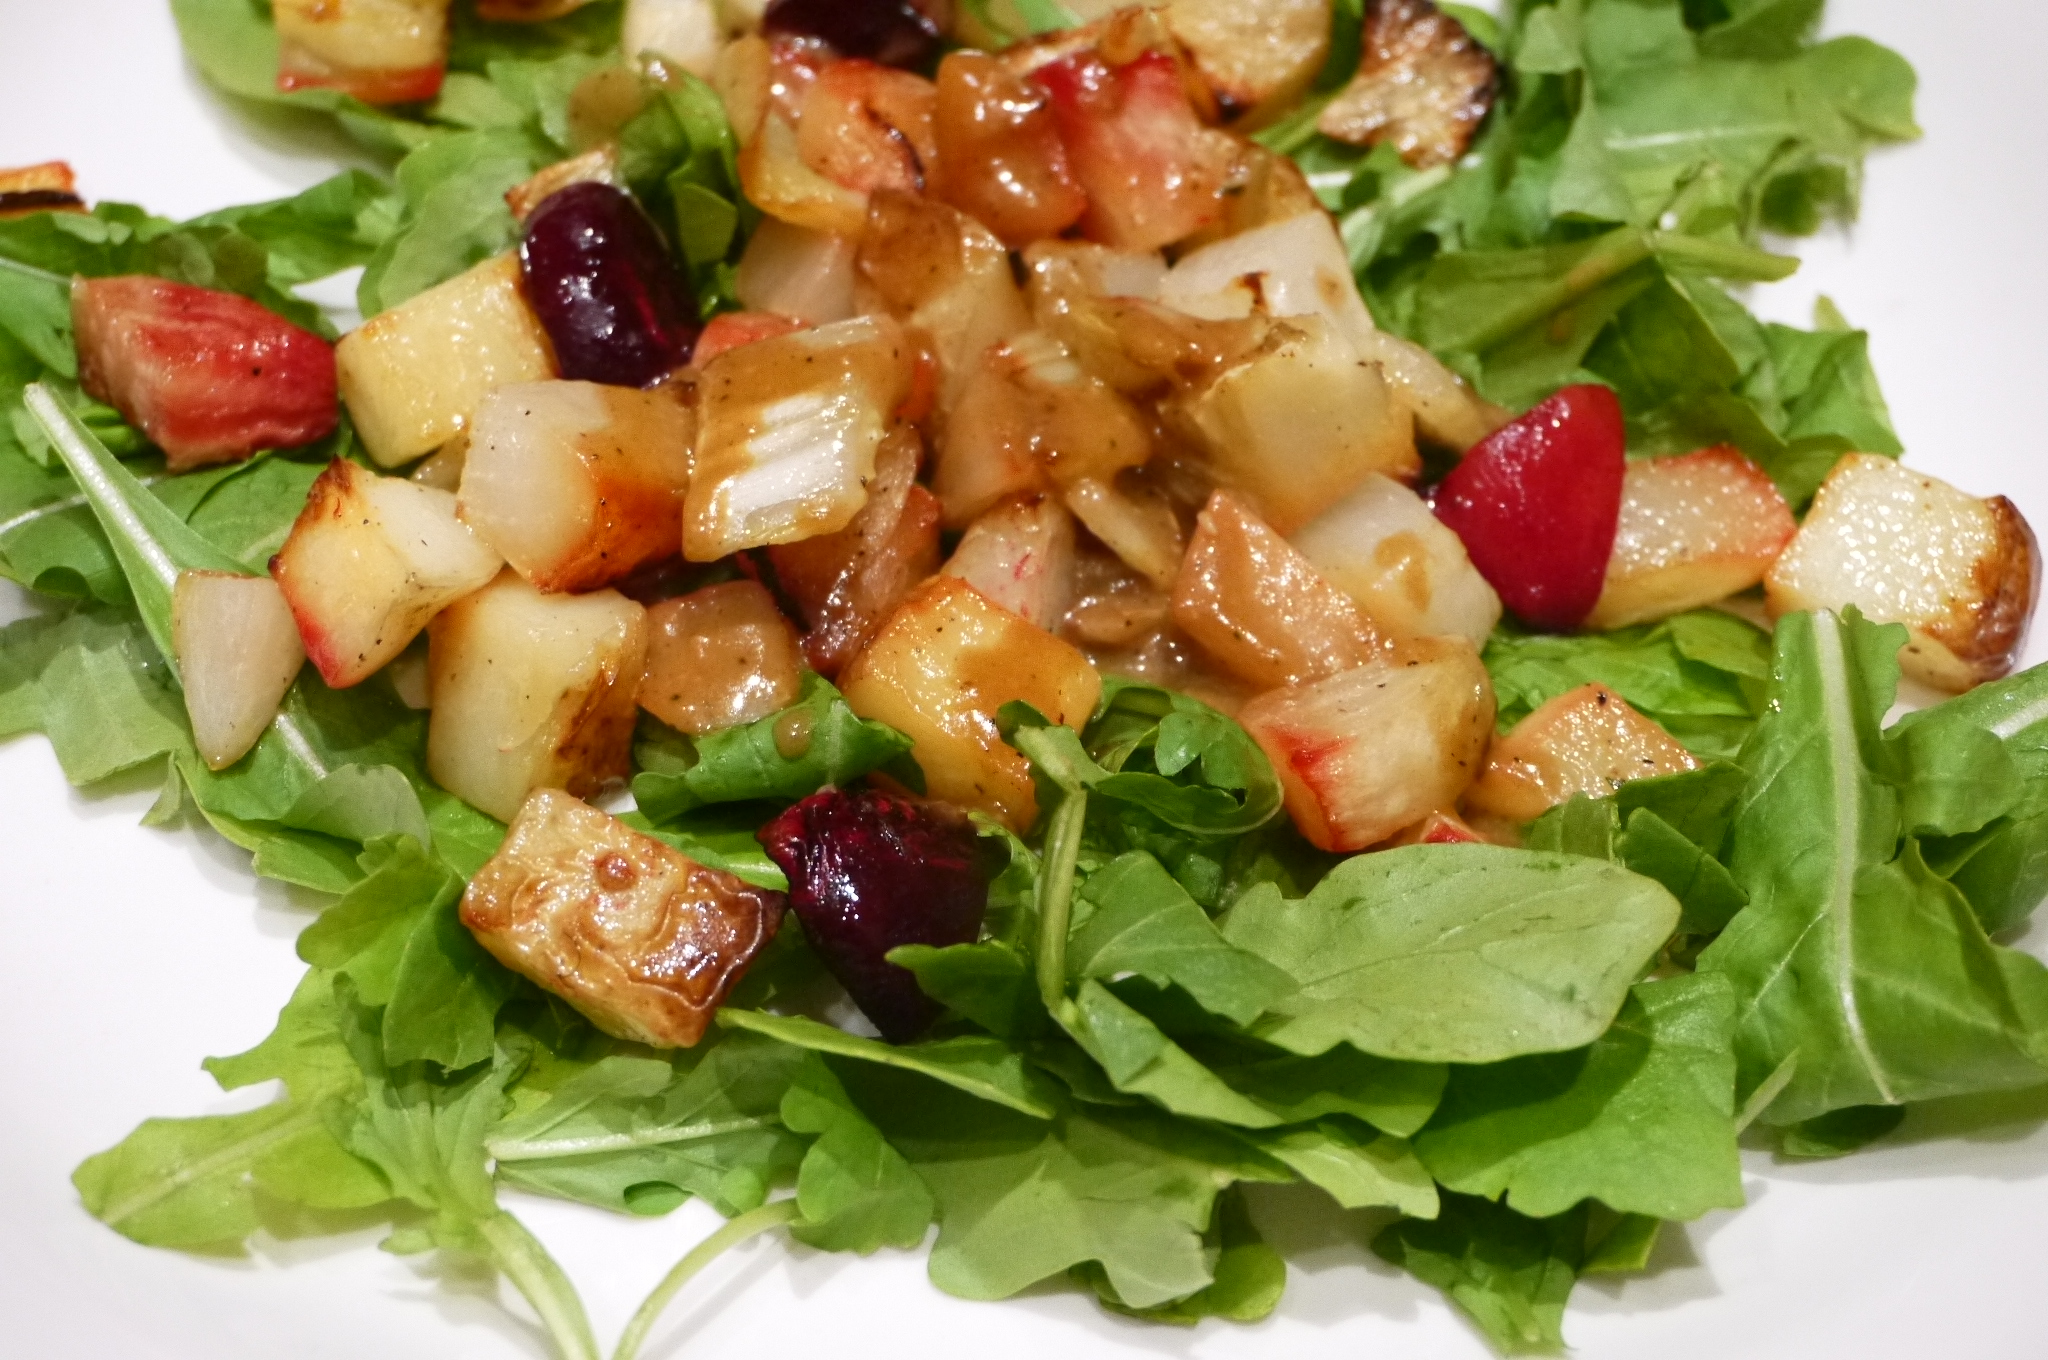
This is a beauty of a salad. You can use red beets, but as you can see, I chose to use golden beets this time. I love the combination of beets, goat cheese and walnuts with the shallot dressing. Roasting the beets ahead of time makes this a quick salad to put together at the last minute.

This recipe comes to us from The Vancouver Sun’s book The Best Salads.

You can buy cooked beets, but I prefer the taste of home-roasted beets. The original recipe asked you to slice and bake the beets. I roasted them whole instead.

I bought a beautiful Okanogan, BC goat cheese from Dussa’s at Granville Island, Vancouver for this salad.

What you need for the salad:

  • 1 tablespoon cider vinegar
  • 1/4 teaspoon each salt and pepper, or to taste
  • 2 tablespoons walnut oil
  • 1 tablespoon finely chopped shallot

What you need for the salad:

  • 5 beets (1 & 1/4 pounds in total)
  • foil for cooking the beets
  • 4 cups salad greens
  • 1/2 cup toasted walnuts
  • 1/4 cup soft unripened goat cheese
  • salt and pepper

What you do:

  1. Roast the beets ahead of time, or early enough that they have time to cool down before using in the salad. Wash, then cover each beet in foil. Bake at 400F for about 50 minutes. Test with a sharp knife to see if they are soft all the way through. When the beets have cooled, peel the skins off. Refrigerate if you are making them ahead of time. Take them out of the fridge at least an hour before using, so they can come to room temperature.
  2. After the beets come out of the oven, turn the oven off and put the walnuts on a baking sheet in the oven. Check them after about 5 minutes to see how they are doing. Keep them in the oven until they are lightly toasted – beware, though – even with the oven off they can burn easily. Let them cool, then put them in an airtight container if you won’t be using them right away.
  3. Combine all the ingredients for the vinaigrette and let it sit for at least an hour. This can be made ahead and refrigerated.
  4. Toss the greens with some of the vinaigrette and arrange on large plates for serving. Slice the room temperature beets and arrange them on top, along with some goat cheese and walnuts. Add a little more vinaigrette to the top if you wish. Salt and pepper to taste if desired.

Enjoy!


I Love Lunch – New Category for Leftovers

lunchbag - trust in kim

One of my weekly routines takes place on Sundays in the afternoon or evening. I choose a recipe that I think will be great for leftovers, and I prepare it and store individual portions in my fridge. I’ve been doing this for years so that I can have healthy and delicious lunches, and not have to worry about preparing meals during a busy work week.

Today I went through all my previous recipe posts and created a category called ‘Makes Great Leftovers’ so you that you can easily find recipes that you can use for leftovers. There are a lot of soups, stews, salads and other one-dish meals. Quite a few are vegetarian or vegan, but there are also a lot of recipes with meat.

Hope it’s helpful!

Kim

Seared Sea Scallops on Greens

seared scallops on greens - trust in kim

This

is

my

favourite

food

in the world.

Awesome! So delicious. I can die happy now. Hopefully I will live to eat these again, though.

Yes, I love papaya, blueberries, duck confit, lemon tarts and chocolate croissants. But this, the sea scallop, is my all-time favourite. And because of that I never cook them. They are so precious that I fear I will ruin them, and a ruined, over-cooked scallop is an atrocity.

So when I set out to cook this I did my research, found the very best scallops I could lay my hands on, and carefully crafted this dish. I got some beautiful fresh large sea scallops at Seafood City on Granville Island, for those of you in Vancouver. Fresh, not frozen scallops are a must here. If you want an awesome meal, that is.

Simple is the key – the scallops speak for themselves, so you have to do very little with them, except season and cook them carefully.

What you need:

  • the freshest sea scallops you can find, 2-3 per person depending on their size
  • good quality olive oil
  • salt and pepper
  • salad greens
  • 1 lemon

What you do:

  1. Make the salad dressing before cooking the scallops. Grate a little lemon zest, then combine some lemon juice, olive oil, salt and pepper. Taste and adjust the amounts of the ingredients to your liking.
  2. Salt and pepper one side of the scallops, using a little more salt than you think you should, as some will come off in the cooking process.
  3. Get your salad greens ready on the plates. You want to be able to plate the scallops and eat them immediately.
  4. Heat a frying pan on high, but not a non-stick one. Add some olive oil to the pan and wait until it gets very hot – if the pan isn’t hot enough the scallops will stick to it. Add the scallops with the seasoned side facing down. You should hear quite a sizzle; if not the pan isn’t hot enough. Season the top side of the scallops. Let them sear for about 1 & 1/2 minutes (less time if they are smaller) ; it’s better to undercook them than overcook them. Turn the scallops over and sear the other side; the cooked side should be nicely browned. You will see they are no longer translucent, meaning they are now cooked.
  5. Place the cooked scallops on top of the salad greens and serve as soon as possible. You could add a little squirt of lemon to the scallops if you want, but I didn’t because the dressing was lemony enough.

Enjoy the best food ever. Hope you love it!


Fresh from the Cupboard Salad

canned vegetable salad - trust in kim

This is my new favourite quick salad for bringing leftovers to work or a picnic (when we’re back in picnic season, that is). Everything you need can be found in the cupboard (if you stocked up ahead of time) except the spinach, which you can easily do without. Plus it is healthy and so tasty.

It’s really as easy as adding  a vinaigrette to cans of veggies and adding some greens. If you leave the spinach out it keeps great for leftovers, and you can just add the greens when you eat it.

I found the recipe in a terrific cookbook that has a lot of great information about which vegetables to eat for different needs, like improved energy, stronger bones, stress relief, cardiovascular care, and so much more. The recipe is called ‘Veggie Yard Dash Salad’ in the cookbook; I’m not sure my title is any better, but I wanted to call it something that would let people know that it didn’t have a lot of ingredients that you might not have on hand. The book is The Nutrition Twins’ Veggie Cure by Tammy Lakatos Shames and Lyssie Lakatos. The only thing I did differently from the original recipe, aside from adding the spinach as I served it instead of mixing it in, was to use home-roasted red peppers instead of jarred. I think they taste way better, and I make them ahead of time and keep them in the freezer. But jarred work well too!

Feel free to use more or less of whatever you like; I made my recipe a lot bigger so I’d have more leftovers, and I love red peppers and artichokes, so I used more of them. This recipe serves four people, more or less.

What you need:

  • 1/4 cup jarred or homemade roasted red pepper, cut into strips
  • 1/2 cup canned black beans, drained
  • 1 cup peaches and cream (or whatever kind you like) canned corn
  • 1 – 227mL can sliced water chestnuts, drained
  • 1/4 cup canned sliced artichokes, drained
  • 2 tablespoons raw sunflower seeds
  • 1/2 cup vinaigrette of your choice (herbed vinaigrette recipe below)
  • a bunch of baby spinach

What you do:

  1. Pour the canned goods into a bowl, chopping the artichokes up a bit if they aren’t already. I used the juice from the canned corn, but the original recipe says to drain it – up to you!
  2. Add the sunflower seeds.
  3. Add the vinaigrette and combine all the ingredients.
  4. Chop up some spinach and add it to the portion you will be serving, or add a whole bunch of you think you’ll eat the whole thing in one go.

Enjoy!

Here’s the vinaigrette recipe:

  • 1 garlic clove
  • 2 tablespoons red wine vinegar
  • 1 tablespoon extra virgin olive oil
  • 1/4 teaspoon black pepper
  • 1/8 teaspoon dried oregano
  • a bit of chopped fresh or frozen basil (recipe say dried but I think this is 100x better!)
  • 1/8 teaspoon salt

What you do:

  1. Crush the garlic and let it sit for 5 minutes, which is supposed to release more health-promoting properties.
  2. Combine the ingredients.

Voila, done!

Persimmon Salad with Ginger Dressing

persimmon salad - trust in kim

I haven’t made this for years, and I was sure I’d posted the recipe before, but apparently not. So here goes…

You can use this for an appetizer or a side dish. The dressing is slightly sweet, and has a nice gingery taste to compliment the sweetness of the persimmons. The hardest part is finding persimmons that are the right ripeness. I find the Fuyu, the smaller flatter ones, are best, as the other varieties seem to go straight from hard to mushy. So I buy them when they are still unripe and put them in the fridge when they start to feel slightly soft. Then they are ready to use within a few days.

I made this one as a side dish for a family Christmas dinner. There is an optional garnish of mint, but I knew some people in my family might not like that, so I left it off. I honestly can’t remember the last time I made this, so I have no idea how it tastes with the mint, but I know it’s really good this way:

What you need:

  • 3-4 Fuyu persimmons
  • 1 tablespoon butter
  • 1 tablespoon olive oil
  • 2 tablespoons finely grated ginger
  • pinch of salt
  • pinch of pepper
  • 1 tablespoon maple syrup
  • 1 teaspoon white wine vinegar
  • 1 tablespoon fresh mint leaves (optional)

What you do:

  1. Heat the butter and olive oil in a small saucepan and add the ginger, salt and pepper, and let this cook on low for about 5 minutes, stirring.
  2. Stir in the maple syrup and vinegar and remove from the heat. Taste to adjust seasonings, adding a little more maple syrup or vinegar if you think it needs it. Let it cool down before using it. If you make it ahead of time, remove it from the fridge early enough to let the butter soften again, at least 1/2 hour.
  3. Peel the persimmons and slice them into wedges, then arrange them on a serving plate. Spoon some sauce over the top and sprinkle on the mint if you are using it.

Enjoy!

Caesar Salad Light

light caesar salad - trust in kim

Last weekend I was fortunate enough to be able to cook in my friends’ kitchen with a beautiful view. As we had all been overindulging throughout the weekend I decided to make us this healthier version of a Caesar Salad alongside tomato soup. It was delicious with the croutons, but it would be good without them too.

I found this recipe on Jamie Oliver’s website.

What you need for the salad and dressing:

  • 1 head romaine lettuce
  • 1/3 cup plain yogurt 
  • 2 tablespoons extra virgin olive oil
  • 1 tablespoon (or more) grated Parmesan cheese, plus some for the top
  • 2 teaspoons Worcestershire sauce
  • 1 small clove garlic, minced
  • juice of ½ lemon
  • 2 chopped anchovy fillets (optional)
  • 1/8 teaspoon sea salt
  • freshly ground pepper, to taste

What you need for optional croutons:

  • a few slices of bread cut into cubes (I used sourdough)
  • extra virgin olive oil
  • 2 cloves garlic, chopped
  • 1/4 teaspoon dried sage
  • salt and pepper, to taste

What you do:

  1. To make the croutons, drizzle a little olive oil in a frying pan and let it heat on medium-high. Add the bread cubes and toss until they are lightly coated in olive oil. Add the garlic, sage, salt and pepper, and stir to combine. Toss from time to time, until the cubes are browned and crispy.
  2. Combine all the ingredients for the salad dressing.
  3. Chop the romaine, then toss with the dressing just before serving. Don’t use all the dressing to start with, as it might be too much; just add more if needed. I like to add an extra sprinkle of lemon juice to mine.
  4. Top with the croutons and serve.

caesar salad light - trust in kim


caesar salad light - trust in kim

jamie oliver caesar salad - trust in kim


Roasted Vegetable Salad with Roasted Garlic Dressing

roasted vegetable salad - trust in kim

Please trust me on this one – this is the perfect fall and winter salad. It is so flavourful because of the combination of roasted vegetables, and the roasted garlic dressing is to die for. I could eat this every day. It makes a great starter, but throw the optional nuts on and it can work as a main course.

There were two surprises for me in this recipe: I’ve never really enjoyed turnips before, and I never imagined roasting apples with other vegetables, but I enjoyed every bite.

I made 1/4 recipe of the dressing since this was the first time I was making it, just in case I didn’t like it. I will definitely make more next time, as I imagine it would be good on top of many other foods. If you come up with other ways to use this dressing, please leave a comment so I can try it too. It will keep in the fridge for about a week.

This recipe  comes from Candle 79 restaurant in Manhattan, as printed in Brendan Brazier’s Whole Foods to Thrive. Thanks for sharing!

Serves 4

What you need for the dressing:

  • 1/4 cup garlic cloves, peeled
  • 1/4 cup extra-virgin olive oil
  • 2 tablespoons water (or more)
  • 1 tablespoon balsamic vinegar
  • 1 tablespoon sherry vinegar or red wine vinegar
  • 1 tablespoon white miso
  • 1/4 teaspoon dried oregano
  • tiny pinch of nutmeg
  • 1/4 teaspoon sea salt
  • 1/2 teaspoon freshly ground black pepper

What you need for the salad:

  • 1 fennel bulb, trimmed and cut into bite-sized pieces
  • 2 cups new potatoes, cut into bite-sized pieces
  • 1 cup baby turnips, cut into bite-sized pieces
  • 2 medium-sized beets, cut into bite-sized pieces
  • 2 medium apples, cut into bite-sized pieces
  • 1 teaspoon sea salt
  • freshly ground black pepper
  • 3 tablespoons extra-virgin olive oil
  • arugula
  • toasted walnuts or pecans (optional)

What you do:

  1. Preheat the oven to 350F.
  2. Place the peeled garlic cloves in a baking dish and add olive oil until they are covered. Cover the dish with foil and roast for about 25 minutes. When they have cooled slightly, remove the garlic and put it in a blender (I used an immersion blender). Keep the olive oil to use at another time, like for a stir fry or tomato sauce.
  3. Add all the other ingredients for the dressing to the blender, and blend until smooth. Add a little more water if necessary.
  4. When the garlic is roasted turn the oven up to 400F.
  5. Place all the cut vegetables and apples in a large bowl and toss with olive oil, salt and pepper.
  6. Spread the vegetables in a single layer on a baking sheet and roast for about 35-40 minutes, until tender. Mine were slightly browned, which I really enjoyed.
  7. Toss the vegetables in about 2 tablespoons of the roasted garlic dressing.
  8. Arrange the arugula on plates and top with the roasted vegetables. Sprinkle with some nuts if you are using them, and add a little more dressing if you wish.
  9. Serve immediately!

Enjoy!

roasted vegetables - trust in kim

Nicoise Salad

nicoise salad - trust in kim

Niçoise salad makes a great meal salad. I made this one in the summer, and am finally getting around to posting it now.  Of course you can make it in the winter, but just make sure to try to get the freshest tasting ingredients.  A good bet for tasty winter tomatoes is to buy cherry tomatoes; they seem to have more flavour. It is still September, so I still have a few tomatoes on the vine that I’m going to use to make this again soon.

Oops! I never measure when I make salad dressings, so I’ve given approximations. When the dressing is mixed you’ll have to taste and see if you need a little more of anything.

Part of what makes this a successful recipe is that you add some of the dressing to the potatoes while they are hot. When they are still hot they absorb the dressing really well. No more of those cold, bland potatoes sitting on the side of your niçoise salad!

What you need for the salad:

  • one large free-range egg per person
  • tomatoes
  • fresh green beans, or a mixture of green and yellow
  • tender salad greens
  • new potatoes, cut in half
  • olives (niçoise if you can find them – I could not – kalamata work too)
  • (niçoise salad often has tuna on it; add that if you wish)

For the dressing:

  • 2 tablespoons finely chopped onion
  • 1 tablespoon Dijon mustard
  • 1/2 teaspoon sugar
  • salt
  • freshly ground pepper
  • white wine vinegar
  • olive oil

What you do:

  1. Begin by placing the eggs in a small pot; cover with a lid and let this heat up until they have just barely reached a boil.  Now turn off the heat, keep the lid on and set the timer for 12 minutes. Pour the hot water out of the pot and place the eggs in cold water. There are many methods for boiling egg – in this one we don’t actually boil it; boiling an egg makes it tougher.  12 minutes works for a large egg; use more or less time with different sizes of eggs, and longer if you are at a high altitude. When they have cooled (I actually like to add them when they are still slightly warm) you can peel and quarter them.
  2. Place the halved potatoes in a pot with some salted water and bring to a boil.  Cook until you can pierce the potato easily with a sharp knife. You will need to prepare the dressing while they are cooking.
  3. Chop the onion.  Add the Dijon, sugar, a pinch of salt and a few grindings of pepper to a bowl. Mix the onion into this.  Now slowly add a few tablespoons of white wine vinegar as you mix with a fork until combined.  Drizzle in a few tablespoons of olive oil, constantly mixing with the fork, and stopping to taste as you go. Add as much olive oil as you think tastes good, then adjust the salt and pepper to taste.
  4. When the potatoes are cooked, drain the water.  Keep the potatoes in the pot and add about half of the dressing to them while they are still hot, and then give them a gentle stir.  Set them aside to cool.
  5. Bring another liberally salted pot of water to a boil while you clean and cut the ends off the beans. Some of the salt will absorb into the beans as they cook. Have a large bowl of ice water waiting for the beans when they come out. Cook them for only a few minutes; they should still be bright green and tender-crisp. I say better to err on the side of undercooked. As soon as they are done, drain the boiling water and add the beans to the ice bath. Leave them there until completely cooled.  This stops the cooking process, so you don’t end up with sad wilted beans. I like to drain them and then roll them in a clean dish cloth to dry them off.
  6. Wash the tomatoes and cut into wedges if you are not using cherry tomatoes.
  7. Toss the salad greens with a little bit of dressing, then arrange on the plate.  Decorate with the beans, potatoes, eggs tomatoes and olives. You can add a drizzle more dressing if you want. I like to add another little sprinkle of salt and pepper to the top.


Banh Mi Wraps – Gluten-free, Vegan & Scrumptious

banh mi wrap - trust in kim

This is a little something I invented for a super healthy dinner recently.  This summer I tasted my first Banh Mi sandwich, a Vietnamese dish which seems to be very popular these days.  I loved it, but I wanted to make a healthier version, and something for people who can’t eat gluten or are trying to stay away from it.  So I made this version with tons of veggies, and chose to put in tofu instead of meat.  I also made it once with shrimp, but I preferred the tofu version because the sauce it is made in is so yummy. If you substitute meat make sure it is something with a flavourful sauce – there are tons or recipes available on the internet.

So the idea for the rice paper wrap is mine, but the sauce for the tofu comes from Mark Bittman.  I made his recipe a little simpler by using the tofu right out of the package; his recipe calls for cutting, freezing and thawing the tofu – way too much work! And it also tasted great this way.

You can alter the fillings, but it really needs to have some cilantro, cucumbers, jalapeno slices, pickled carrots, and something with a sauce, like tofu or meat.

What you need for the caramelized tofu:

  • 1 – 14 oz package extra-dry tofu
  • 1/3 cup sugar
  • 2 & 1/2 tablespoons fish sauce (or use 2 & 1/2 tablespoons more soy if you don’t use fish sauce)
  • 2 & 1/2 tablespoons soy sauce
  • 1 medium onion, thinly sliced
  • 1 & 1/2 teaspoons freshly ground black pepper
  • 1 tablespoon rice vinegar

What you need for the pickled carrot daikon:

  • 1 large grated or julienned carrot (and some daikon if you want)
  • 1/2 cup warm water
  • 1 tablespoon rice vinegar
  • 1 tablespoon sugar or honey
  • a large pinch of salt
  • a large pinch of red chili flakes

What you need for the rest of the wraps:

  • cucumber cut into matchsticks
  • Sriracha sauce
  • cilantro, chopped
  • 1 jalapeno, thinly sliced
  • 1 red bell pepper cut into matchsticks (optional)
  • 1/2 cup spinach, chopped (optional)
  • pea shoots (optional)
  • spring onions, sliced

What you do:

  1. Make the pickled carrots/daikon ahead of time. Just combine the water, rice vinegar, sugar or honey, salt and chili flakes and stir to combine.  Then add the carrot and give it a little stir.  Let this sit for at least 1/2 hour or overnight.  I made mine a day ahead of time. Double the recipe if you add daikon.
  2. Thinly slice the onion.
  3. To make the caramelized tofu put the sugar into a large skillet over medium-low heat  with 1 tablespoon of water. Cook for about 10 minutes, shaking the pan from time to time, but not stirring – not stirring is an important to get your sugar to caramelize properly.  ( watch a video on how to caramelize here) It will be done when it is a golden brown colour. When the sugar has caramelized, slowly add the soy sauce and fish sauce. Add the onion and cook, stirring often, for about 8-10 minutes, or until the onion is softened. Add the tofu and pepper and cook, stirring occasionally, for about 15 minutes or until the tofu has absorbed a lot of the sauce.  Add the tablespoon of rice vinegar and remove from the heat.
  4. Boil some water to prepare the rice paper.
  5. Get all your topping chopped and ready to assemble the wraps.
  6. To prepare the rice paper, pour some very hot water into a dinner plate or shallow pan.  Place one sheet of rice paper into the water and let it sit for a few seconds, until it becomes more pliable, but not so much that it tears apart easily.
  7. Remove the rice paper from the water and place fillings in the middle, leaving room to fold the edges into a wrap.  Add vegetables and tofu with sauce, then top with some jalapeno slices and Sriracha sauce to your liking. Fold the bottom of the rice paper part way up then fold the left and right sides over each other, leaving the top open.
  8. Eat it right away. The rice paper doesn’t like to be kept waiting, and will turn crusty. I like to let people add what they like to their own wraps, so I just lay out all the options and they can go to it.

banh mi toppings - trust in ki

Fresh Fava Bean and Summer Vegetable Salad

fava bean salad - trust in kimfava beans - trust in kim

This winter I saw a few recipes that called for fresh fava beans, but I’ve never been able to find them in a store, so I chose this to be one of my experimental crops in my community garden this year.  They are a bit of work to shuck and peel, but they are so tender and delicious.  I think I’ll be growing them again next year to try out a few of the other recipes.  This salad capitalizes on the availability of fresh vegetables in the summertime, at the peak of their flavour.

What you need:

  • about a pound of fava beans in their shells
  • one cob of fresh corn, cooked and the kernels cut off
  • a few small cucumbers or half a large one
  • 1/4 red onion, thinly sliced
  • 1/4 cup lightly toasted walnuts
  • your favourite vinaigrette or this one:
  • 1 heaping teaspoon Dijon mustard
  • 1/2 teaspoon sugar
  • a little salt and pepper
  • 2 – 3 tablespoons white wine vinegar
  • 2-3 tablespoons olive oil

What you do:

  1. Toast the walnuts a little and let them cool.  I do this is a frying pan, tossing often and watching them carefully so they don’t burn.
  2. Cook the corn and let it cool. You can boil it for just a few minutes or grill it.
  3. While the corn and nuts are cooling down you can prepare the fava beans.  Begin by boiling a large pot of water.  Remove the beans from their pods, then boil for 2 & 1/2 to 3 minutes; less time for smaller beans.  Drain then cool down right away in a bowl or sink full of cold water; ice water is even better.
  4. Now comes the labourious part – remove the skin from each bean. Make sure you’re listening to some good music and the time will pass quickly.
  5. Mix the vinaigrette ingredients and pour some of it over the sliced red pepper to mellow the flavour a little. Let this sit for about 20 minutes.
  6. Slice the cucumbers as thinly as you can, with a mandoline.
  7. Combine the cooled fava beans, corn, cucumbers, and the onion with its dressing.  Toss lightly, then add more dressing if you think it is needed; I liked it best lightly dressed.
  8. Top with the toasted nuts just before serving.