Rich Chocolate Cookie Cake

chocolate cookie cake - trust in kim

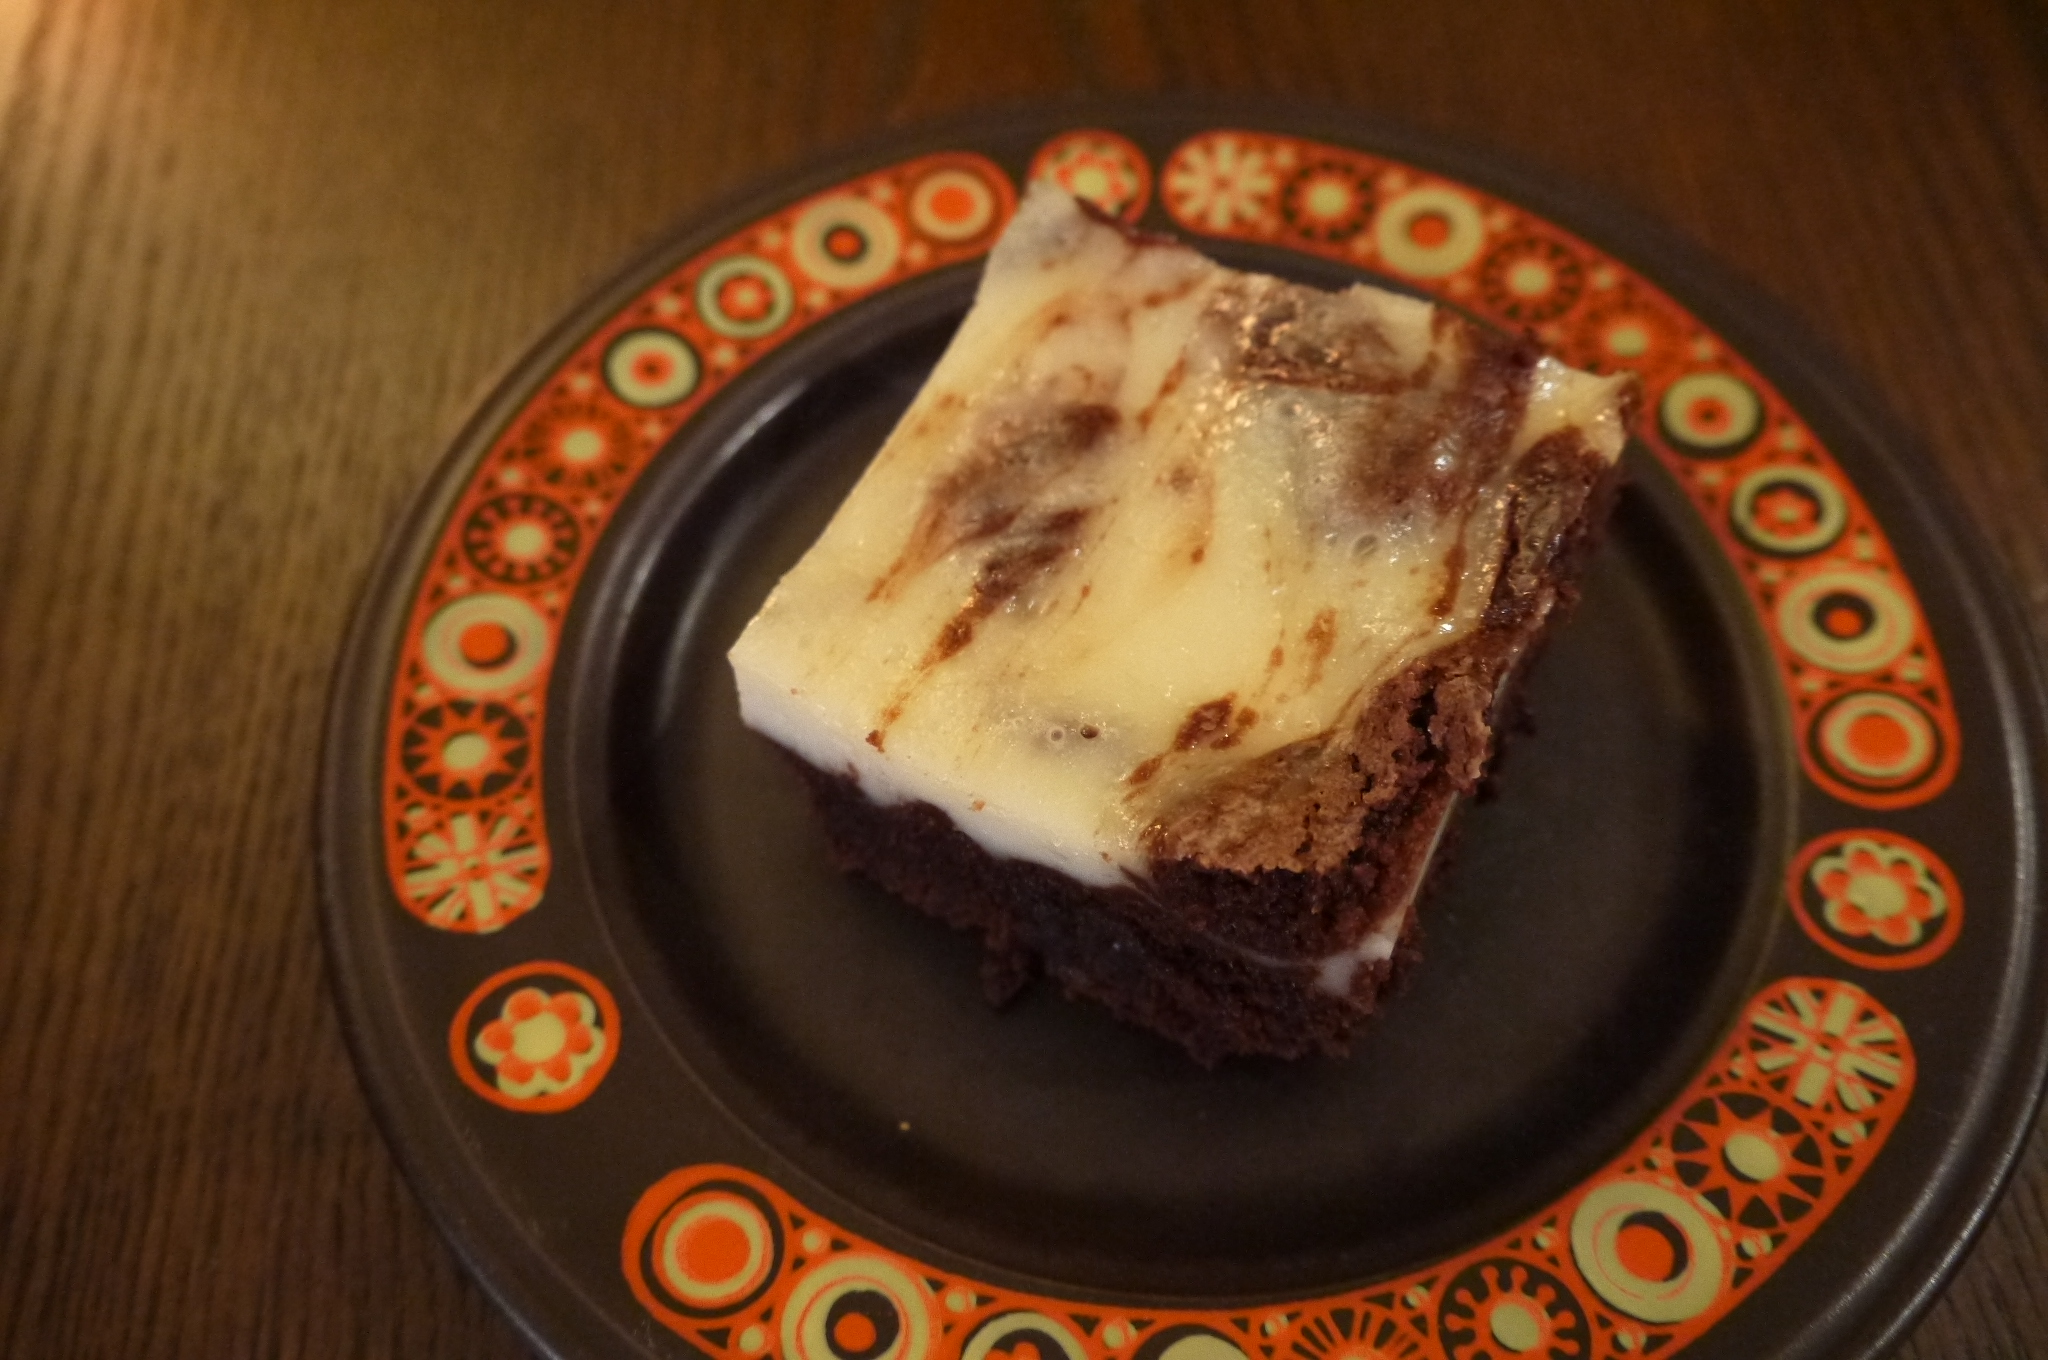
If you love chocolate, this one’s for you! Apparently this was Kate and William’s wedding cake, but it really isn’t a fancy cake, as might befit royalty. And it is super easy to make. It is really just biscuits bashed up and coated in chocolate – I know, awesome, right?

I don’t really consider this a cake, since it isn’t baked, but if the royals call it that then I guess I will too.

What you need for the cake:

  • 4 ounces dark chocolate
  • 4 ounces granulated sugar.
  • 4 ounces unsalted butter, softened
  • 1 egg.
  • 8 ounces Rich tea biscuits.
  • ½ teaspoon butter for greasing

What you need for the chocolate coating:

  • 8 ounces dark chocolate

What you do:

  1. Grease a 6 inch springform pan, then place it on a sheet of parchment.
  2. Break the biscuits into almond-sized pieces by hand.
  3. Cream the butter and sugar in a bowl until the mixture starts to lighten.
  4. Melt the 4 ounces of chocolate and add it to the butter mixture while stirring continuously.
  5. Beat the egg into the chocolate mixture.
  6. Fold in the biscuit pieces until they are all coated with the chocolate mixture.
  7. Spoon the mixture into the pan. Press it down so there are no spaces; the part on the bottom will become the top, so you don’t want to have any gaps there.
  8. Chill the cake in the refrigerator for at least three hours.
  9. Remove the cake from the refrigerator and let it stand while you melt the 8 ounces of chocolate.
  10. Slide the ring off the cake and turn it upside down onto a wire rack with a baking sheet under to catch the drips. Pour the melted chocolate over the cake and smooth the top and sides. Allow the chocolate to set at room temperature.
  11. Carefully run a knife around the bottom of the cake where the chocolate has stuck it to the wire rack, and lift it onto a serving plate.

I think this is best when it has been refrigerated, but you could also serve it at room temperature.

Chocolate Shortbread with Cinnamon and Spice

chocolate shortbread - trust in kim

A few years ago a friend gave me some of these chocolate shortbread, along with some of her other holiday baking. I absolutely loved these! They are chocolatey, but not too sweet, and there’s just a taste of cinnamon, plus a warming hint of cayenne. It makes me think of a Mexican cookie.

The recipe is from Canadian Living Holiday Cookie Collection 2010. They put bittersweet chocolate on the top, but I didn’t do that.

I was happy to be able to take a photo featuring the Christmas angel we used to have on our tree when I was a kid.

What you need:

  • 3 oz bittersweet chocolate, chopped
  • 1 cup unsalted butter, room temperature
  • 1/3 cup sugar
  • 1/2 teaspoon vanilla
  • 2 & 1/4 flour
  • 1/4 cup cocoa
  • 2 tablespoons cornstarch
  • 1 teaspoon cinnamon
  • 1/4 teaspoon nutmeg
  • 1/4 teaspoon salt
  • 1/4 teaspoon pepper
  • 1/8 teaspoon cayenne

What you do:

  1. Place the chocolate in a bowl above a small pot of hot water on the stove. Stir occasionally until melted. Set aside to cool.
  2. Beat the sugar and butter until fluffy, then add the melted chocolate and vanilla, and beat until smooth.
  3. Sift the flour, cocoa, cornstarch, cinnamon, nutmeg, salt, pepper and cayenne into the butter mixture. Stir to make a smooth dough.
  4. Divide the dough into four pieces and roll out between sheets of wax paper (I used parchment, and it was fine but a little sticky) to about 5mm thick. Cut into shapes and place on a parchment-lined baking sheet.
  5. Refrigerate for about 20 minutes.
  6. Bake for 20 minutes in a 325F oven. Cool on the baking sheet for 5 minutes before placing the cookies on a cooling rack.

Pistachio Cheese Shortbread

P1040877

A little while ago I attended my friend Megan’s baby shower. There was an enormous amount of awesome food, and her mom Cheri had made these savoury shortbread. She served them with a delicious olive tapenade, and they were my favourite thing on the table. So of course I had to ask for the recipe. I brought them to a Christmas party recently, to rave reviews. With or without olive tapenade they are delicious, but I do recommend a glass of red wine to go with them.

The recipe is from Everyone Can Cook Appetizers by Eric Akis, and makes about 4 dozen cookies which can be frozen or consumed within days of eating. They are great to have in the freezer and pull out if you need a few for a last minute appie or a small bite with a glass of wine.

They require refrigerating the dough for a few hours, so you do have to plan ahead, or make the dough up to a few days ahead of time. Makes life simpler on the day of a party if you do this.

What you need:

  • 1 cup butter, room temperature
  • 1 & 1/2 cups flour
  • 1/4 teaspoon baking powder
  • 1/4 teaspoon cayenne
  • 1/4 teaspoon salt
  • 1/2 cup finely chopped unsalted pistachios
  • 1/2 cup shredded aged white cheddar cheese
  • 2 tablespoons freshly grated Parmesan cheese

What you do:

  1. Beat the butter until very light.
  2. In another bowl whisk together the flour, baking powder, cayenne and salt. Stir in the cheddar, Parmesan and pistachios. Add this to the butter and mix with your hands until you have formed a soft dough.
  3. Divide the dough in half. Roll each half into a solidly packed roll of about 4 cm in diameter. Wrap in plastic wrap and refrigerate for 2-3 hours, or longer.
  4. Preheat the oven to 300F and line two baking sheets with parchment paper. Cut the logs into 5mm slices and place them on the baking sheets about 2 & 1/2 cm apart. Bake one sheet at a time for 18-20 minutes. Remove from the oven and cool on a rack. Store in an airtight container. You can freeze them too.

Chocolate Cheesecake Brownies

chocolate and cream cheese brownie - trust in kim

These chocolate cheesecake brownies are from an old handwritten recipe in a book I started over twenty years ago to store my recipes. All I have is the recipe with no reference, so I can’t give proper credit to whomever created this one. But it was always a crowd pleaser, and it made a lot of people very happy when I brought it to work yesterday. I like the cream cheese part, but for me the brownie is the shining star – it is dense and rich and chocolatey.

Although the recipe has two steps, it is really easy and quite quick to whip up.  I like recipes that don’t require softening the butter before beginning, because I always forget to take it out of the fridge ahead of time and then have to wait a long time for it to soften.  In this one you melt the butter, so no need to soften. You do, however, need to soften the cream cheese – but I cheated by putting it in the microwave for a few seconds.

Instead of regular cream cheese I used Tofutti.  It turned out fine, but I think it is better with the real thing.  Tofutti is a great product, but in this case it ended up being a little thinner than I would have liked.

What you need for the cream cheese layer:

  • 250 grams cream cheese (not the spreadable kind)
  • 1/3 cup sugar
  • 1 egg
  • 1/2 teaspoon vanilla

What you need for the brownie layer:

  • 1/2 cup butter
  • 1/2 cup cocoa
  • 1 cup sugar
  • 2 eggs
  • 3/4 teaspoon vanilla
  • 2/3 cup flour
  • 1/2 teaspoon baking powder
  • 1/4 teaspoon salt

What you do:

  1. Grease a 9-inch baking pan with a little butter.
  2. Preheat the oven to 350F.
  3. In a mixing bowl beat the cream cheese, then gradually add the sugar, egg and vanilla.  Beat until smooth.
  4. To make the brownie layer melt the butter, then pour it into another mixing bowl.  Stir in the cocoa.
  5. Beat in the sugar, vanilla and 2 eggs. I use the same beaters that still have a little bit of the cream cheese mixture on them to beat this – no need to wash in between, speeds things up!
  6. Sift the flour, baking powder and salt together (in reality I don’t do this very often, but you can do it if you want.) Mix until combined.
  7. Pour the brownie mixture into the pan and smooth it down.  Then pour the cream cheese mixture over top of it. I like to run a knife through it to mix the two up a little.
  8. Bake for 40-45 minutes.  I like to go with the shorter amount of time because I really like them when they are moist. Everybody else seems to agree!


Chocolate-Dipped Espresso Shortbread Cookies

espresso shortbread - trust in kim

This recipe comes from the Absolutely Chocolate cookbook by Fine Cooking, which I discovered from an episode of Anna and Kristina’s Grocery Bag.   I love this show – they choose a cookbook, make a bunch of recipes (often not very successfully), and then invite a chef to judge their work.  Anyways, this was one of the big hits from the episode about this cookbook.  So I took the book out of the library and made the recipe. Love It!

I made the cookies into hearts, just like the recipe suggested, but of course you can make circles or any other shape your heart desires.

What you need:

  • 1 cup cold unsalted butter
  • 1/2 cup sugar
  • 1/2 teaspoon salt
  • 2 & 1/4 cups flour
  • 2 tablespoons finely ground espresso beans (you could just go to the grocery store or coffee shop and get enough freshly ground beans for the recipe)
  • 9 oz semi-sweet chocolate, chopped
  • 1 tablespoon vegetable oil (I used coconut oil)

What you do:

  1. Combine the butter, sugar and salt in a large bowl and mix with an electric mixer for 1-2 minutes.
  2. Add the flour and espresso and mix with a wooden spoon for about 3 minutes, until the mixture just starts to come together.
  3. Roll the dough out on a lightly floured surface to about 1/4 inch thickness.  Use a cookie cutter to form the cookies, then place them on a parchment-lined pan.  Refrigerate for about 20 minutes.
  4. Meanwhile, heat the oven to 300F.  After the cookies have been refrigerated, bake them for about 35-40 minutes, or until they have become lightly golden brown.  Place the baked cookies on a wire rack to cool.
  5. Heat the chocolate and oil in the top of a double boiler; I just put a bowl on top of a pot that has a little water in it, then heat that on the stove to melt the chocolate.  When the chocolate has melted, dip each cookie in the chocolate, scraping the bottom of the cookie lightly on the edge of the chocolate bowl to get a little of the extra chocolate off.  Cool the cookies on a parchment or wax-paper lined pan.
  6. Allow the chocolate to set for at least 2 hours.  Store the cookies in an airtight container with a sheet of parchment or wax paper between each cookie so they don’t stick together.

chocolate dipped espresso shortbread - trust in kim

espresso shortbread - trust in kim

Chocolate Nut Apple Cake

chocolate nut apple cake - trust in kim

For my dad’s birthday I baked this loaf cake.  At first I thought the apple/nut/chocolate combination would be strange, but it really works well together.  I just used a little more chocolate than the recipe asked for.  I found the recipe in Tarek Malouf’s Hummingbird Bakery Cookbook.  I have read a number of blogs recently that swear these are awesome recipes, so I thought I’d give it a try.  This was a great recipe to start with!

You need to plan ahead a bit, as the batter needs to be refrigerated for a few hours or overnight. This is a great benefit it you want to make something freshly baked but don’t have time that day; just make the batter a day ahead and bake it when you need it.

What you need:

  • 3/4 cup unsalted butter at room temperature
  • 3/4 cup packed brown sugar
  • 2 tablespoons strawberry jam (I used raspberry)
  • 2 eggs
  • 1 cups plus 2 tablespoons flour
  • 1 tablespoon baking powder
  • 1 teaspoon ground cinnamon
  • 2/3 cup mixed nuts (I used almonds, walnuts and coconut)
  • 2 oz. bittersweet chocolate, finely chopped
  • 2 apples, peeled, cored and roughly chopped

What you do:

  1. Beat the butter, sugar and jam with a mixer until light and fluffy.
  2. Add the eggs one at a time and beat well.  Scrape down the sides of the bowl with a spatula to make sure everything is incorporated.
  3. Sift the flour, baking powder and cinnamon into the mixing bowl, then beat it until incorporated.
  4. Stir in the nuts, chocolate and apples until they are evenly distributed.  Cover and refrigerate for a few hours or overnight.
  5. Preheat the oven to 325F.
  6. Butter and flour a 9 x 5 inch loaf pan.
  7. Pour the batter into the pan and smooth the top down.
  8. Bake for 50-60 minutes. Test to see if is done by inserting a toothpick; if it comes out with no batter sticking to it the cake is done.
  9. Let the cake cool completely before removing it from the pan.

Enjoy!

Bubbat – Mennonite Raisin and Farmer Sausage Bread

bubbat recipe - trust in kim

My Oma always made this bread for holiday feasts, so I’m giving it a try for Thanksgiving dinner.  While delicious, this version doesn’t seem a lot like hers, but she never used a recipe, so the secret is lost. I think she probably added a whole bunch of chicken fat.

I found several recipes in the Mennonite Treasury, that great cookbook that holds so many of the traditional recipes.  I used a combination of two recipes, choosing to use a yeast-raised version.  I mainly used the recipe for ‘Bubbat (with sausage)’ submitted by Mrs. Herman Neufeld.  Poor dear, with no first name of her own! To her recipe I added the raisins and prunes, some butter, and used much less sausage than the 1&1/2 pounds the recipe called for.  I set aside a bit of batter to make a small vegetarian loaf before mixing in the sausage.

What you need:

1 tablespoon sugar

1 package (2 & 1/4 teaspoons) yeast

1 egg

1 &1/2 cups milk

1 teaspoon salt

1/2 cup melted butter

3 & 1/2 – 4 cups flour

2 cups raisins and chopped prunes

2 cups chopped farmer sausage (if you’re in the Fraser Valley near Vancouver, the best is from Rempel Meats)

What you do:

1. Heat the milk until it just boils, then let it cool.

2. Dissolve 1 tablespoon of sugar into some lukewarm water then sprinkle the yeast on top. Let this sit for about 10 minutes, until it gets foamy.  If it doesn’t do anything that means your yeast is dead.

3. Once the milk has cooled, add the yeast, a beaten egg, melted butter and salt to it.  Stir in the flour to make “a soft dough that can barely be stirred with a spoon.” I think this means it is soft but firm… do what feels right! Add the raisins, prunes and farmer sausage.

4. Grease a large loaf pan very well with butter and pour the dough into it.  The cookbook asks for lengths of sausage to be pressed into the top, so you can do this if you want more meat in there.

5. Let the dough rise in a warm place for about an hour.  The cookbook does not specify, but I think it’s a good idea to put a clean tea towel on top of it.

6. Once the dough has risen,  preheat the oven to 375F and bake for 45 minutes.

One recipe says to serve it hot, but I don’t remember having it that way, so you can remove it from the tin to let it cool if you want, or serve it right away with some butter.

bubbat recipe - trust in kim

Lemon Sables – French Sugar Cookies

lemon sables - trust in kim


Mmm, these pretty little lemony cookies have a nice crispy bite to them, almost like a shortbread.  I usually look for cookie recipes that have some chocolate in them, but this is a nice fresh change from my usual, and they go great with a cup of tea.   I made them for a dessert to bring to a friend’s place, and they were a hit.  They are small enough to have just a little sweet bite after dinner, but those who wanted more sweet bites could have a few.

I got this recipe from Clotilde Dusoulier’s fabulous Chocolate and Zucchini cookbook.

What you need:

1 lemon

1 cup plus 2 tablespoons all-purpose flour

1/3 cup sugar

1 teaspoon fleur de sel or kosher salt

7 tablespoons/ 3.5 ounces cold unsalted butter, diced

1 large egg yolk

1 cup icing sugar

What you do:

1. Zest about one tablespoon of lemon peel, making sure to only use the yellow skin, not the bitter white part underneath.

2. Rub the lemon zest into the sugar, then stir in the flour and salt.

3. Add the butter and mix it into the dry ingredients using a pastry blender or cool hands (if your hands are too hot they will melt the butter) until it looks like very coarse sand.  Add the egg yolk and stir with a fork until combined, and then knead the dough until it comes together. If you need to, you can add a little ice-cold water, one teaspoons at a time to help bring it together.

4. Divide the dough into two parts, then form it into logs about 3-4 cm in diameter.  Wrap the logs in plastic wrap and place in the freezer for 1/2 hour.

5. Preheat the oven to 350F and line a baking sheet with parchment paper. Take one of the logs out of the freezer and slice about 1cm thick using a very sharp serrated knife.

6. Place the disks on the baking sheet, leaving a few centimeters’ space between them.  Bake for about 12 minutes, or until lightly golden on the edges.  Cool the cookies on a wire rack. You can bake both logs, or save one for baking fresh another time.  While these cookies do keep for a few days, they are best on days one and two.

7. Once the cookies are completely cool you can make the glaze by squeezing the lemons to get 3 tablespoons of juice.  Add the juice to a bowl with the icing sugar and whisk it until there are no lumps.  Glaze the cookies using a pastry brush or a teaspoon.  Let the glaze dry completely before serving.  Make sure to store them in an airtight container.

Chocolate Olive Oil Cake – Gluten Free!

chocolate olive oil cake - trust in kim


A little while ago I made this delicious cake, and then the other day my mom said she had made a new cake recipe I had to try – and it happened to be this one.  Mine was the almond-meal version, and my mom made the wheat flour version, and both were amazing. I made it for a dinner party, topped with brandied cherries and whipping cream, and she served it on its own, which was great too.

People loved that it was light and not too sweet, but still nice and chocolatey.  And if it helps, you can remember that olive oil is healthy fat.  Plus, if it makes you happy, it’s doing something good for you.  Just try to share it.

Thank you Nigella Lawson for the recipe!

What you need:

5 tablespoons boiling water

1/3 cup unsweetened cocoa powder

2 teaspoons vanilla

1 & 1/2 cups almond meal (or 3/4 cup plus 1 tablespoon flour)

1/2 teaspoon baking soda

1/4 teaspoon salt

1 cup sugar

3 large eggs

2/3 cup olive oil

What you do:

1. Preheat the oven to 325F.  Prepare a 9-inch springform pan by lining the bottom with parchment paper.  (My mom made hers in a square dish with no parchment paper and cut it out brownie-style, so that works too.)

2. In a small bowl pour the boiling water over the cocoa and mix; then add the vanilla.

3. Combine the sugar, eggs and olive oil in a large bowl.  Beat on high speed until the batter is fluffy and a light yellow colour.  Beat in the cocoa mixture.

4. Combine the flour, baking soda and salt and add them to the batter, beating just until combined.  Pour the batter into the pan.

5. Bake for about 50 minutes, at which time a toothpick that you insert into the centre of the cake should come out clean.

6. Let the cake cool in the pan for about 10 minutes, then run a knife around the edge and release the cake from the springform. Place on a rack to cool completely, removing the parchment paper before serving.

I served mine with cherries and whipping cream.

For the cherries and cream:

1 cup morello cherries in juice, not pre-thickened (I used Trader Joe’s).

1 tablespoon butter

1 tablespoon brown sugar

1/4 cup brandy

pinch of salt

a little squeeze of fresh lemon juice

125mL whipping cream

1 tablespoon-ish icing sugar

a splash of vanilla

What you do:

1. Heat the cherries (just use the cherries, not the juice), butter, brown sugar and brandy in a saucepan.  Bring to a boil and then simmer for a few minutes, until slightly thickened.  Then add the salt and lemon juice. Let this cool.

2. Whip the cream with the sugar and vanilla.

3. Just before serving top the cake with cherries, add the whipping cream on top, and then serve it up.  Like mine, it’s likely to be gone before you know it!

Peanut Butter Chocolate Fudge

peanut butter chocolate fudge - trust in kim

This one is a take on my usual chocolate fudge recipe.  It’s so easy to make, and if you love the chocolate-peanut butter combo, you’re gonna love this.

What you need:

3 cups sugar

3/4 cup butter

2/3 cup evaporated milk

175 grams (6oz) semisweet chocolate chips

175 grams (6oz) peanut butter chips

1 7 0z jar marshmallow cream

1 teaspoon vanilla

What you do:

1.  Coat a 9×13 inch pan with butter.

2.  Place the sugar, butter and evaporated milk in a large saucepan.  Bring to a rolling boil, then cook for 5 minutes on medium heat, stirring.

3.  Remove the pot from the stove and stir in the marshmallow and vanilla.

4. Divide the mixture in half, placing one half in a bowl.  Stir the chocolate chips into one half, and the peanut butter chips into the other half.

5. Pour the chocolate part into the bottom of the pan and smooth it out a bit with a spatula, then add the peanut butter mixture and spread it out over the top.

6.  Allow to cool, and then refrigerate.  Take it out of the fridge about 10 minutes before you cut it.  I like to cut it into pretty small squares because it’s pretty sweet.  And people can always have more than one piece.