Chocolate Birthday Cake

chocolate birthday cake - trust in kim

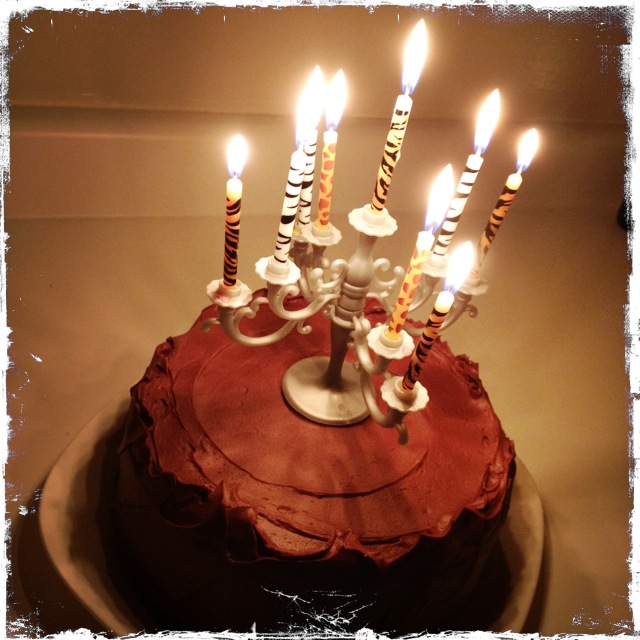
In searching for a chocolate cake recipe online I stumbled across a Hershey’s chocolate cake recipe several times, and everyone seemed to love it.  Since the birthday girl requested chocolate cake, “the kind I had when I was a kid, with really chocolatey icing,” this seemed like the way to go.  And the birthday girl was pleased – she said it was exactly what she had in her mind of that childhood cake. Yay! I love it when things work out that way.  

And – it’s a pretty easy recipe. I found it here, but it’s from the Hershey’s website.  Besides adding extra instructions, the only thing I changed was that I used melted butter in the cake, while the original recipe called for canola oil.  I thought the butter would add more flavour, and I think I was right, but I’ve never made it the other way to be able to compare.  But come on – it’s butter! It’s gotta taste better!

What you need for the cake:

  • 2 cups sugar
  • 1 & 3/4 cups all-purpose flour
  • 3/4 cup cocoa
  • 1 & 1/2 teaspoons baking powder
  • 1 &1/2 teaspoons baking soda
  • 1 teaspoon salt
  • 2 eggs, lightly beaten with a fork
  • 1 cup milk
  • 1/2 cup melted butter, cooled slightly
  • 2 teaspoons vanilla extract
  • 1 cup boiling water

What you do for the cake:

  1. Line two 9-inch round cake pans with parchment paper. Preheat the oven to 350F.
  2. Combine all the dry ingredients in a large bowl.
  3. Add the egg, milk, butter and vanilla.  Mix on medium speed for about 2 minutes.  Stir in the boiling water to make a runny batter.
  4. Pour into the prepared pans.  Give the pans a light tap on the counter before placing them in the oven to get rid on any large air bubbles.
  5. Bake for 30-35 minutes, testing with a toothpick to see if it is done.
  6. Run a very sharp knife around the edge of the cake pans after the cakes have sat for a few minutes, then invert the cakes onto wire racks and remove the pans.  Let the cakes cool completely before adding the frosting.

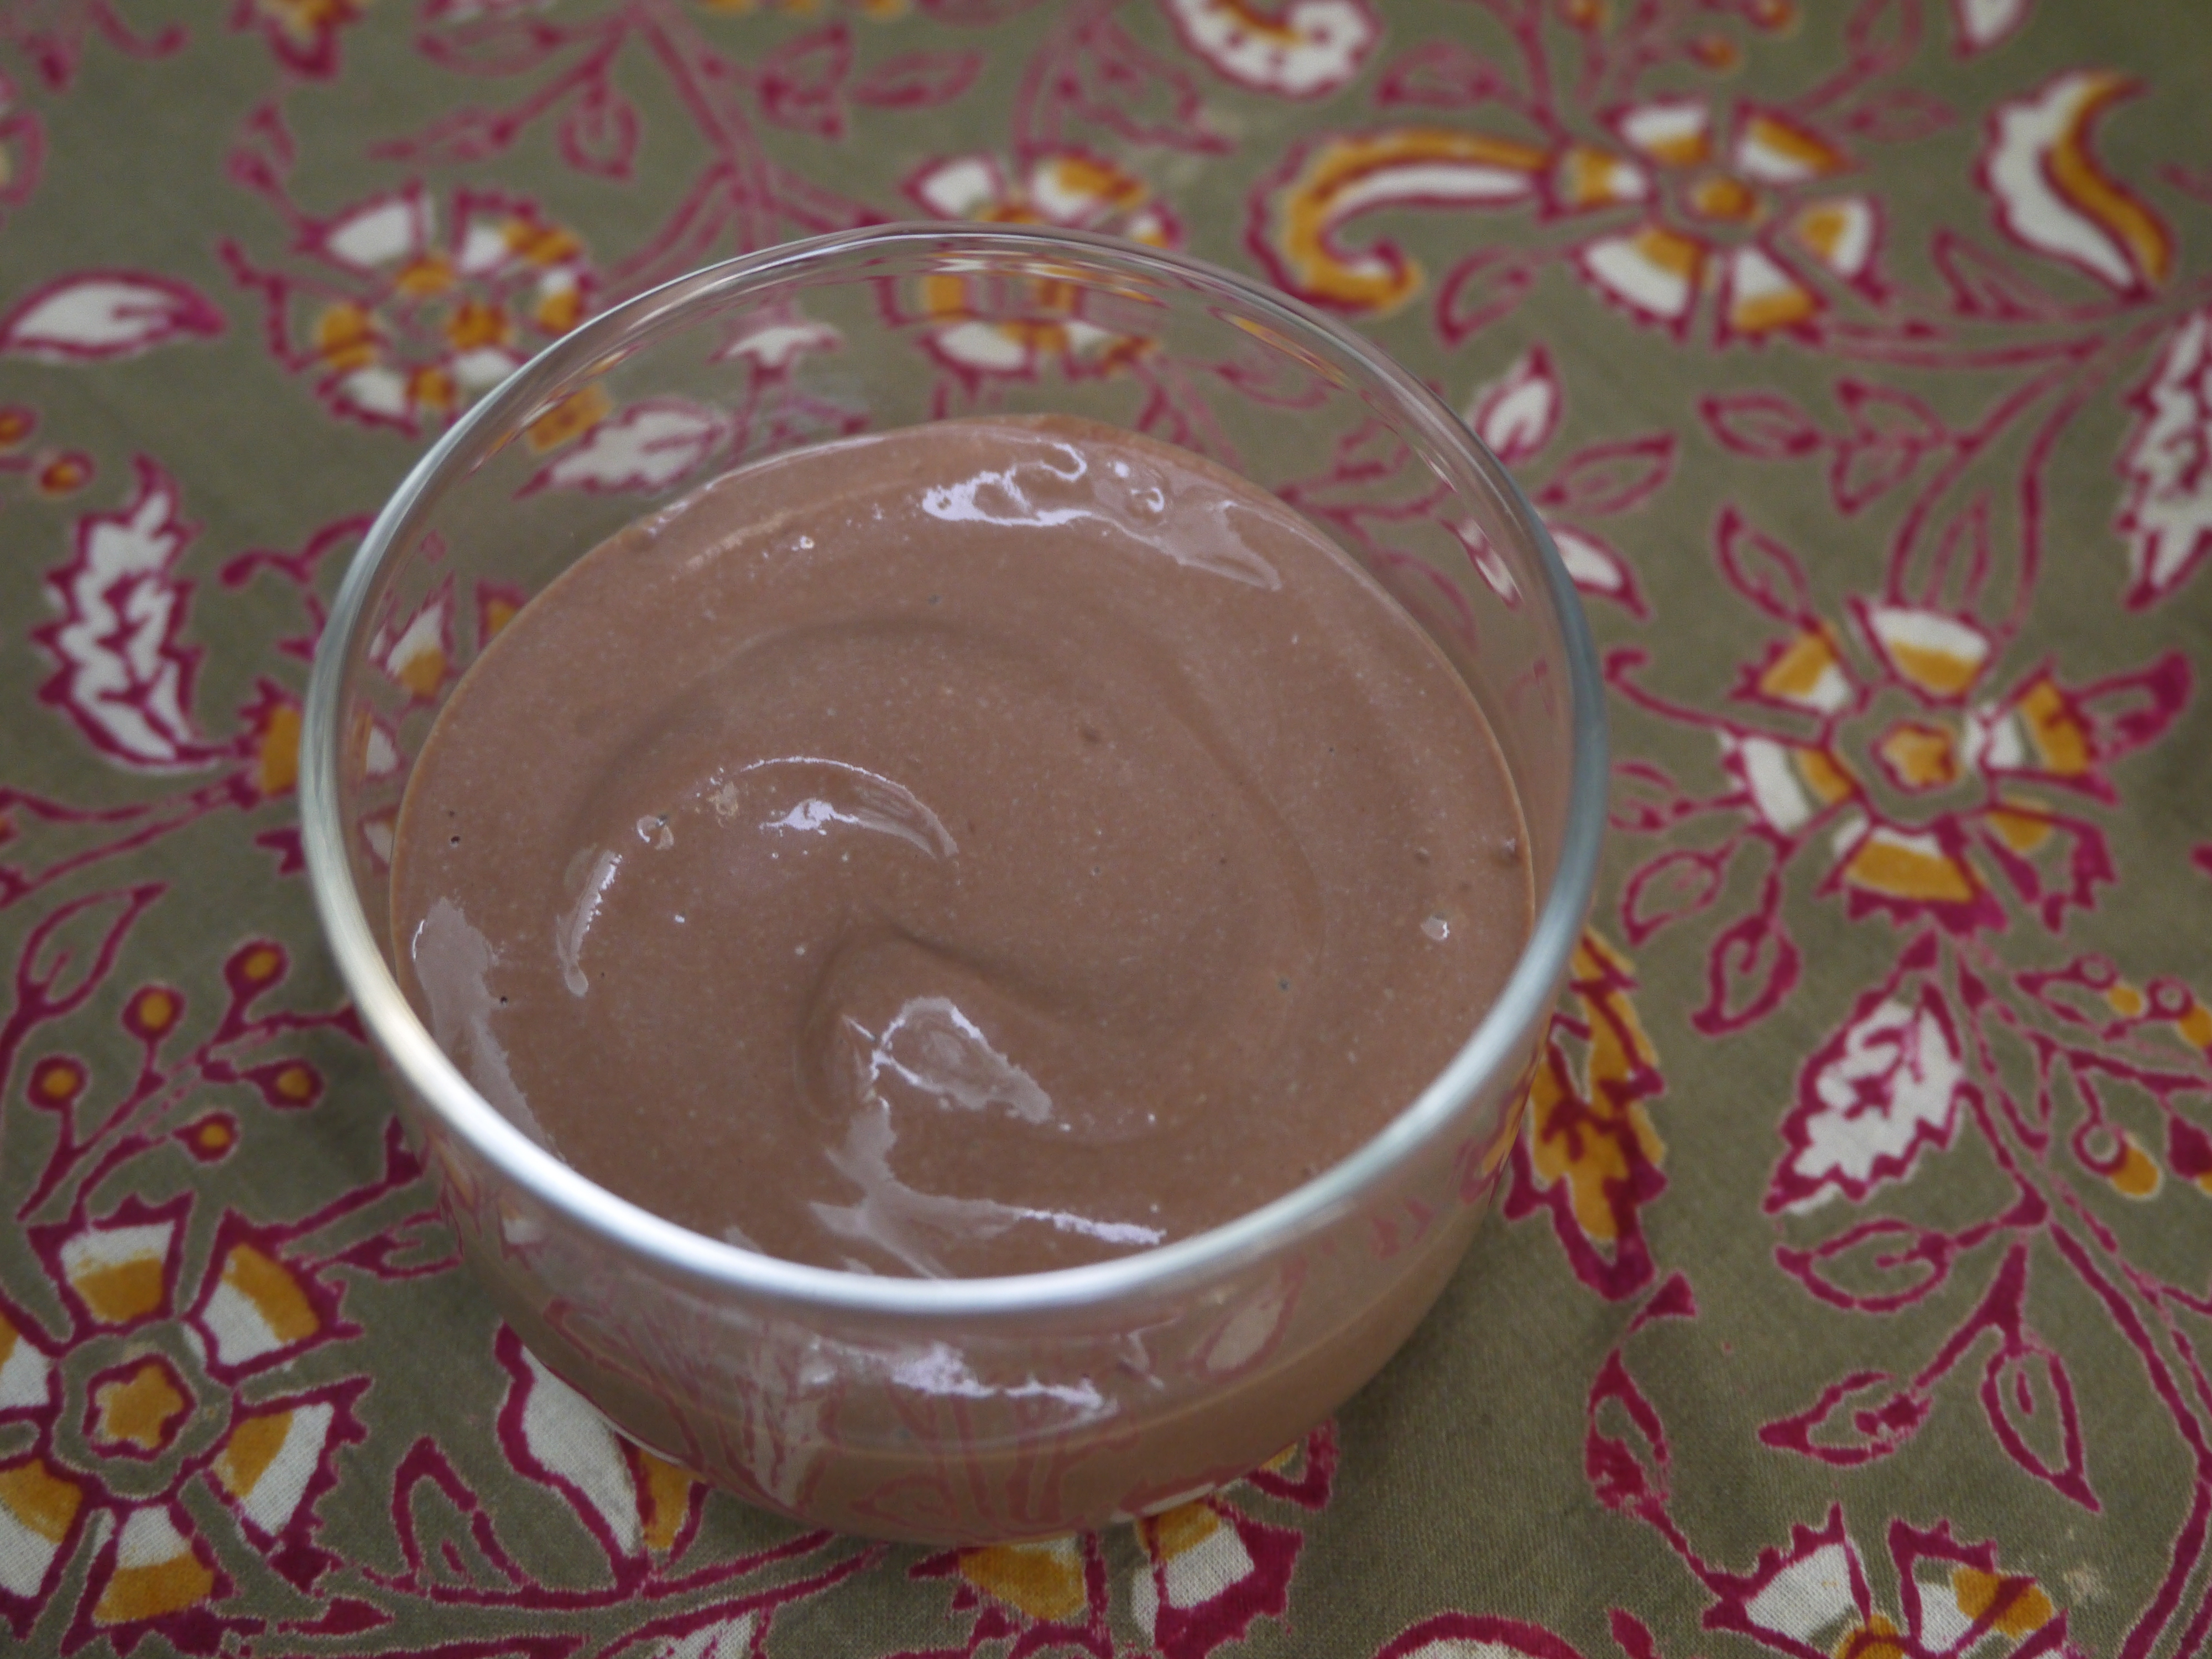
What you need for about 2 cups of icing:

  • 1/2 cup butter 
  • 2/3 cup cocoa
  • 1 teaspoon vanilla extract
  • 3 cups powdered sugar
  • 1/3 cup milk

What you do for the frosting:

  1. Melt the butter then stir in the cocoa and vanilla.
  2. Alternately add some of the sugar and milk on medium speed until it is a good consistency for spreading.  I needed to add a little extra milk to get it to the right consistency.
  3. Frost your cake, then refrigerate it for a few hours before serving.

chocolate cake -trust in kim


The website also gives these options for different kinds of cakes: 

One pan cake: Grease and flour 13x9x2-inch baking pan. Heat oven to 350° F. Pour batter into prepared pan. Bake 35 to 40 minutes.

Three layer cake: Grease and flour three 8-inch round baking pans. Heat oven to 350°F. Pour batter into prepared pans. Bake 30 to 35 minutes. Cool 10 minutes; remove from pans to wire racks. 

Bundt Cake: Grease and flour a 12-cup fluted tube pan. Heat oven to 350°F. Pour batter into prepared pan. Bake 50 to 55 minutes. Cool 15 minutes; remove from pan to wire rack. 

Cupcakes: Line muffin cups (2-1/2 inches in diameter) with paper baking cups. Heat oven to 350°F. Fill cups 2/3 full with batter. Bake 22 to 25 minutes. 

Roasted Butternut Squash with Burnt Eggplant and Pomegranate Molasses

yotam ottolengi butternut squash - trust in kim

Fall is here, so here’s a Yotam Ottolenghi recipe that is delicious and comfort-foody.  It isn’t the simplest recipe, as you have to bake the squash, burn the eggplant (doesn’t sound yummy but it is) and make it into a sauce, plus toast some nuts and seeds.  But if you love to cook you’ll probably enjoy making and eating this one.  The recipe is from Ottolenghi the Cookbook. (Thank you John for this fabulous surprise birthday gift – he saw me oohing and awing over it, and went back and bought it for me.)

I found it wasn’t necessary to add all the oil that the recipe called for, so I cut the oil content from 6 tablespoons to 3.  Feel free to add more oil if you wish.  The cookbook says to let the squash cool before serving, but I changed the order of the preparation so I could take the squash out of the oven last and serve it hot.

What you need for the squash recipe:

1 large butternut squash

2 tablespoons olive oil

1 tablespoon pumpkin seeds

1 tablespoon sunflower seeds

1 tablespoon black or white sesame seeds

1 teaspoon nigella seeds (if you can’t find them it is still so delicious without)

3 tablespoons sliced almonds

1/2 cup basil leaves (I forgot to buy these! but it was good without them too)

salt and pepper

What you need for the burnt eggplant recipe:

1 medium eggplant

2/3 cup Greek yogurt (I used my regular yogurt)

1 tablespoon olive oil

1.5 teaspoons pomegranate molasses

3 tablespoons lemon juice

1 tablespoon coarsely chopped flat-leaf parsley

1 clove garlic, crushed

salt and pepper

What you do:

1. Set the oven temperature to 350F.  Sprinkle the seeds and nuts on a baking sheet and toast for 8-10 minutes or until slightly browned.

2. To make the sauce begin by placing the eggplant over a flame – on your stove-top if you have gas, on a barbecue if you don’t, and in the oven if you have neither of those.  Burn the eggplant for 12-15 minutes, turning with tongs from time to time.  The skin should be dry and cracked, and you should smell a smoky aroma.  If you do this in the oven it will need a much longer cooking time.

3. Make a long cut through the eggplant and scoop out the flesh, doing your best to avoid the burnt skin.  Drain in a colander for 10 minutes, then chop coarsely. (you could get the eggplant into the oven now if you want-see step 5 )

4. Stir together the eggplant, yogurt, oil, pomegranate molasses, lemon juice, parsley and garlic.  Mix together and add salt and pepper to taste.

5. Raise the oven to 425F.  Cut the butternut squash in half lengthwise and remove the seeds. Cut into wedges that are about 2cm thick.  Arrange the squash on a baking dish preferably with the skin side down and brush with a tablespoon of olive oil. Season generously with salt and pepper.  Bake for 25 – 30 minutes, or until the wedges are tender and slightly browned.

6.  Arrange the squash slices on a serving platter and drizzle with a little olive oil.  Sprinkle the nuts and seeds on top, then garnish with the basil.  Serve with the sauce on the side.

Enjoy!

Roasted Cauliflower with Tomato, Dill and Capers

Roasted Cauliflower with dill, tomatoes and capers - trust in kim

Here’s a fabulous vegetable recipe that you will love if you enjoy cauliflower.  I’ve changed the recipe a little (from Ottolenghi the Cookbook) by roasting the cauliflower instead of steaming and then frying it, as the recipe calls for.  I love the flavour you get when you roast cauliflower, and the method in the cookbook was too many steps for me at the time.  I was happy with the results, as was my sweetheart who was dining with me. I also used less oil in the dressing: 1/4 up instead of 1/2 a cup.  Even 1/4 cup  in one vegetable recipe seems like a lot of oil to me. Anyways, another yummy vegetable recipe that I will definitely make again.

What you need:

2 tablespoons capers, drained and chopped coarsely

1 tablespoon French whole-grain mustard

2 cloves garlic, crushed

2 tablespoons cider vinegar

1/4 cup olive oil

1 cauliflower divided into florets

1 tablespoon chopped dill

1 & 2/3 cup baby spinach leaves

about 20 cherry tomatoes, halved

salt and freshly ground pepper

What you do:

1. Preheat the oven to 425F.  Place the cauliflower florets on a baking pan and roast for 20-30 minutes, or until they are nicely browned.  You’ll want to check on them halfway through and give the pan a bit of a toss.

2. To make the dressing mix the capers, mustard, garlic, vinegar, and some salt and pepper.  You can do this in a food processor, with an immersion blender as I did, or if you’re feeling energetic you can just use a whisk.  Add the olive oil slowly while blending, until the dressing is thick and creamy.

3. Cut the tomatoes in half, and wash and dry the spinach and chop the dill.  When the cauliflower is done combine it with the dill, spinach, tomatoes and dressing.  Add more salt and pepper if needed.

Serve warm or at room temperature. Enjoy!


Lemon Sables – French Sugar Cookies

lemon sables - trust in kim


Mmm, these pretty little lemony cookies have a nice crispy bite to them, almost like a shortbread.  I usually look for cookie recipes that have some chocolate in them, but this is a nice fresh change from my usual, and they go great with a cup of tea.   I made them for a dessert to bring to a friend’s place, and they were a hit.  They are small enough to have just a little sweet bite after dinner, but those who wanted more sweet bites could have a few.

I got this recipe from Clotilde Dusoulier’s fabulous Chocolate and Zucchini cookbook.

What you need:

1 lemon

1 cup plus 2 tablespoons all-purpose flour

1/3 cup sugar

1 teaspoon fleur de sel or kosher salt

7 tablespoons/ 3.5 ounces cold unsalted butter, diced

1 large egg yolk

1 cup icing sugar

What you do:

1. Zest about one tablespoon of lemon peel, making sure to only use the yellow skin, not the bitter white part underneath.

2. Rub the lemon zest into the sugar, then stir in the flour and salt.

3. Add the butter and mix it into the dry ingredients using a pastry blender or cool hands (if your hands are too hot they will melt the butter) until it looks like very coarse sand.  Add the egg yolk and stir with a fork until combined, and then knead the dough until it comes together. If you need to, you can add a little ice-cold water, one teaspoons at a time to help bring it together.

4. Divide the dough into two parts, then form it into logs about 3-4 cm in diameter.  Wrap the logs in plastic wrap and place in the freezer for 1/2 hour.

5. Preheat the oven to 350F and line a baking sheet with parchment paper. Take one of the logs out of the freezer and slice about 1cm thick using a very sharp serrated knife.

6. Place the disks on the baking sheet, leaving a few centimeters’ space between them.  Bake for about 12 minutes, or until lightly golden on the edges.  Cool the cookies on a wire rack. You can bake both logs, or save one for baking fresh another time.  While these cookies do keep for a few days, they are best on days one and two.

7. Once the cookies are completely cool you can make the glaze by squeezing the lemons to get 3 tablespoons of juice.  Add the juice to a bowl with the icing sugar and whisk it until there are no lumps.  Glaze the cookies using a pastry brush or a teaspoon.  Let the glaze dry completely before serving.  Make sure to store them in an airtight container.

Guacamolata – Avocado Sauce

guacamolata avocado sauce - trust in kim

When I was in the Yucatan earlier this year I found a lot of places serving this runny avocado sauce with their tacos and some other dishes like eggs and fish. It is creamy, yet without any dairy.  When I took a cooking class at Altamar Restaurant in Tulum, the chef told me the ingredients for the sauce, which he called guacamolata.  Last night I was making several salsas to serve to company, so I gave this one a try.  It’s a nice light tasting sauce that doesn’t overpower the rest of the food you are drizzling it on, and a pretty colour too! People who aren’t into spicy foods will appreciate this option.  I served it with a spoon in it so that people could drizzle it on the chip they had dipped into the spicier salsa, to take a bit of the power out of the spice.

What you need:

1 ripe avocado (you know it’s ripe when you can press the little stem in easily – it should still be somewhat firm)

2-3 tablespoons chopped onion (I also used some grilled onion)

2-3 tablespoons chopped cilantro

juice of 1/2 lime

water to make it runny

salt to taste

What you do:

1. Put the avocado, onion, cilantro, lime juice and some salt into a bowl.  Add a little water and use an immersion blender to blend it together (or put it all in a blender).  Add more water until it is a very smooth and somewhat runny sauce.  Taste and add more of whichever ingredient you think it requires.  For serving with fish you can add more cilantro.

The sauce retains its green colour even if you don’t use it right away, so you can store it in the fridge for a few days.

Here is a picture of my breakfast at la Bruja on Isla Mujeres, Mexico, with some of this avocado sauce.
Here is a picture of my breakfast at la Bruja on Isla Mujeres, Mexico, with some of this avocado sauce. 


Apricot Jam

apricot jam - trust in kim

This summer my friend Connie visited from Ontario and brought a delicious jar of homemade apricot jam.  It was so delicious on toast, and amazing as a glaze for the apricots in this Apricot Almond Cake. I can easily say that apricot jam is my favourite of all the jams, and yet I’ve never made it before.  Since my sweetheart loves it as much as I do, I searched many produce stores to find apricots this late in the summer, (actually a few weeks ago now), and managed to find a few pounds.  Connie sent me her recipe, and I cooked up a batch.  Love the colour, love the smell, and I’m looking forward to tasting it all winter long!

The recipe is proportional, about 3 parts fruit to 1 part sugar.  I’m writing the amounts I used, but you can experiment depending on the amount you are using, as well as the flavour in your fruit.  Sometimes they need a little extra (or start with less) sugar or citrus.

What you need:

12 cups pitted and chopped apricots

4 cups white sugar

1/4 cup freshly squeezed lemon juice

1/3 cup freshly squeezed orange juice

canning jars, rings and new lids

What you do:

1. Chop the apricots up into small pieces and put them into a large pot with the sugar and citrus juices.  Bring to a low boil and skim off any foam.  Let it cook, stirring often,  on a low simmer until the mixture has thickened.  To test how thick your jam will be when it has cooled you can put a plate in the freezer.  Just drop a little jam onto the icy plate and let it cool, then give it a push with your finger to see if it is thick enough.  If not, just keep cooking it for longer.

2. Preheat the oven to 225F.  After washing your canning jars, put them in the oven for at least 20 minutes to sterilize them.  Heat a small pot of water for your lids to sterilize them and soften the rubber ring.  Just a note: it’s not a good idea to re-use the lids (the rings are fine to re-use though) because they may not seal properly.

3. Once your jam is ready pour it into the sterilized jars, keeping the edges of the jar clean so you will get a good seal.  Put a lid and ring on each and tighten it. My mom and Oma always put a tea towel over the jars until they seal, so that’s what I did.  You’ll hear the lids ‘ping’ as they seal.  I try to keep track of how many pings I hear so I know they’ve all sealed.

I used some jam in this recipe for warm peaches and yogurt.

Tomato, Corn and Cucumber Salad

tomato cucumber and corn salad - trust in kim

Here’s a really simple salad I’ve made a few times this summer, using tomatoes from my garden and cucumbers from a friend’s garden (and corn from the produce store).  I just used my favourite homemade vinaigrette, super easy and delicious.

If I use tomatoes and cucumbers out of season I always choose the little ones – cherry tomatoes and those small cucumbers.  They have way more flavour.  And for winter corn I prefer canned over frozen, and I usually us Peaches and Cream.  Still, the summer ones are the best, so I make this a lot while these things are growing nearby and in season.

What you need:

tomatoes

cucumber

sweet onion

corn on the cob

a few green olives

dressing ingredients:

about 1 teaspoon dijon mustard

about  1/4 teaspoon sugar

salt

pepper

white wine vinegar

olive oil

What you do:

1. Boil a pot of water for the corn and let it cook for a couple of minutes.  Remove the corn and run it under cold water.

2. To make the dressing, put the mustard in a bowl and add the sugar and some salt and pepper.  Add a little vinegar and mix it into the mustard so there are no lumps.  Mix in a bit more vinegar, then drizzle in some olive oil while mixing with a fork.  After you’ve added a bit, have a taste and see what you need to add more of.

3. Cut the cucumber and tomatoes into bite-sized pieces.  Chop the onion and olives.  Cut the corn off the cob, and put all the vegetables together in a bowl.  Toss it with some dressing and serve it up.

Enjoy!

Créme de Cassis

creme de cassis - trust in kim

Earlier in the summer I harvested the black currants from my community garden plot.  A number of years ago I made this beverage with my good friend Connie, and we enjoyed sips of the sweet liquor.  Créme de cassis can be served on its own, in sipping portions, in some white wine as a Kir, in champagne or sparkling wine as a Kir Royale, or on some vanilla ice cream.

I looked at many recipes, and then mainly went by this one, although I used Brandy instead of Vodka.

What you need:

1.5 lbs or about 680 grams fresh or frozen black or red currants (I didn’t have enough so I used some raspberries)

3 cups brandy

2 & 1/4 cups white sugar

1 cinnamon stick

What you do:

1. Clean a large canning jar, and wash and de-stem the currants.

2. Smash the currants up and put them into the jar with all the other ingredients.  Give it a few shakes, then put the lid on tightly and store it in a warm sunny place for about a month.  Shake it around once or twice a week.

3. After about a month, strain the liquid through a fine sieve, lining it with a piece of cheesecloth if you want to get a really pure liquid. Bottle the liquid and enjoy as you wish.

You can also keep the fruit solids to make into other recipes, like an ice-cream sauce.

creme de cassis - trust in kim
sitting in the window for a month

Vegan Chocolate Mousse – not just for vegans!

silken tofu chocolate mousse - trust in kim

My friend I-Wen brought this chocolate mousse to a BBQ the other day, and people gobbled it right up, before we had even finished the meal part of the BBQ.  It is light, flavourful, and pretty much guilt-free! And did I mention easy to make?

What you need:

3/4 cup dark (70%) chocolate

12 oz silken tofu – Must be room temperature

1/2 cup unsweetened almond, soy or rice milk

1 teaspoon vanilla

What you do:

1. Melt the chocolate on top of a double boiler, or in a bowl on top of a small pot of water.

2. Warm the milk.

3. Throw all the ingredients into a blender or food processor (I used an immersion blender), and blend until it is all combined.

4. Scoop into bowls and refrigerate until cold.

Stuffed Patty Pan Squash

stuffed patty pan squash - trust in kim

Aside from wanting to make something delicious for dinner, I created this dish in an attempt to use some of the many squash I had growing in my garden.  I found some delicious sweet corn at the produce store, so I knew I wanted to include that too.  They turned out great!

What you need:

a few patty pan squash

2 teaspoons coconut oil (or butter or olive oil)

1/2 sweet onion, finely diced

1/2 sweet red or orange pepper, finely diced

2-3 garlic cloves, finely diced

1 teaspoon fresh chopped oregano

1/3 cup bread crumbs

1 cob of corn (or a small can of peaches and cream corn)

1 teaspoon finely chopped dried guajillo chili (or 1/4 teaspoon chili flakes)

salt and pepper

1/3 cup finely shredded parmesan (substitute non-dairy if you need to)

What you do:

1. Boil a large pot of water and then immerse the squash for about 5 minutes to soften them up a little.  Remove and let them cool until you can handle them.  Cut the tops off, like you would if you were carving a pumpkin.  You may also need to shave a little off the bottom so they sit upright.  Scoop the insides out with a spoon, throwing away the seedy bits if there are any.

2. Finely dice the onions, then add it to a pan that you have heated to medium with the coconut oil.  After about a minute, add the finely diced pepper, and after about 3 minutes add the garlic.

3. When the onions have slightly browned add the chopped oregano and bread crumbs.  Add salt and pepper to taste.  Take the pan off the heat and add the corn and 1/4 cup of the parmesan, and mix it all together.

4. Fill each of the squash, pressing the filling into it, and place them on a baking tray.  Top with the remaining parmesan.

5. Bake for 40 minutes,then insert a sharp knife into the flesh of one squash to make sure it’s cooked through.

Enjoy!

patty pan squash hollowed out - trust in kim