Garlicky & Spicy Sugar Snap Peas

Sugar Snap Peas - trust in kim

This is one of my favourite quick veggie recipes. It’s garlicky, salty, and a little spicy. Or a lot spicy if you like it that way. It’s a quick way to add some healthy and yummy green to your meal. Feel free to play with the amounts of the ingredients. I never measure anything for a recipe like this, so just do what seems right to you!

What you need:

  • sugar snap peas (substitute with snow peas)
  • sesame oil
  • 2-3 cloves garlic
  • a dash or two of soya sauce
  • a dash of hot sauce (I used sriracha)
  • a few dashes of your favourite vinegar (I usually use an Asian or balsamic vinegar)

What you do:

  1. Clean the snap peas and snap their ends off. Peel and slice the garlic.
  2. Heat a frying pan on medium heat and drizzle in a little sesame oil. Spread it around with your cooking utensil.
  3. Add the sliced garlic and cook briefly, carful not to burn it.
  4. Add the snap peas to the pan and cook briefly.
  5. Add some soya sauce, hot sauce and vinegar. Stir to combine with the snap peas. Cook for a minute or so, but not too long. The snap peas should still have a bit of crispness to them.
  6. Eat them up! Yum!

You could also garnish them with some toasted sesame seeds.

Here’s a link to a site that explains the difference between snow, snap, and garden peas.


Beet and Gherkin Salad

Beet and Gherkin Salad - trust in kim

This beautiful salad comes to us from my new favourite cookbook, Mamushka: A Cookbook by Olia Hercules. The book is a beautiful and delicious-looking collection of recipes from Ukraine and Eastern Europe. The author has a great love for vegetables, so there are many recipes where you can get your fill of them, along with lots of meaty recipes.

This salad is very popular in Russia, although typically made with boiled vegetables rather than roasted. I love roasted vegetables, so a salad made with them was a must-try for me. It is simple, with just some salt, pepper and unrefined sunflower oil for added flavour. I was able to find a bottle of unrefined sunflower oil at Whole Foods; it has a nice nutty flavour. If you can’t find it, or don’t like it, you can substitute with canola oil.

The only change I will made to this recipe is the amount of red onion. Because I found the onion had too strong a bite, I will only add a few tablespoons when I make this again. If you find a milder and sweeter tasting red onion, feel free to add half of it.

What you need:

  • 2 tablespoons refined sunflower oil
  • 1 lb beets, peeled and diced into 6mm cubes (I used mostly golden beets, and a few red ones)
  • 315 grams Yukon gold potatoes, peeled and diced into 6mm cubes
  • sea salt flakes and freshly ground pepper
  • 1/3 cup frozen peas
  • 1-2 tablespoons red onion
  • 1 large dill pickle (gherkin) diced
  • 2 tablespoons unrefined sunflower oil

What you do:

  1. Preheat the oven to 350F.
  2. Combine the beets and potatoes with the refined sunflower oil, salt and pepper. Spread onto a baking sheet and roast until they start to caramelize, about 40 minutes.
  3. Allow the beets and potatoes to cool.
  4. Blanch the peas in salted boiling water for about a minute, then drain them.
  5. Combine all the ingredients, and then taste to adjust seasonings.
  6. Serve at room temperature.

Thumbprint Cookies

Thumbprint cookies -trust in kim

Thumbprint Cookies - trust in kim

These pretty cookies are delicious, and really easy to make. I really like the combination of fruit and nut in them. You can use your favourite type of jam; I used raspberry and damson plum jams for this batch, and I think apricot would be awesome.

The only change I made (from the Whole Foods recipe) was using half butter, half olive oil instead of only oil. In my opinion, everything tastes better with butter, but you can feel free to use 1/2 cup of canola oil instead if you want to turn this into a vegan recipe. Or all butter!

These should keep well for about 5 days in an airtight container.

What you need:

  • 1 cup almonds or 3/4 cup ground almonds
  • 1 cup rolled oats
  • 1 cup whole wheat pastry flour  (I just used all-purpose  flour)
  • 1/4 cup canola oil
  • 1/4 cup butter
  • 1/2 cup maple syrup
  • 1/4 teaspoon fine salt
  • 5 tablespoons jam

What you do:

  1. Preheat the oven to 350°F.
  2. Put almonds and oats into a food processor or coffee grinder and pulse until coarsely ground.
  3. Combine the nuts and oats in a large bowl with the flour, oil, syrup and salt.
  4. Use a 1 tablespoon ice-cream scoop, or roll walnut-sized balls of dough in the palm of your hand, to form each cookie.
  5. Arrange the cookies on 2 large baking sheets, spacing them about 2 inches apart. Press your thumb gently down into the center of each cookie to make an indentation for the jam.
  6. Spoon a little jam into each indentation.
  7. Bake the cookies until they are golden brown and just firm around the edges, about 15 to 20 minutes.
  8. Transfer to a rack to let cool completely.
  9. Any cookies that you don’t eat immediately can be stored between layers of waxed paper or parchment paper in an airtight container for up to 5 days.

Spinach Gomae (Horenso No Gomae)

spinach gomae-ae - trust in kim

I love to order spinach gomae when I eat in a Japanese restaurant. I’ve been making it at home for a while now, and I love how easy and delicious it is.

I’ve tried a few recipes, which were all good, but I’ve lost track of them. So here’s the one I made most recently. It comes from a recipe by chef Takashi Mizukami of the Dirty Apron Cooking School, and was published in the Vancouver Sun newspaper.

My favourite thing to make with Spinach Gomae is Tuna Sashimi. So delicious!

The recipe is for two people.

What you need:

  • 400 grams spinach, washed
  • 6 tablespoons toasted white sesame seeds
  • 3 tablespoons sake
  • 3 tablespoons sugar
  • 2 tablespoons soy sauce

What you do:

  1. Toast the sesame seeds and grind them in a mortar and pestle or electric grinder.
  2. Combine the sesame seeds in a bowl with the sake, sugar and soy sauce.
  3. Bring a large pot of water to a boil and add some salt.
  4. Optional: if you are going to use an ice bath, get that ready first. The rest happens quickly.
  5. Gather a bundle of spinach together and dip the stems in the boiling water for about 15 seconds, then let the whole bunch fall into the water, submerging for 10 more seconds. Remove the spinach with tongs and quickly place it under cold running water or submerge it in an ice bath. The cooling will prevent it from overcooking.
  6. Once the spinach has cooled, arrange the spinach so the stems are aligned, and then squeeze out the excess water.
  7. Arrange on a serving plate and pour the sauce over top.
  8. Enjoy!

Super Creamy Hummus, Ottolenghi Style

hummus - trust in kim

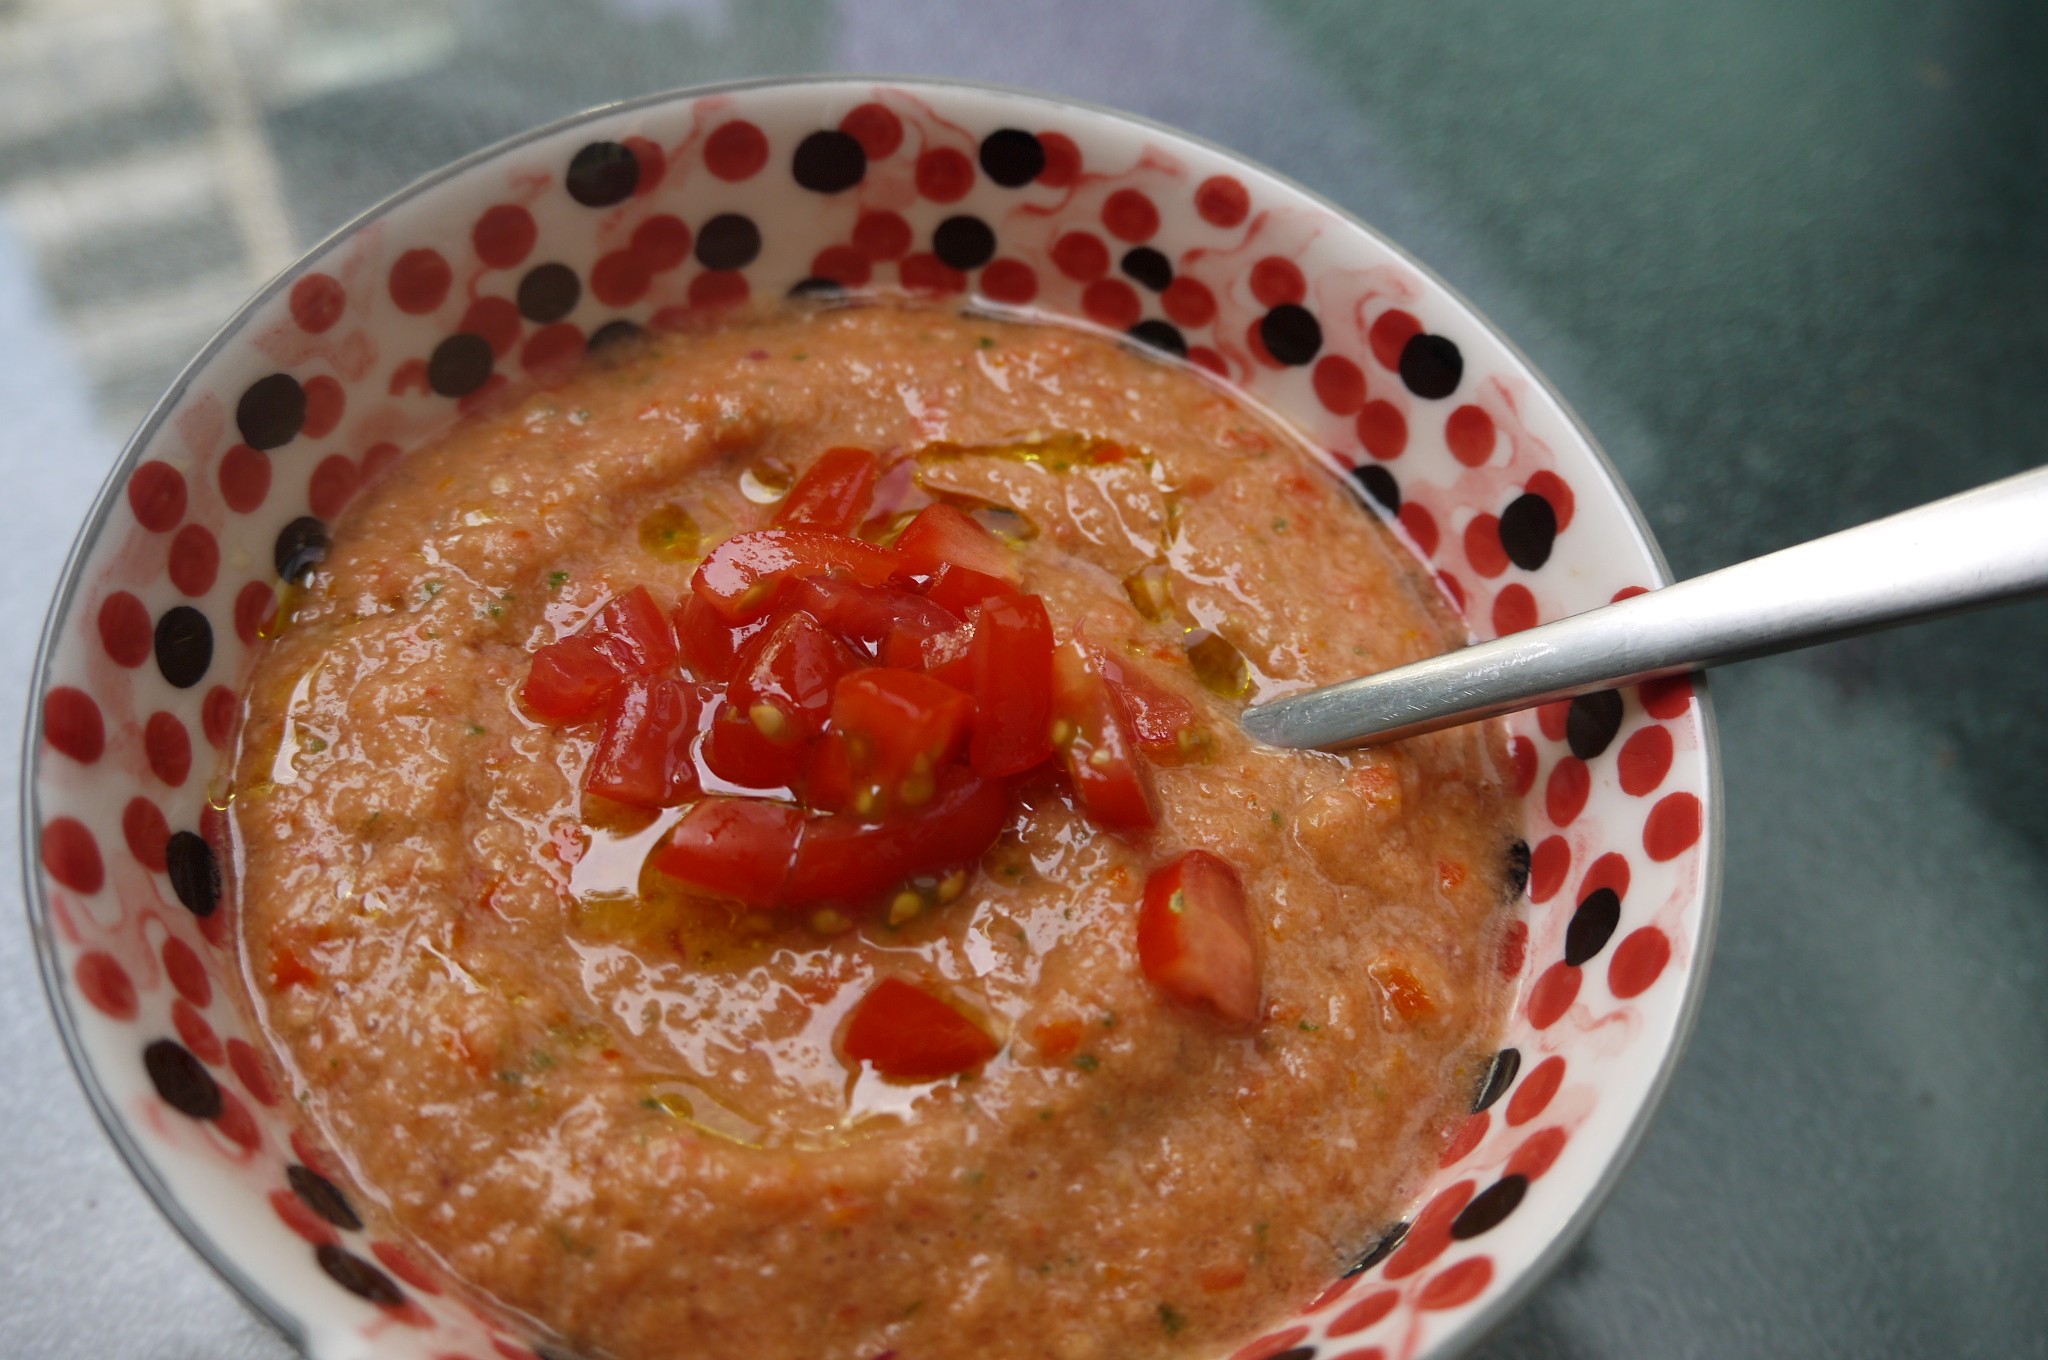
This hummus recipe by Yotam Ottolenghi is so much better than anything you can buy. It is light and creamy, and I like that I can control what goes into it – a little more lemon, a little more tahini. This recipe doesn’t have contain any olive oil, unless you pour some on top before serving.  A lot of the store-bought varieties don’t use olive oil either, often using canola oil or other substitutions. I like to drizzle olive oil on the top to add flavour, make it richer, and make it seems more Mediterranean.

It’s really not that difficult to make an awesome hummus, and there are different lengths you can go to, like starting with dry chickpeas, and peeling the skins off them. For me it’s worth the extra effort to have such a great tasting and smooth hummus, when I have a little bit of time to do it.

When I made mine I did cheat a little and use canned chickpeas, so the recipe below shows how to work with dry or canned chickpeas. One day soon I will use the method in the cookbook, cooking my own chickpeas while quickening the process by adding baking soda. But for now, because I used the canned chickpeas I had to remove the skins – this is one of the things that makes this hummus so creamy, and it only took about ten minutes.

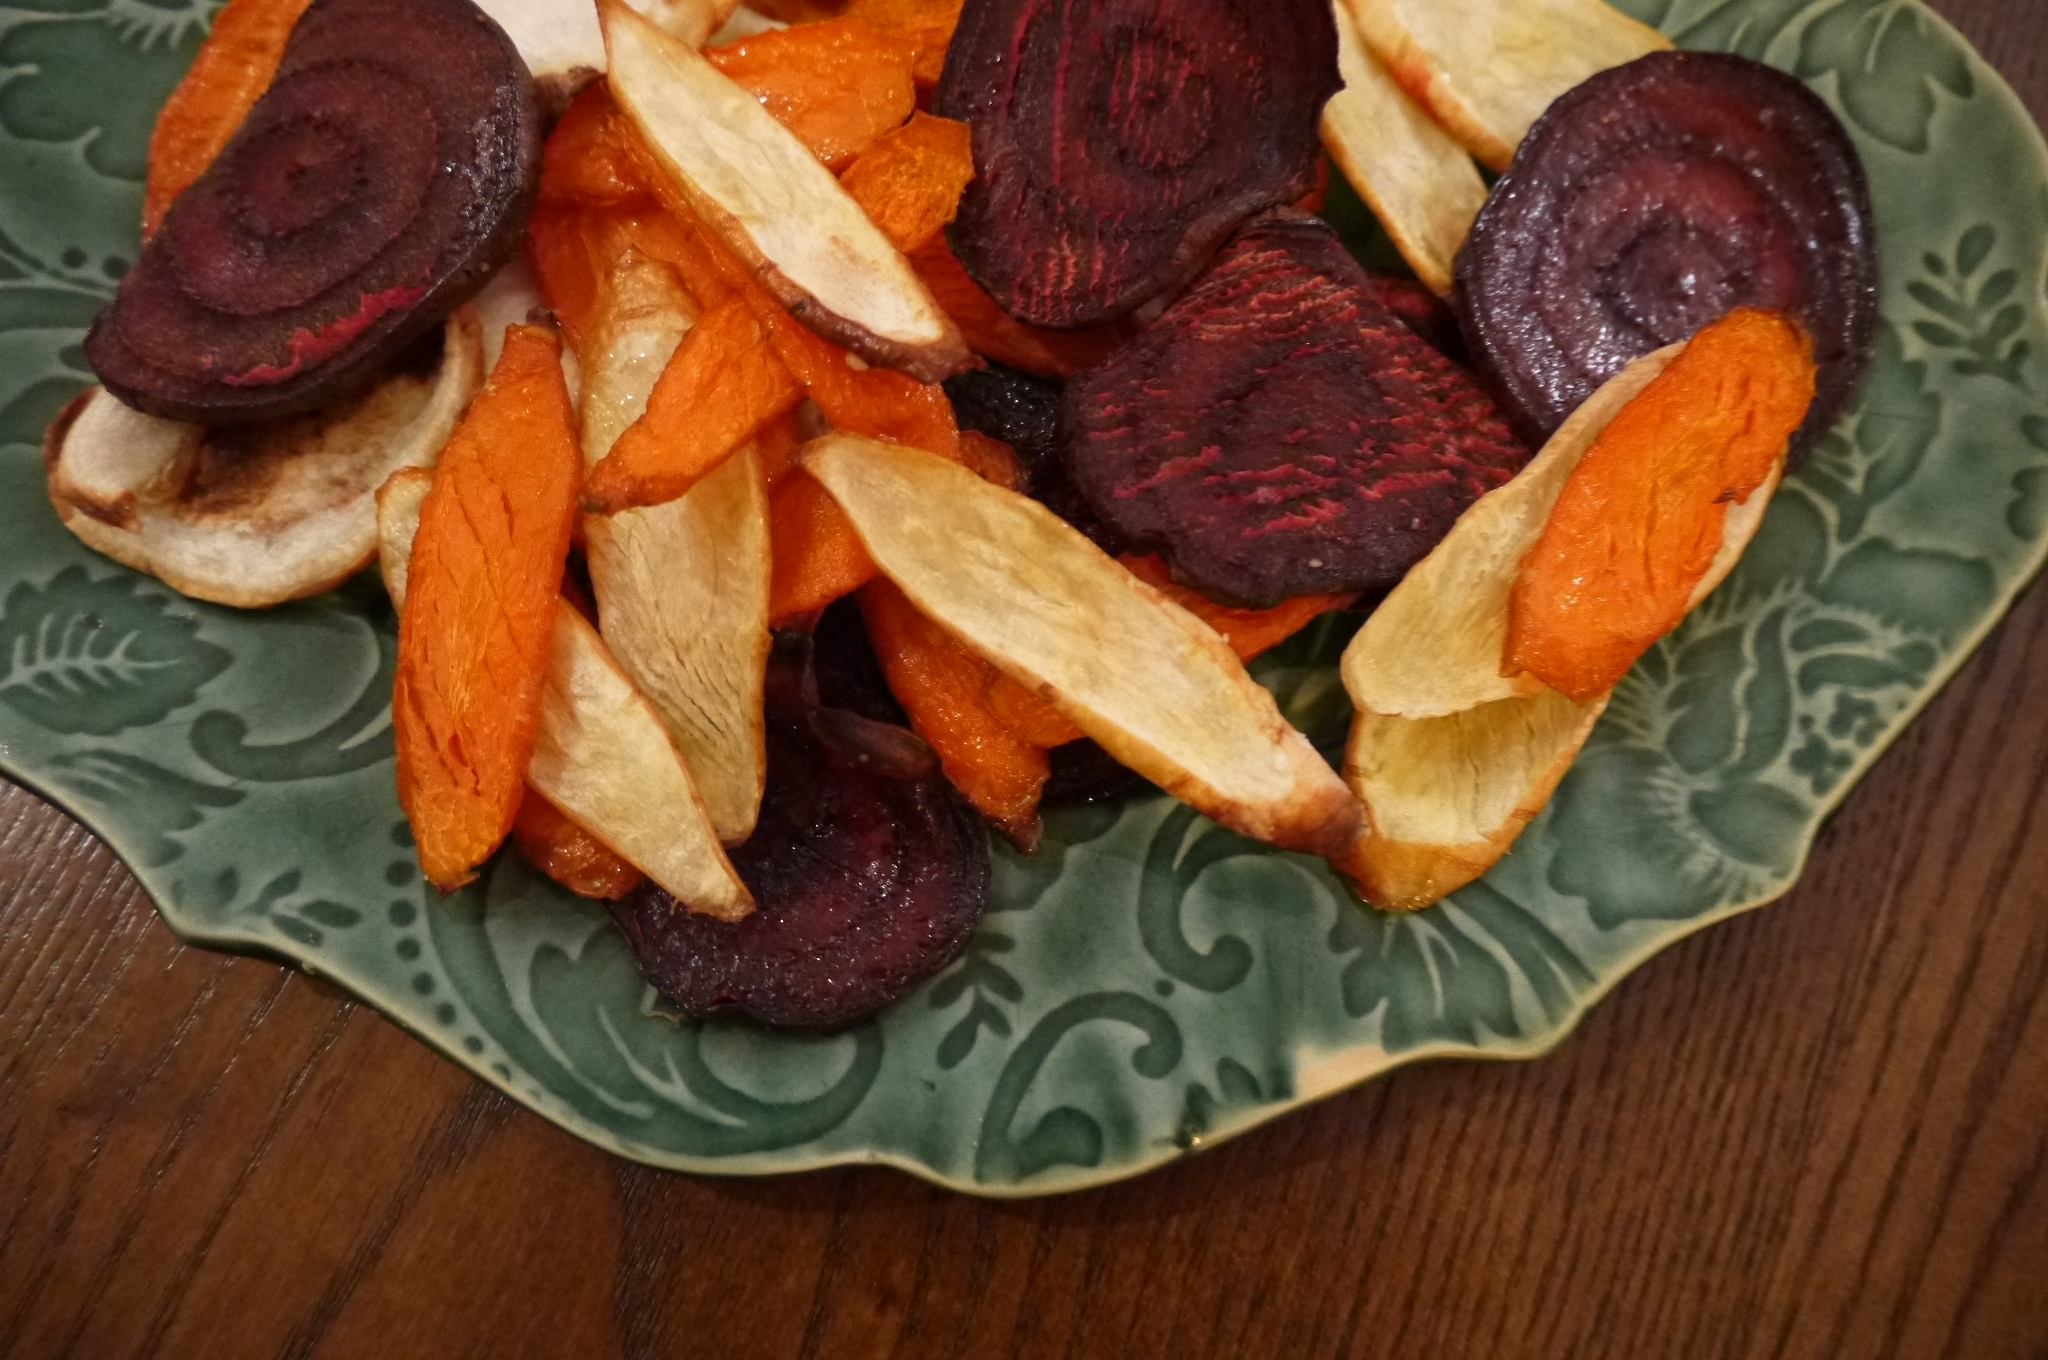
I like to serve hummus with homemade pita crackers, and some veggie sticks.

What you need:

  • 1 & ¼ cups dried chickpeas (or one 540mL can)
  • 1 teaspoon baking soda
  • 3/4 cup tahini 
  • 4 tablespoons freshly squeezed lemon juice
  • 2 cloves garlic, crushed
  •  Salt to taste
  • 6 & ½ tablespoons ice-cold water 

What you do:

  1. Place the chickpeas in a large pot and cover them with at least double their volume of cold water; let them soak overnight. If you are using canned chickpeas you will instead remove the skins. This is a bit of work. Here’s what I do. I drain them and put them in a large bowl with water. Then I rub some of them between my hands, and a lot of the skins come off that way. Then I go through them and pull off any skins that are remaining.
  2. If you are using dried chickpeas, drain them the next day and put them in a pot with the baking soda over high heat; cook for about 3 minutes, stirring constantly. This will help them cook faster. Add 6 & 1/2 cups of water to the pot and bring it to a boil. Lower the heat to simmer, skimming off any foam and skins. Cook for 20-40 minutes until they are tender; they should break easily when squeezed, but not be mushy.
  3. Drain the chickpeas and place in them a food processor or blender. Process until you have a thick paste. Add the tahini, lemon juice, garlic, and 1 & 1/2 teaspoons of salt; blend this. With the machine still running drizzle in most of the ice water and let it mix for about 5 minutes. You will get a very creamy paste. Add more water if you think it needs it, and taste to adjust seasonings.
  4. Put the hummus in a bowl and cover it. Let it rest for at least half an hour. Refrigerate if you are not using it right away, but remove from the fridge at least half an hour before you use it.

Enjoy!


Gazpacho

gazpacho - trust in kim

Oh summer, I love you for so many reasons! One of them is homegrown, flavourful tomatoes. Also the gazpacho that I can make with them.

This is the taste of summer. This is one of the recipes that makes me do a happy dance.

I fell in love with gazpacho on a trip to Spain a few years ago, and managed to eat it almost every day of my two-week stay there. It is refreshing and full of flavour. There are many different types; here are some: green gazpacho, watermelon gazpacho, and another tomato gazpacho that is very similar to this one. All are awesome, but this one is the easiest, I think.

This is so easy to make, and quite healthy too. I made a batch and kept it in the fridge for a few days. The amounts are estimates; do what seems right to you. It’s hard to go wrong. You can always add more of something if you need to.

What you need:

  • 1 small cucumber
  • 1 cup cherry tomatoes
  • 1/4 medium red onion
  • 1/2 clove garlic, minced
  • 1/2 large sweet red bell pepper
  • 1 tablespoon white balsamic vinegar (or white wine vinegar)
  • 2-3 tablespoons good quality extra-virgin olive oil
  • 1 slice of white bread (I used a whole wheat French bread)
  • salt to taste

What you do:

  1. Soak the bread in water for a few minutes, then squeeze the water out.
  2. Place all the ingredients in a blender and blend until smooth. Taste and add whatever you think you need.
  3. Refrigerate for at least and hour before serving.
  4. Serve topped with some chopped tomatoes, cucumbers, peppers, or a drizzle of olive oil.

Grilled Zucchini with Za’atar Vinaigrette

grilled zucchini with za'aatar vinaigrette - trust in kim


I fell in love with Lebanese food the year I lived in Halifax, Nova Scotia.  Now I seek out Lebanese recipes to experiment with at home. I found this one on David Lebovitz’s awesome site.

Za’atar is a combination of sesame seeds, sumac, and some herbs. Mixed with some mustard, oil and vinegar it makes a lovely dressing for grilled veggies. I made zucchini for this post, but later used it on other veggies as well, and all were delicious.

I can hardly wait until the zucchini in my garden are ready, and I can make this again.

What you need:

  • 1 kg zucchini
  • 2 tablespoons sherry or cider vinegar
  • 2 teaspoons yellow mustard
  • pinch of salt
  • 6 tablespoons extra-virgin olive oil (plus some for the zucchini)
  • 4 teaspoons za’atar
  • 1/4 teaspoon sumac (optional)

What you do:

  1. Slice the zucchini to 1/4 inch, as evenly as possible so you don’t have parts that burn. Using a mandoline works well. Toss the slices in a some olive oil.
  2. Combine all the rest of the ingredients to make the vinaigrette.
  3. Heat the grill and brush it with some olive oil. Grill the zucchini slices until they are charred on each side.
  4. Arrange the zucchini on a platter and pour some dressing over the slices.


Roasted Cauliflower and Cherry Tomatoes

roasted cauliflower and cherry tomatoes - trust in kim

Alright, here’s a super easy one. Just some veg, a little olive oil, throw it in the oven and you’ve got a nice little side dish. I haven’t given any amounts; just do what feels right depending on how many people you’re cooking for. For me, I’d use a small head of cauliflower and a big bunch of tomatoes for two people because I tend to make the vegetables the bigger part of my meal.

Here’s how we do it…

What you need:

  • cauliflower
  • cherry tomatoes
  • olive oil
  • salt and freshly ground pepper
  • optional: freshly squeezed lemon juice

What you do:

  1. Preheat the oven to about 400F.
  2. Chop the cauliflower and place it on a baking pan. Drizzle a little olive oil on top, and add some lemon juice if you’re using it. Place in the oven and roast for about 15 minutes.
  3. Add the tomatoes to the oven; I like to keep them on the vine, for presentation purposes. Drizzle on a little bit of olive oil. Let the tomatoes roast until the skin starts to split, about 5 minutes.
  4. Remove the vegetables from the oven and add some salt and pepper to taste. You can add an extra drizzle of olive oil if you wish.

Eat it while it’s hot! Maybe I’m strange, but i think this is an awesome appetizer!

I Love Lunch – New Category for Leftovers

lunchbag - trust in kim

One of my weekly routines takes place on Sundays in the afternoon or evening. I choose a recipe that I think will be great for leftovers, and I prepare it and store individual portions in my fridge. I’ve been doing this for years so that I can have healthy and delicious lunches, and not have to worry about preparing meals during a busy work week.

Today I went through all my previous recipe posts and created a category called ‘Makes Great Leftovers’ so you that you can easily find recipes that you can use for leftovers. There are a lot of soups, stews, salads and other one-dish meals. Quite a few are vegetarian or vegan, but there are also a lot of recipes with meat.

Hope it’s helpful!

Kim

Roasted Root Vegetable Chips

roasted root vegetable chips - trust in kim

Even though I know they are so bad for me, I really really love potato chips. I never ever buy them unless it’s a special occasion because I know I will not be able to leave a single chip in the bag. I’ve tried some of those fancy root vegetable chips, and loved them too.

Looking for a healthy alternative, I figured I could make my own root vegetable chips at home, using much less oil than the store-bought bags of chips. The trick is getting them very thinly and uniformly sliced. To do this I used a mandoline.

The picture of the roasted chips above was taken before I decided I needed to put them back in the oven to get a little crisper. They should look more browned than in that photo.

What you need:

  • 1 small potato
  • 1 carrot
  • 1 parsnip
  • 1 beet
  • olive oil
  • salt

What you do:

  1. Preheat the oven to 400F.
  2. Slice the vegetables as thinly and uniformly as you can.
  3. Place the vegetables in a bowl and drizzle with a tablespoon or two of olive oil, and some salt.
  4. Spread the vegetables in one layer on a baking sheet. Keep each type of vegetable together; the roasting time varies between the vegetable types.
  5. Roast for about 15 minutes, then check the chips. If some are done, remove them, then let the rest continue to roast, checking every 5 minutes until they are done. They will get crisper as they cool.
  6. It’s best to eat these the day you make them, as they will get a little soft.

sliced root vegetables - trust in kim