Flavourful Olives

These olives are infused with flavour; first marinated, then cooked.

What you need:

a cup or so of olives with pits in

4-5 prunes, chopped into quarters

1/4 cup olive oil

1/4 cup red wine vinegar

2 bay leaves

4 cloves garlic, chopped finely

1 tablespoon dried oregano

salt and pepper

1/2 cup white wine (I used a Riesling)

1 tablespoon brown sugar

a sprig of fresh tarragon (optional)

What you do:

1.  Place olives, prunes, olive oil, red wine vinegar, bay leaves, garlic, oregano and salt and pepper in a shallow bowl.  Refrigerate over night.

2.  Cook olives and marinade, along with wine, brown sugar and tarragon for 20-30 minutes.  Add a little more wine if it is getting dry.

3.  Cool and serve as a tasty appetizer.

Oma’s Dill Pickles

Mmm, there’s nothing like biting into a crisp, cold pickle out of the jar.  I prefer homemade pickles, so I can make them a little less salty than the commercial ones, and a little spicier.

The main thing to remember when pickling is to keep everything clean to get rid of any bacteria.  To do this you can boil the jars in a canning pot, put them in the oven at 250 F for 20 minutes, or run them through a hot dishwasher.

What you need:

canning jars (20lbs of pickles makes 20-24 jars – prepare more jars and lids than you think you need)  Make sure you only use proper canning jars; reused jars like commercial jam or peanut butter won’t seal properly.  You can reuse the rings from year to year, but you need to use new lids so that they will seal properly.

lids

rings

large canning pot

Ingredients for 5-ish jars:

5 lbs pickling cucumbers

8 cups water

1 & 1/2 cups pickling vinegar

1/4 cup pickling salt (I couldn’t find any and used kosher salt this time)

1/2 cup sugar

dill (stems and flowers, not the green feathery parts you cook with)

horseradish

5 hot red peppers (thai work well)

5 cloves garlic

Here’s how you do it:

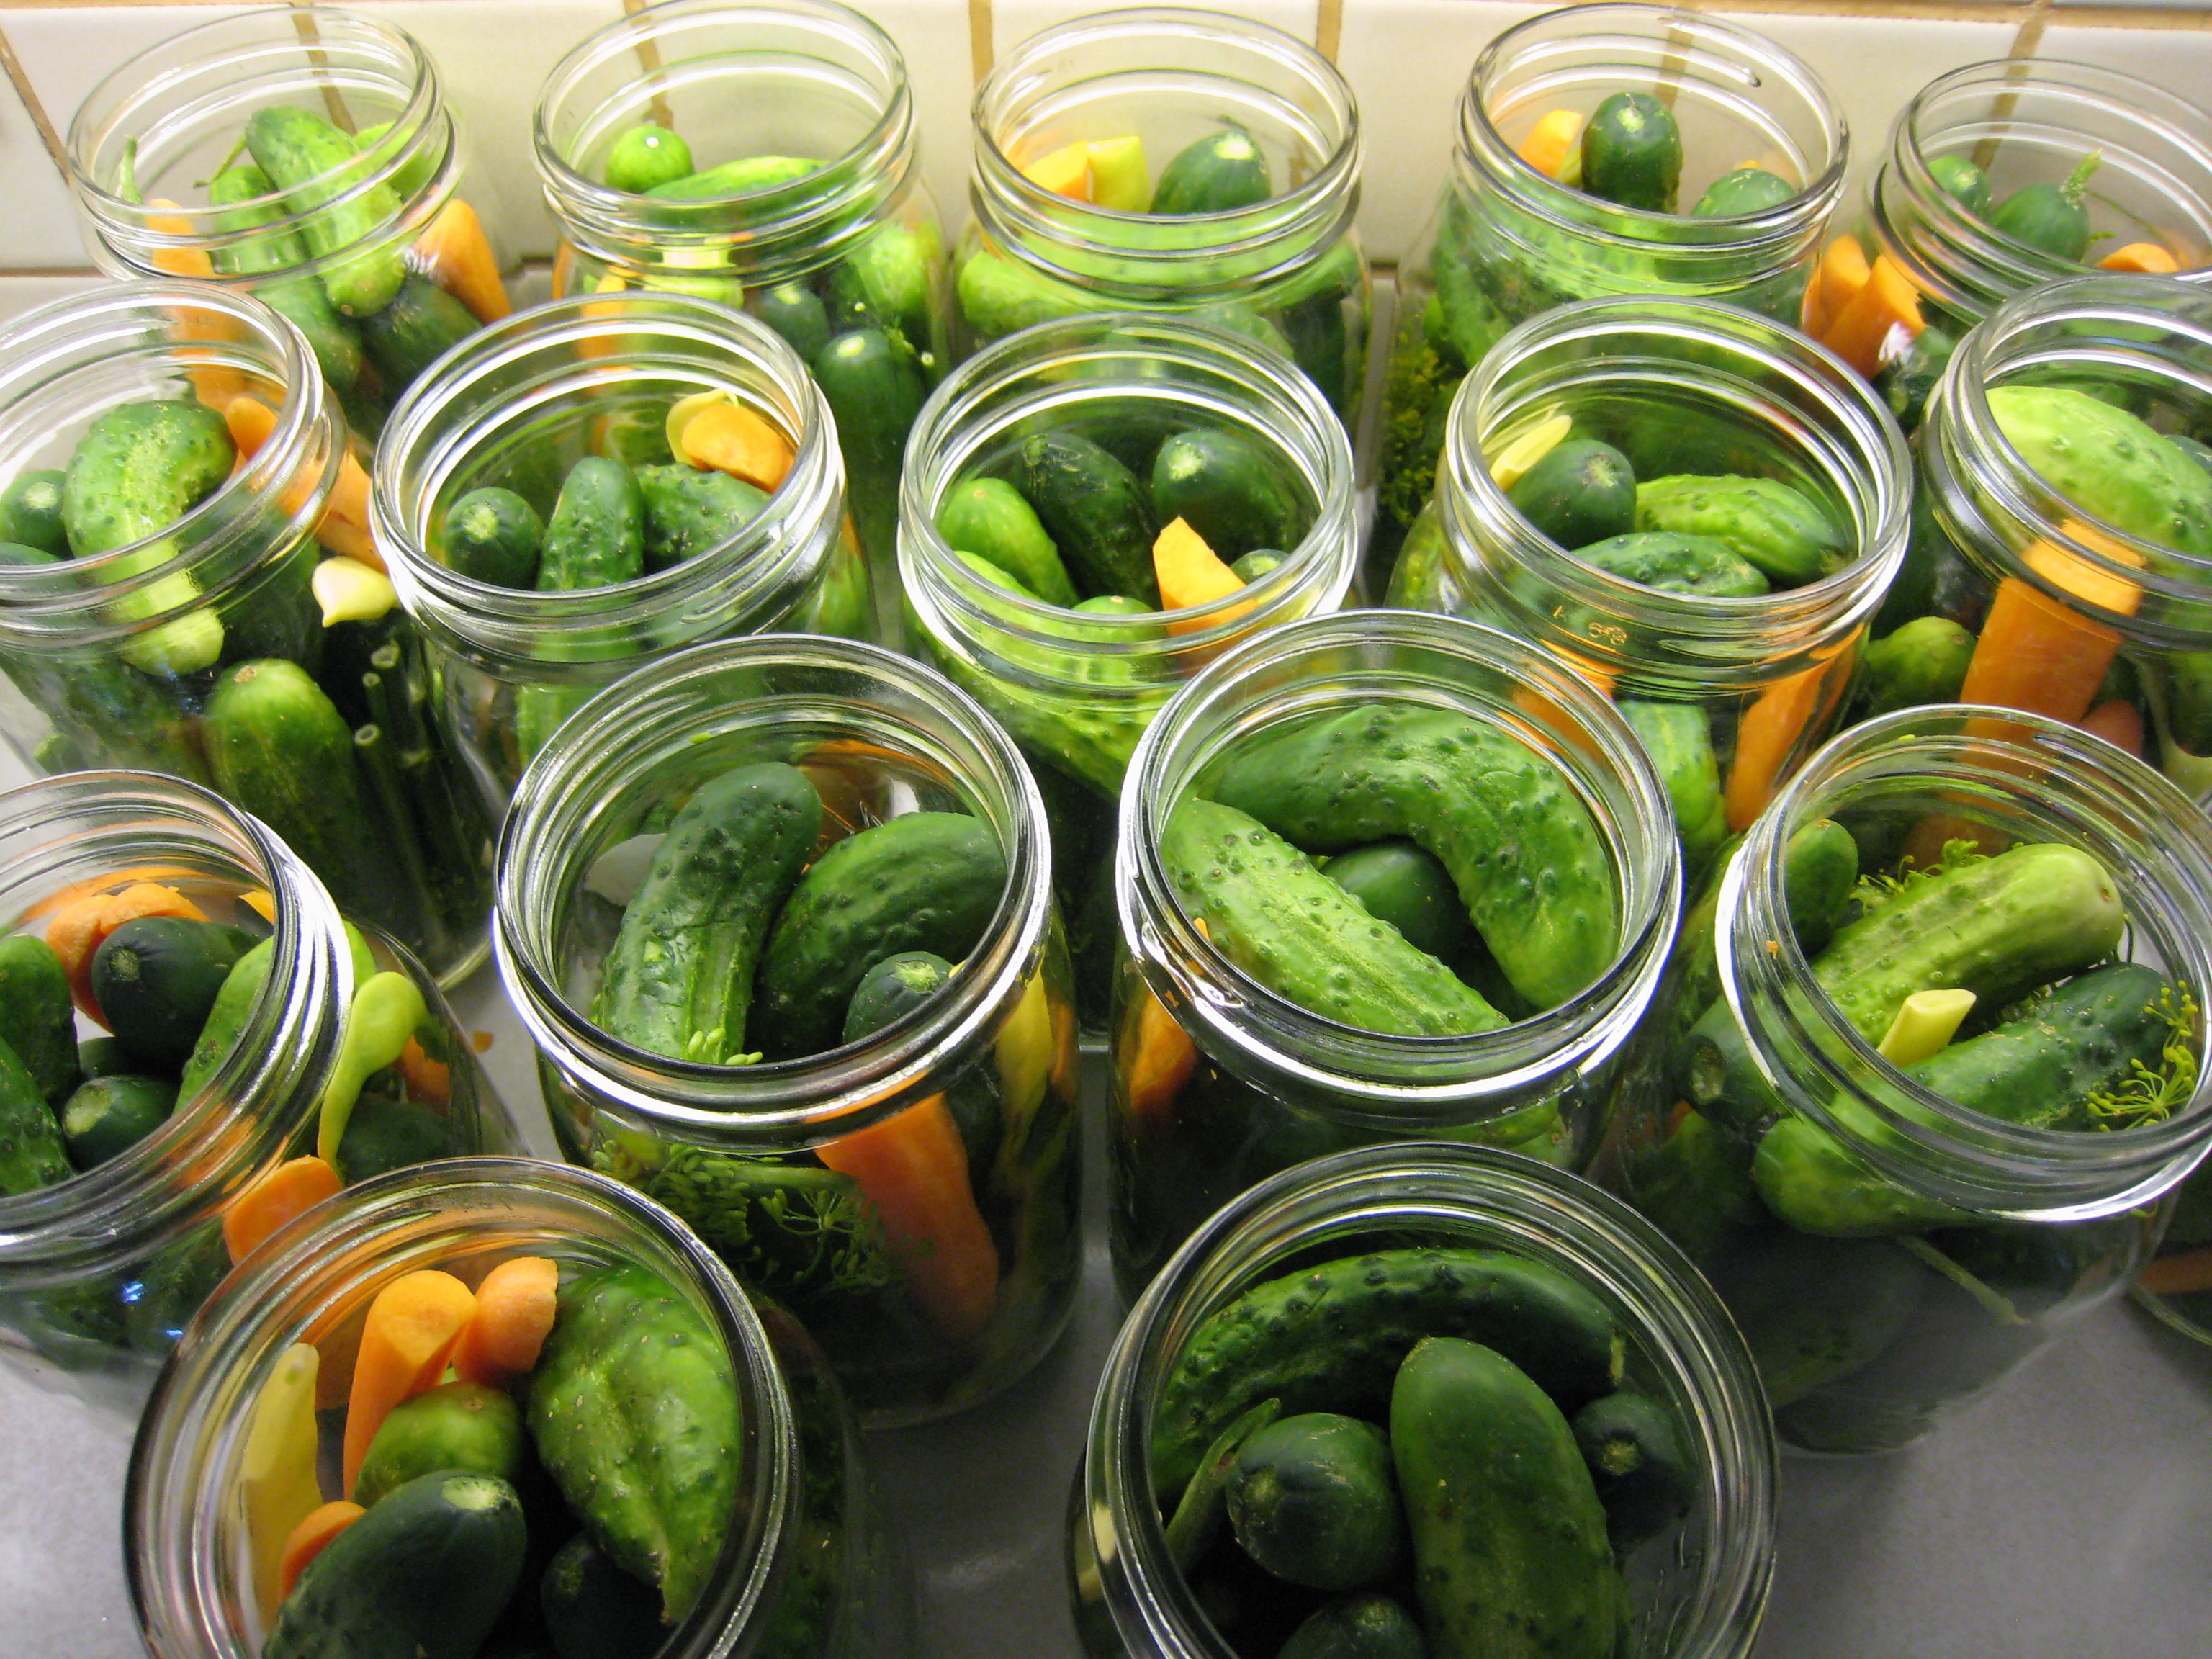
1. In each jar place some dill (I used one flower head and stalk cut up), a slice of horseradish, one pepper cut in half (don’t cut it if you don’t want the pickles to be very spicy), and one clove garlic.

2.  Cram as many clean cucumbers in as you can.  I usually start with a few big ones, and save the smaller ones to fit in between and on top.  Leave about 2cm of space between the cukes and the top of the jar.

3.  Heat brine to boiling, and make sure the water in the canning pot is boiling.

4.  Place new lids in a pot of water to heat for  a few minutes.  This sterilizes them and softens up the rubber, making it easier to get a seal.

5.  Fill each jar with brine, leaving a bit of space.  Place the lid and ring on each jar right away and tighten.  The canning pot I use fits seven jars, so I only filled seven at a time.  Place the jars in the canning pot, put the lid on and keep on high heat for just a few minutes; you don’t want to cook the pickles, so if it starts to boil you should remove them.

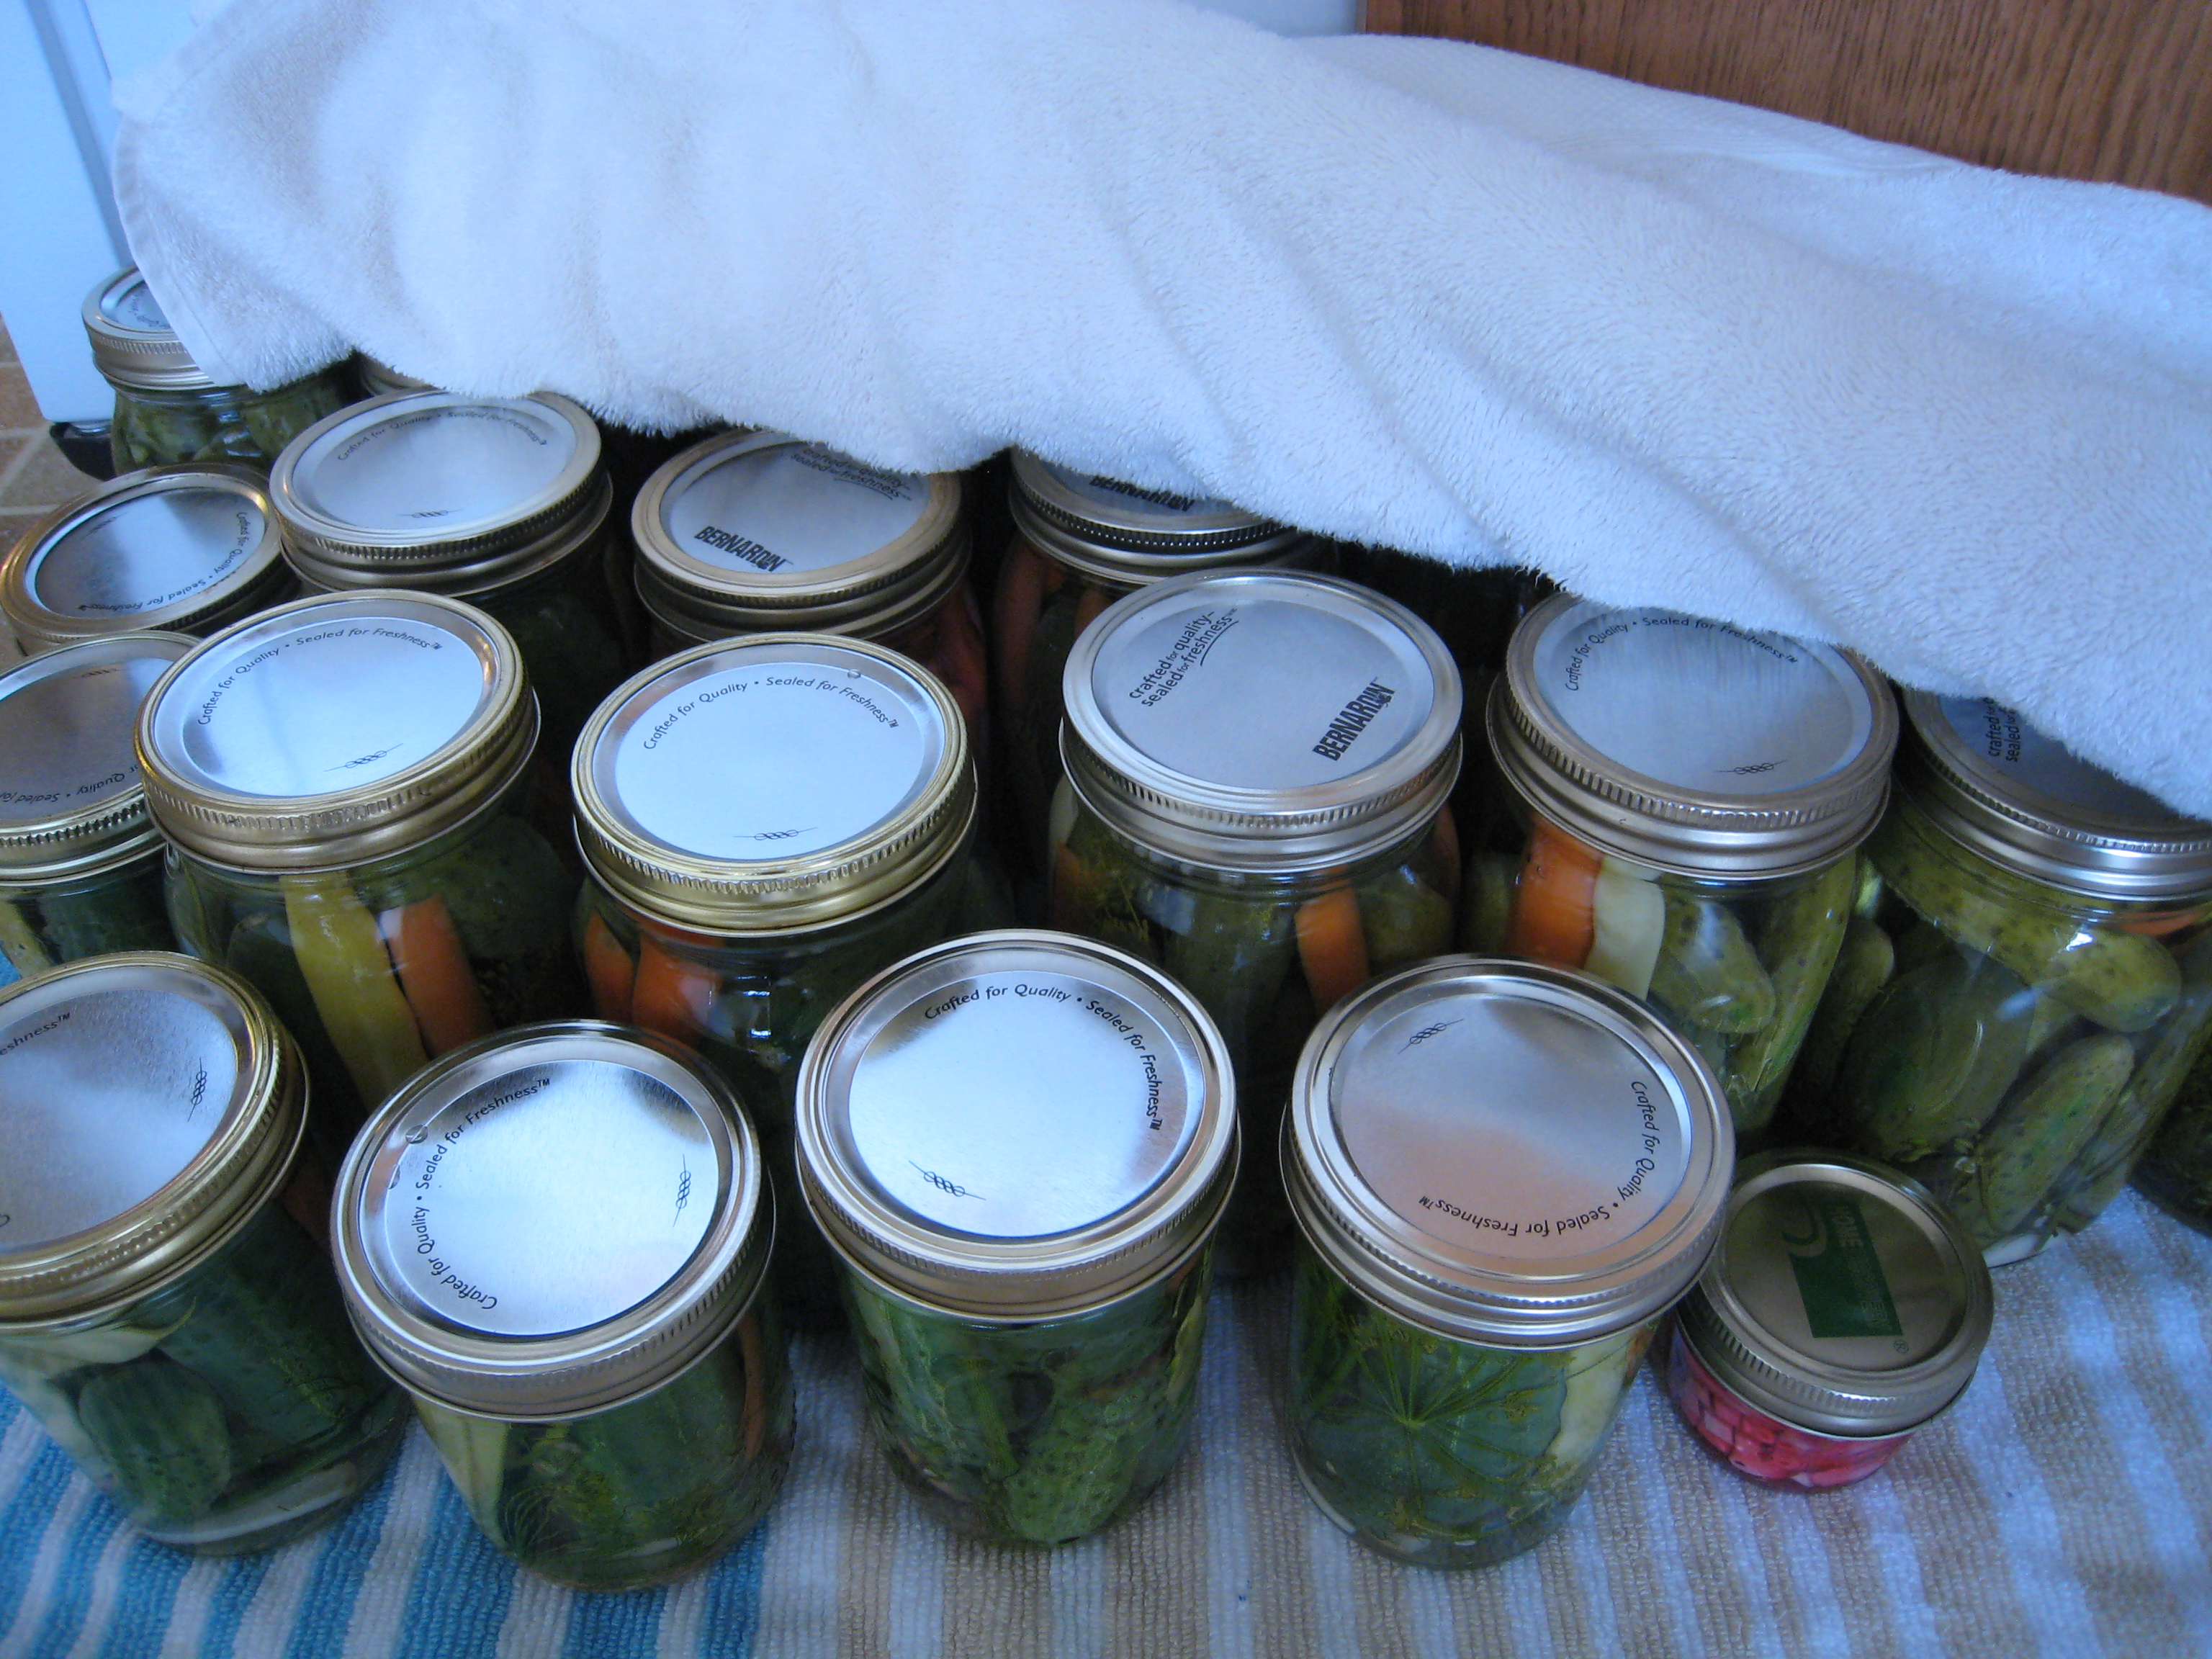
6.  Find a place where you can leave the jars untouched for 24-48 hours.  My Oma and Opa always put a towel on the top and bottom, so that’s what I do.
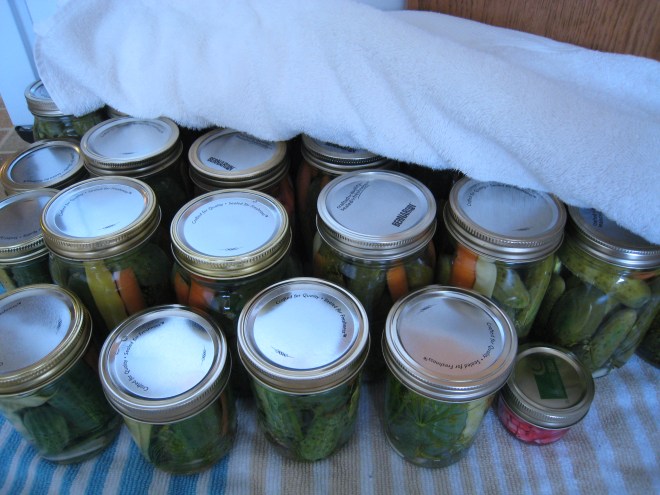
7.  Over the next day or so you’ll hear that popping sound that lets you know that your jars have sealed properly.  You can also tell they are sealed because the lid has curved down slightly, and it makes a high-pitched sound when you tap it with a spoon, instead of the dull sound of an unsealed jar.  If you happen to have one jar that doesn’t seal,  just keep it in the fridge until you are ready to use it.

8.  I usually wait about three months before I open my first jar.  After your first try at making these, you’ll get an idea of what you want to change to make the recipe suit your tastes.  Feel  free to comment and let me know what you did differently.

Some adaptations I’ve tried are:

no garlic

more or fewer peppers

a slice of carrot or yellow bean for colour

mustard seeds

Here’s a great link for canning info!

Lemon Tahini Chickpea Salad

This salad is so easy to make, tastes amazing, and has lots of nutrients tp keep you healthy!  Chickpeas have plenty of dietary fibre, vitamin B6, folate and manganese.  One third of a cup of sweet red peppers contains your recommended daily intake of vitamin C, as well as lots of vitamins A and E, B6, folate and many other nutrients!

What you need:

1 can chickpeas, rinsed

1 sweet red pepper, sliced into bite-size pieces

1 tablespoon red onion, chopped finely

1/4 cup loosely packed chopped basil

2 teaspoons olive or flax oil

1 tablespoon tahini

1/4 teaspoon cumin

juice of 1/2 a lemon

optional: fresh mint

What you do:

1.  Mix the oil, tahini, cumin and lemon juice.

2.  Put the chickpeas, onions, pepper and basil in a bowl.  Mix in the dressing.  Refrigerate for a few hours before serving.

3.  Before serving, chop up some mint and place on top of the salad.

Ruby Swiss Chard and Cabbage

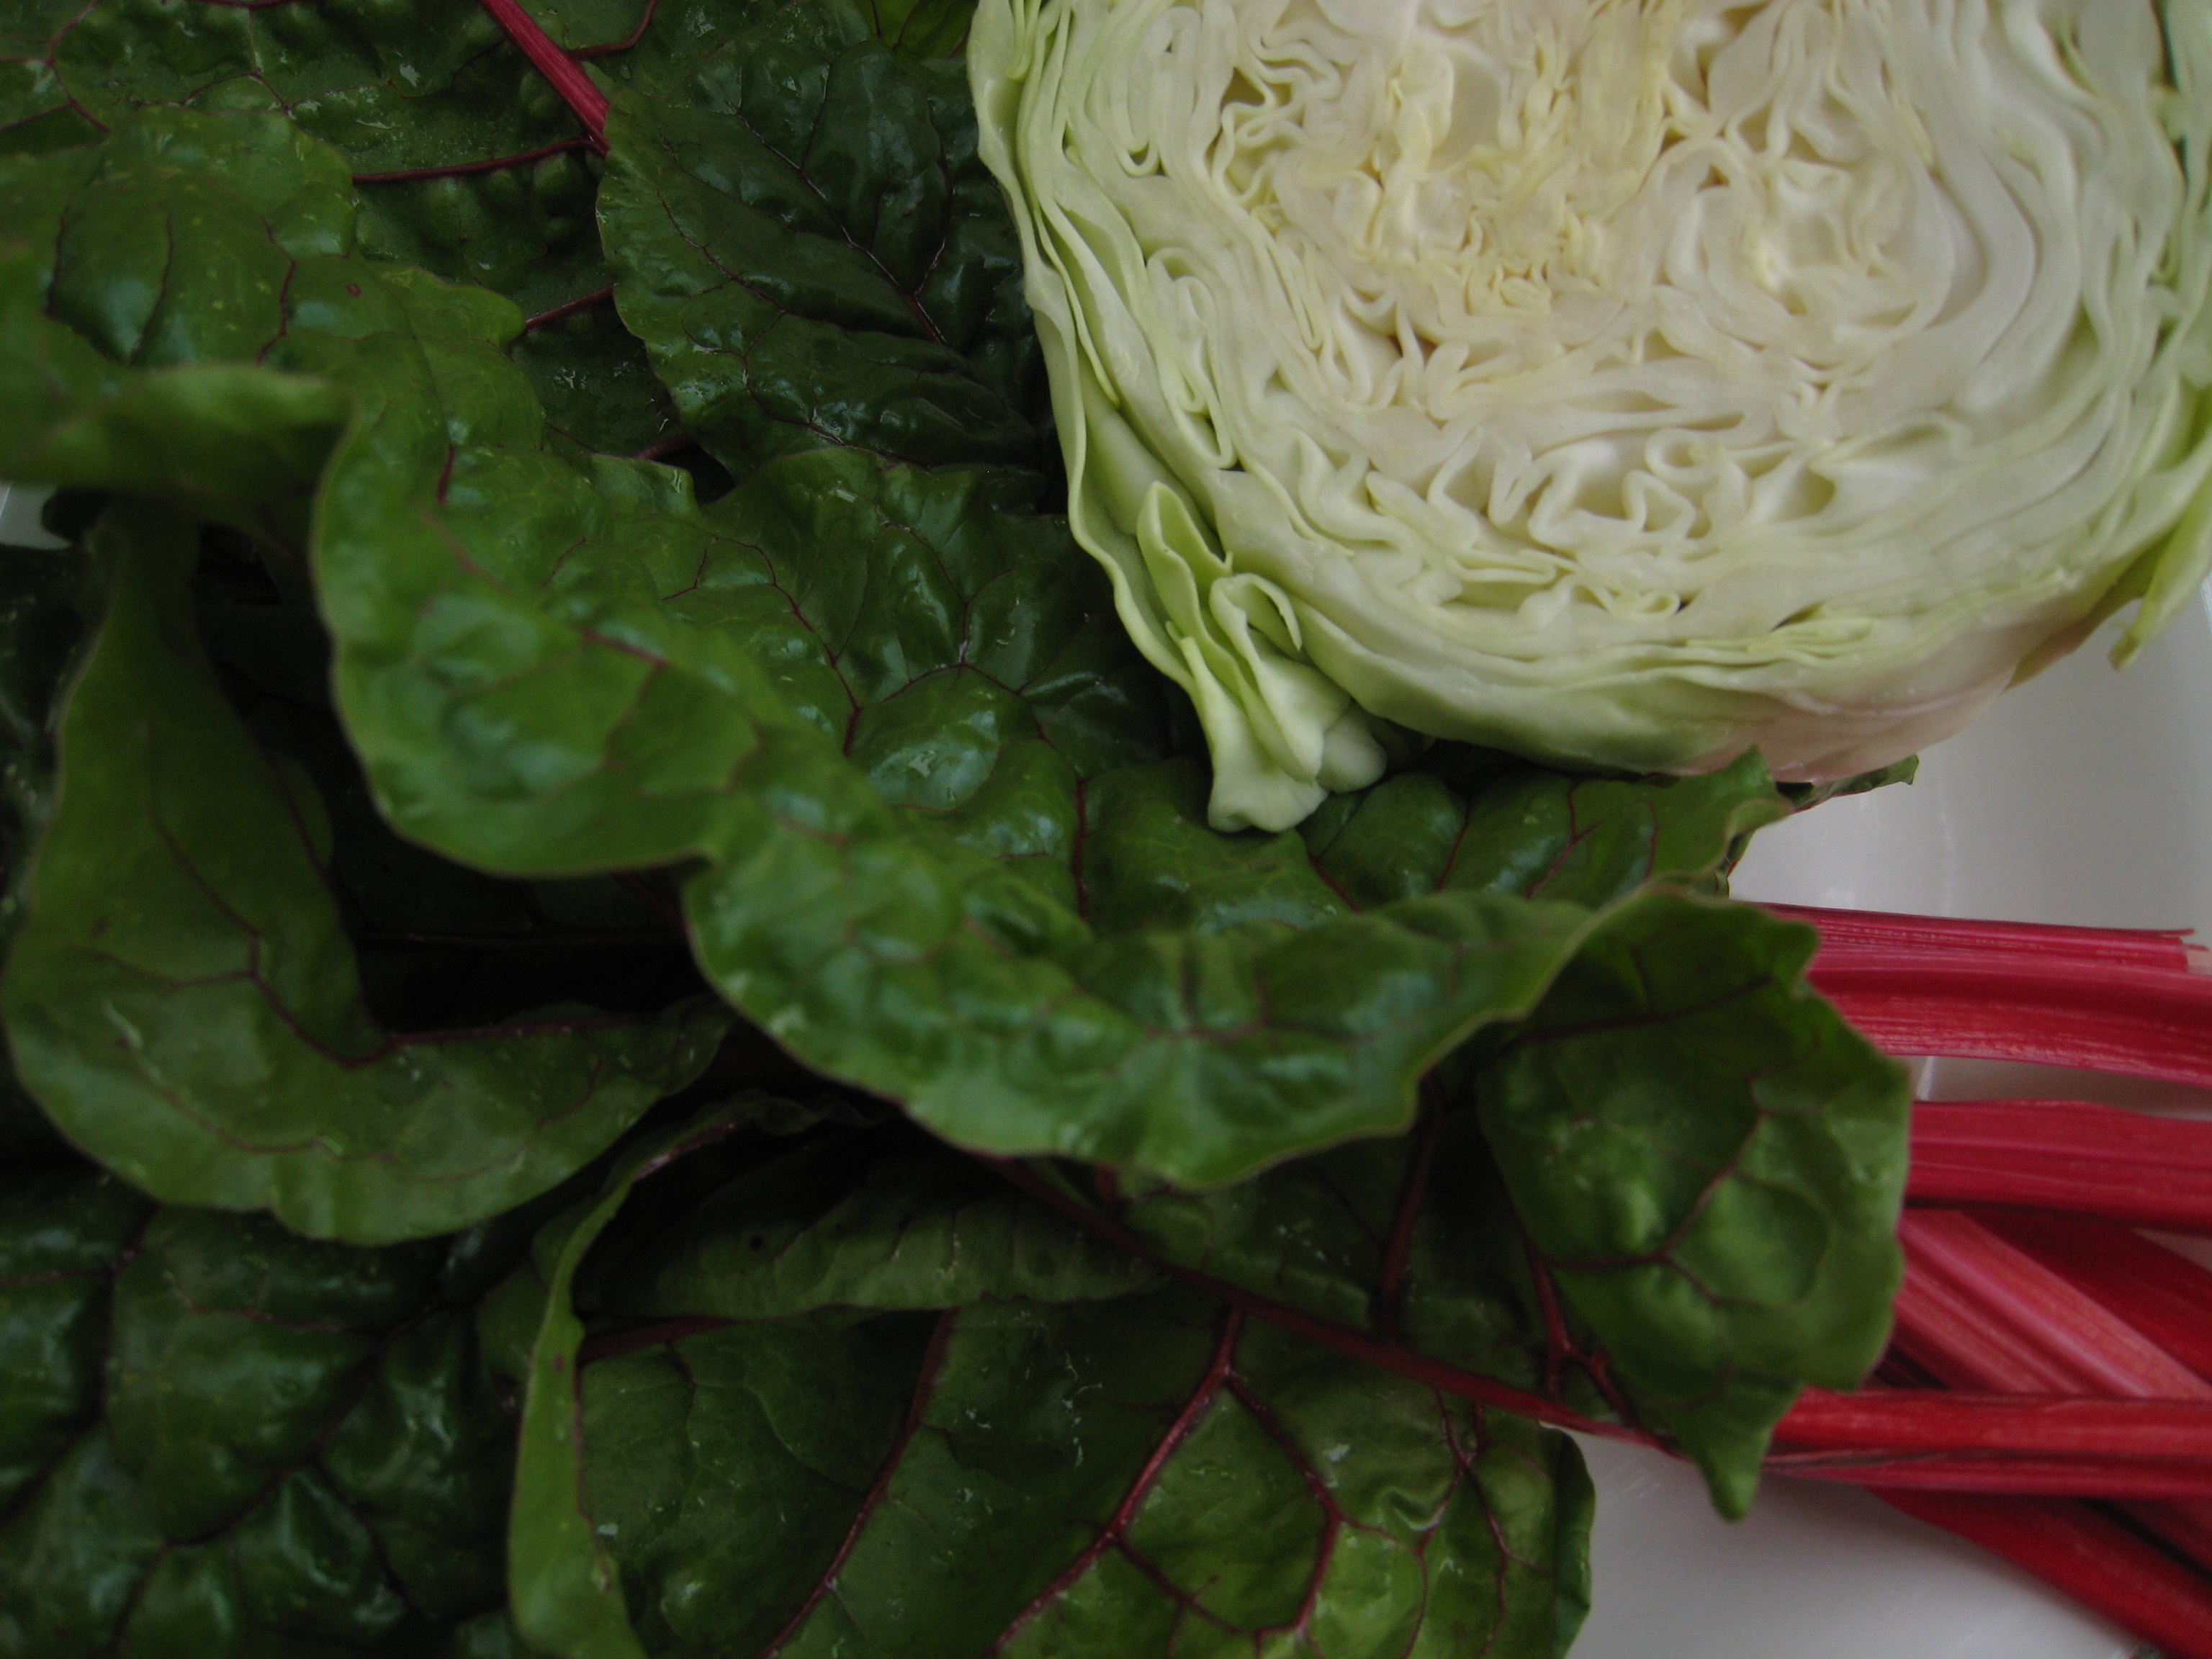
My quest to find tasty ways to cook cabbage has recently combined with a sudden influx of ruby swiss chard in my garden, and this recipe is the result.  It doesn’t taste or smell very cabbagey, so if you’re picky about that sort of thing, you might still like this.

You need:

1/2 sweet onion

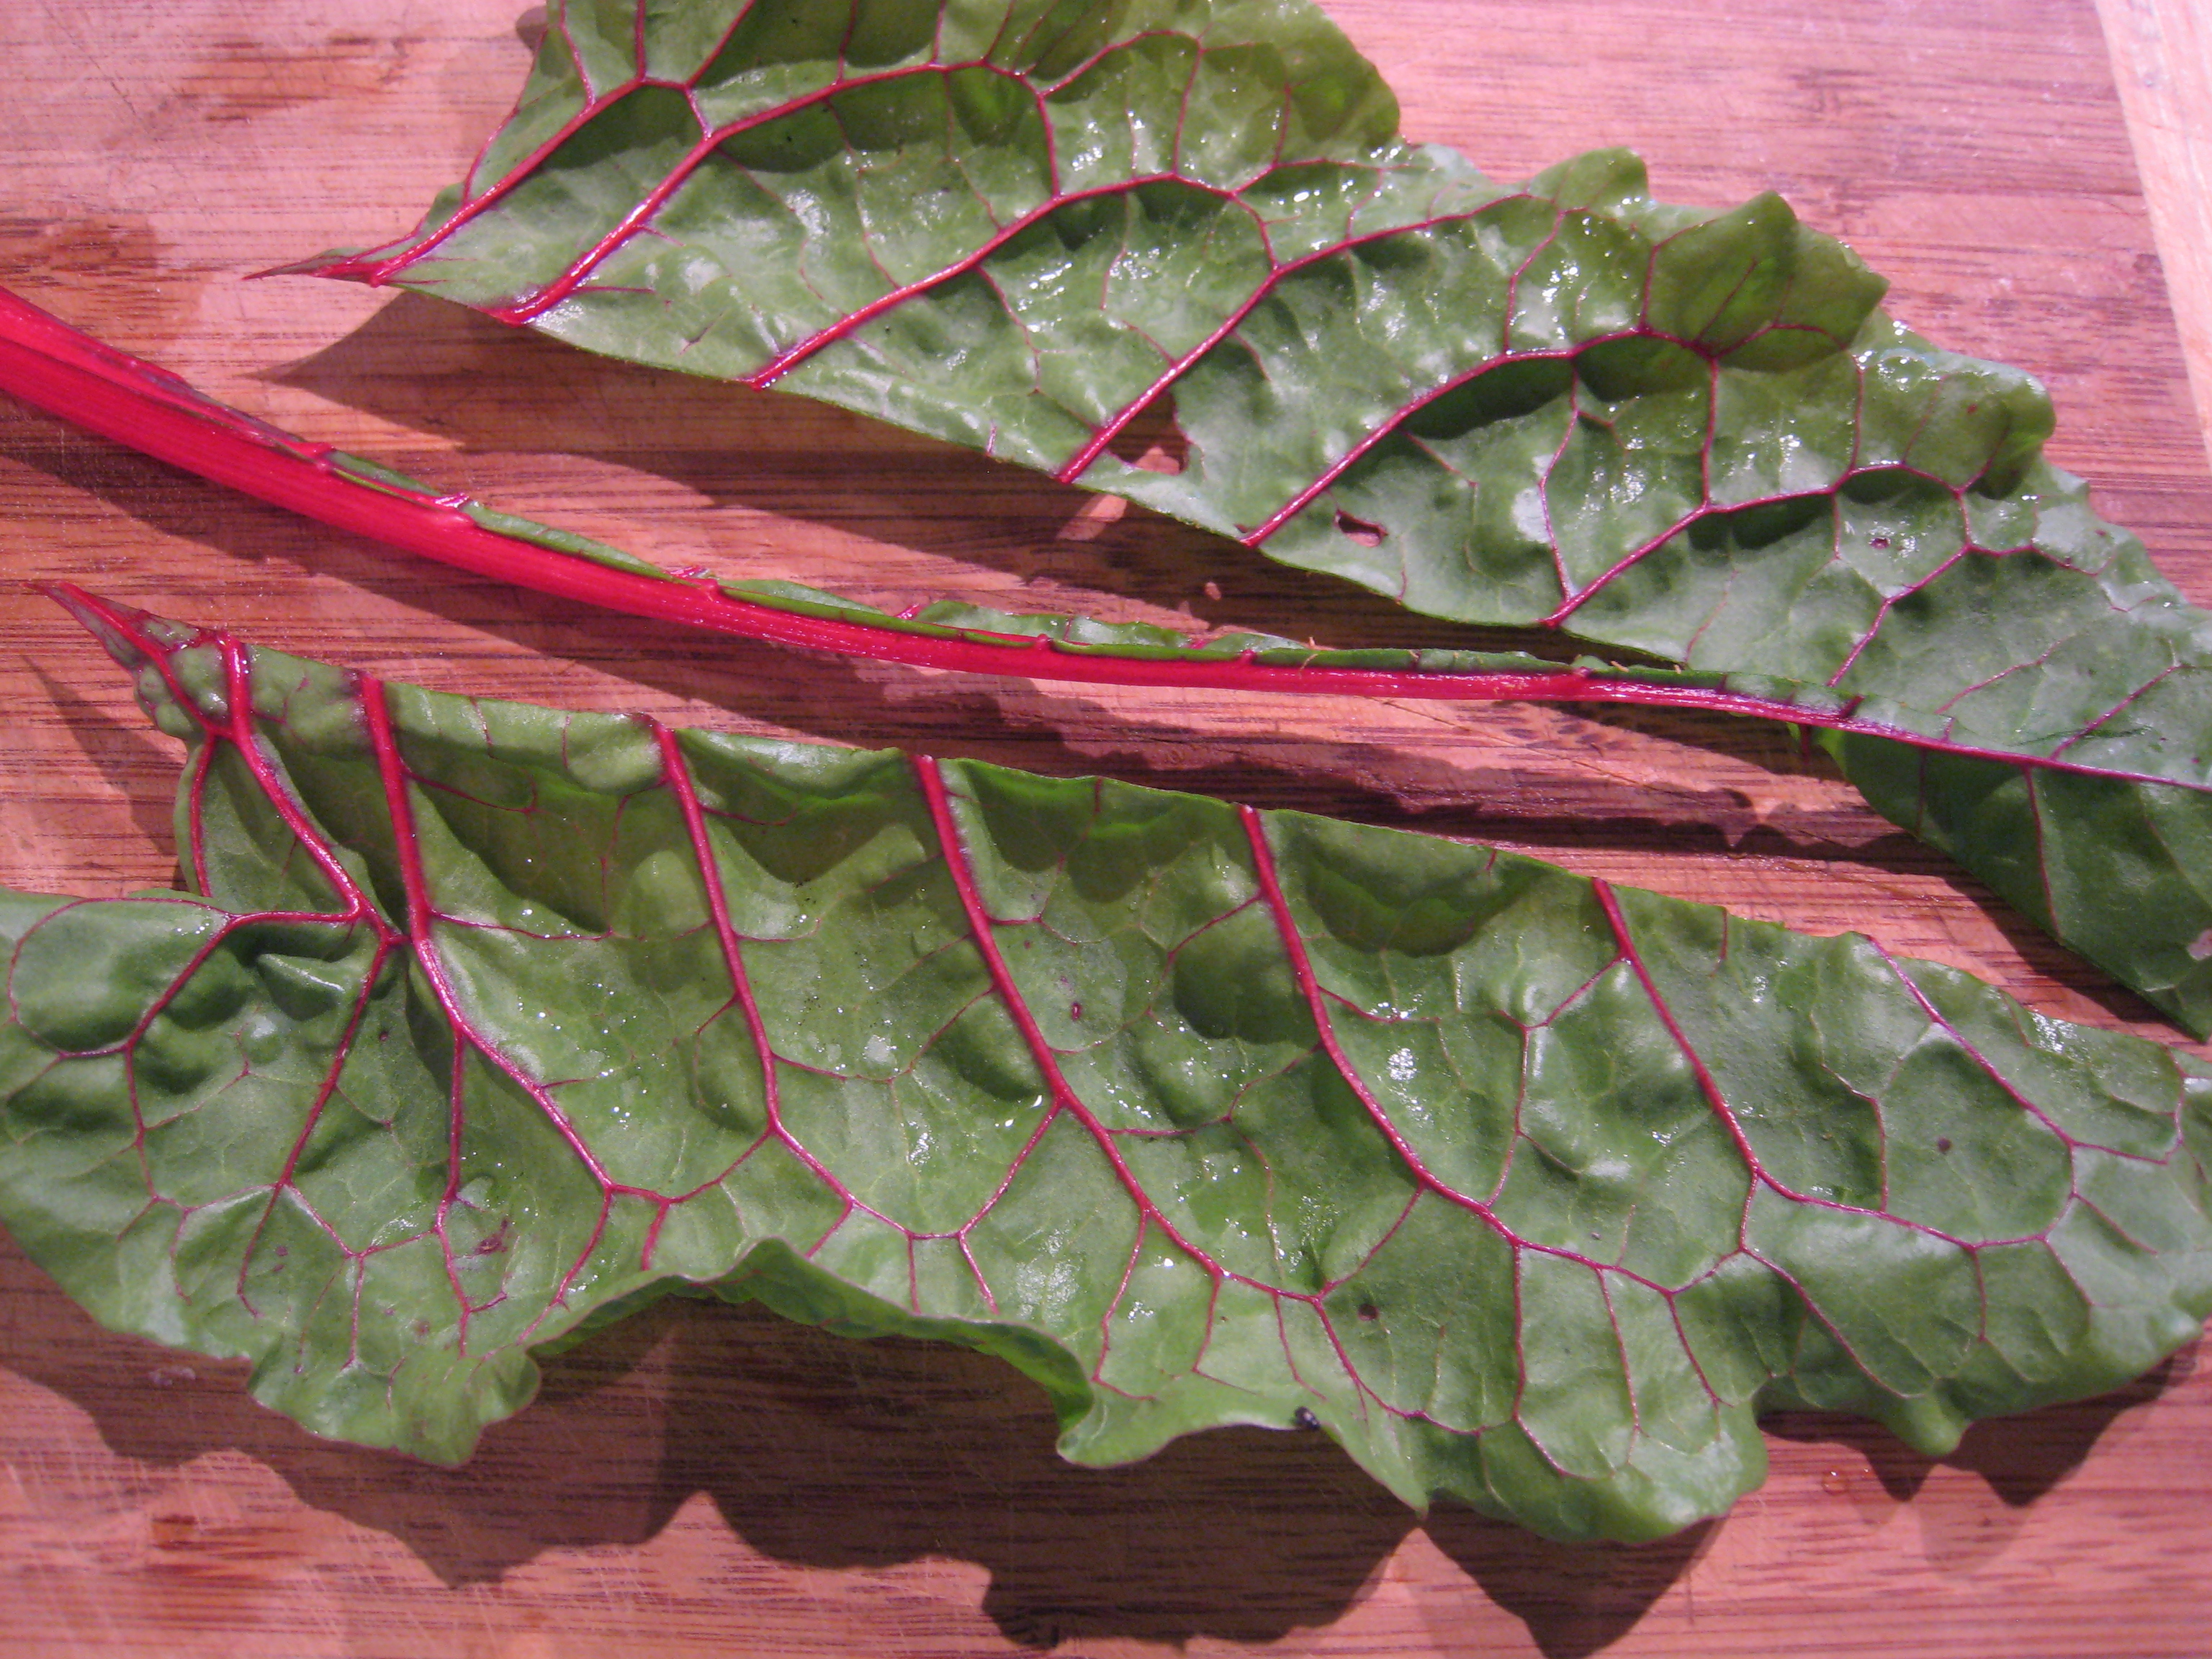
a bunch of ruby swiss chard

1/2 a green cabbage

butter (olive oil for vegans)

salt and pepper

fresh tarragon, optional

What you do:

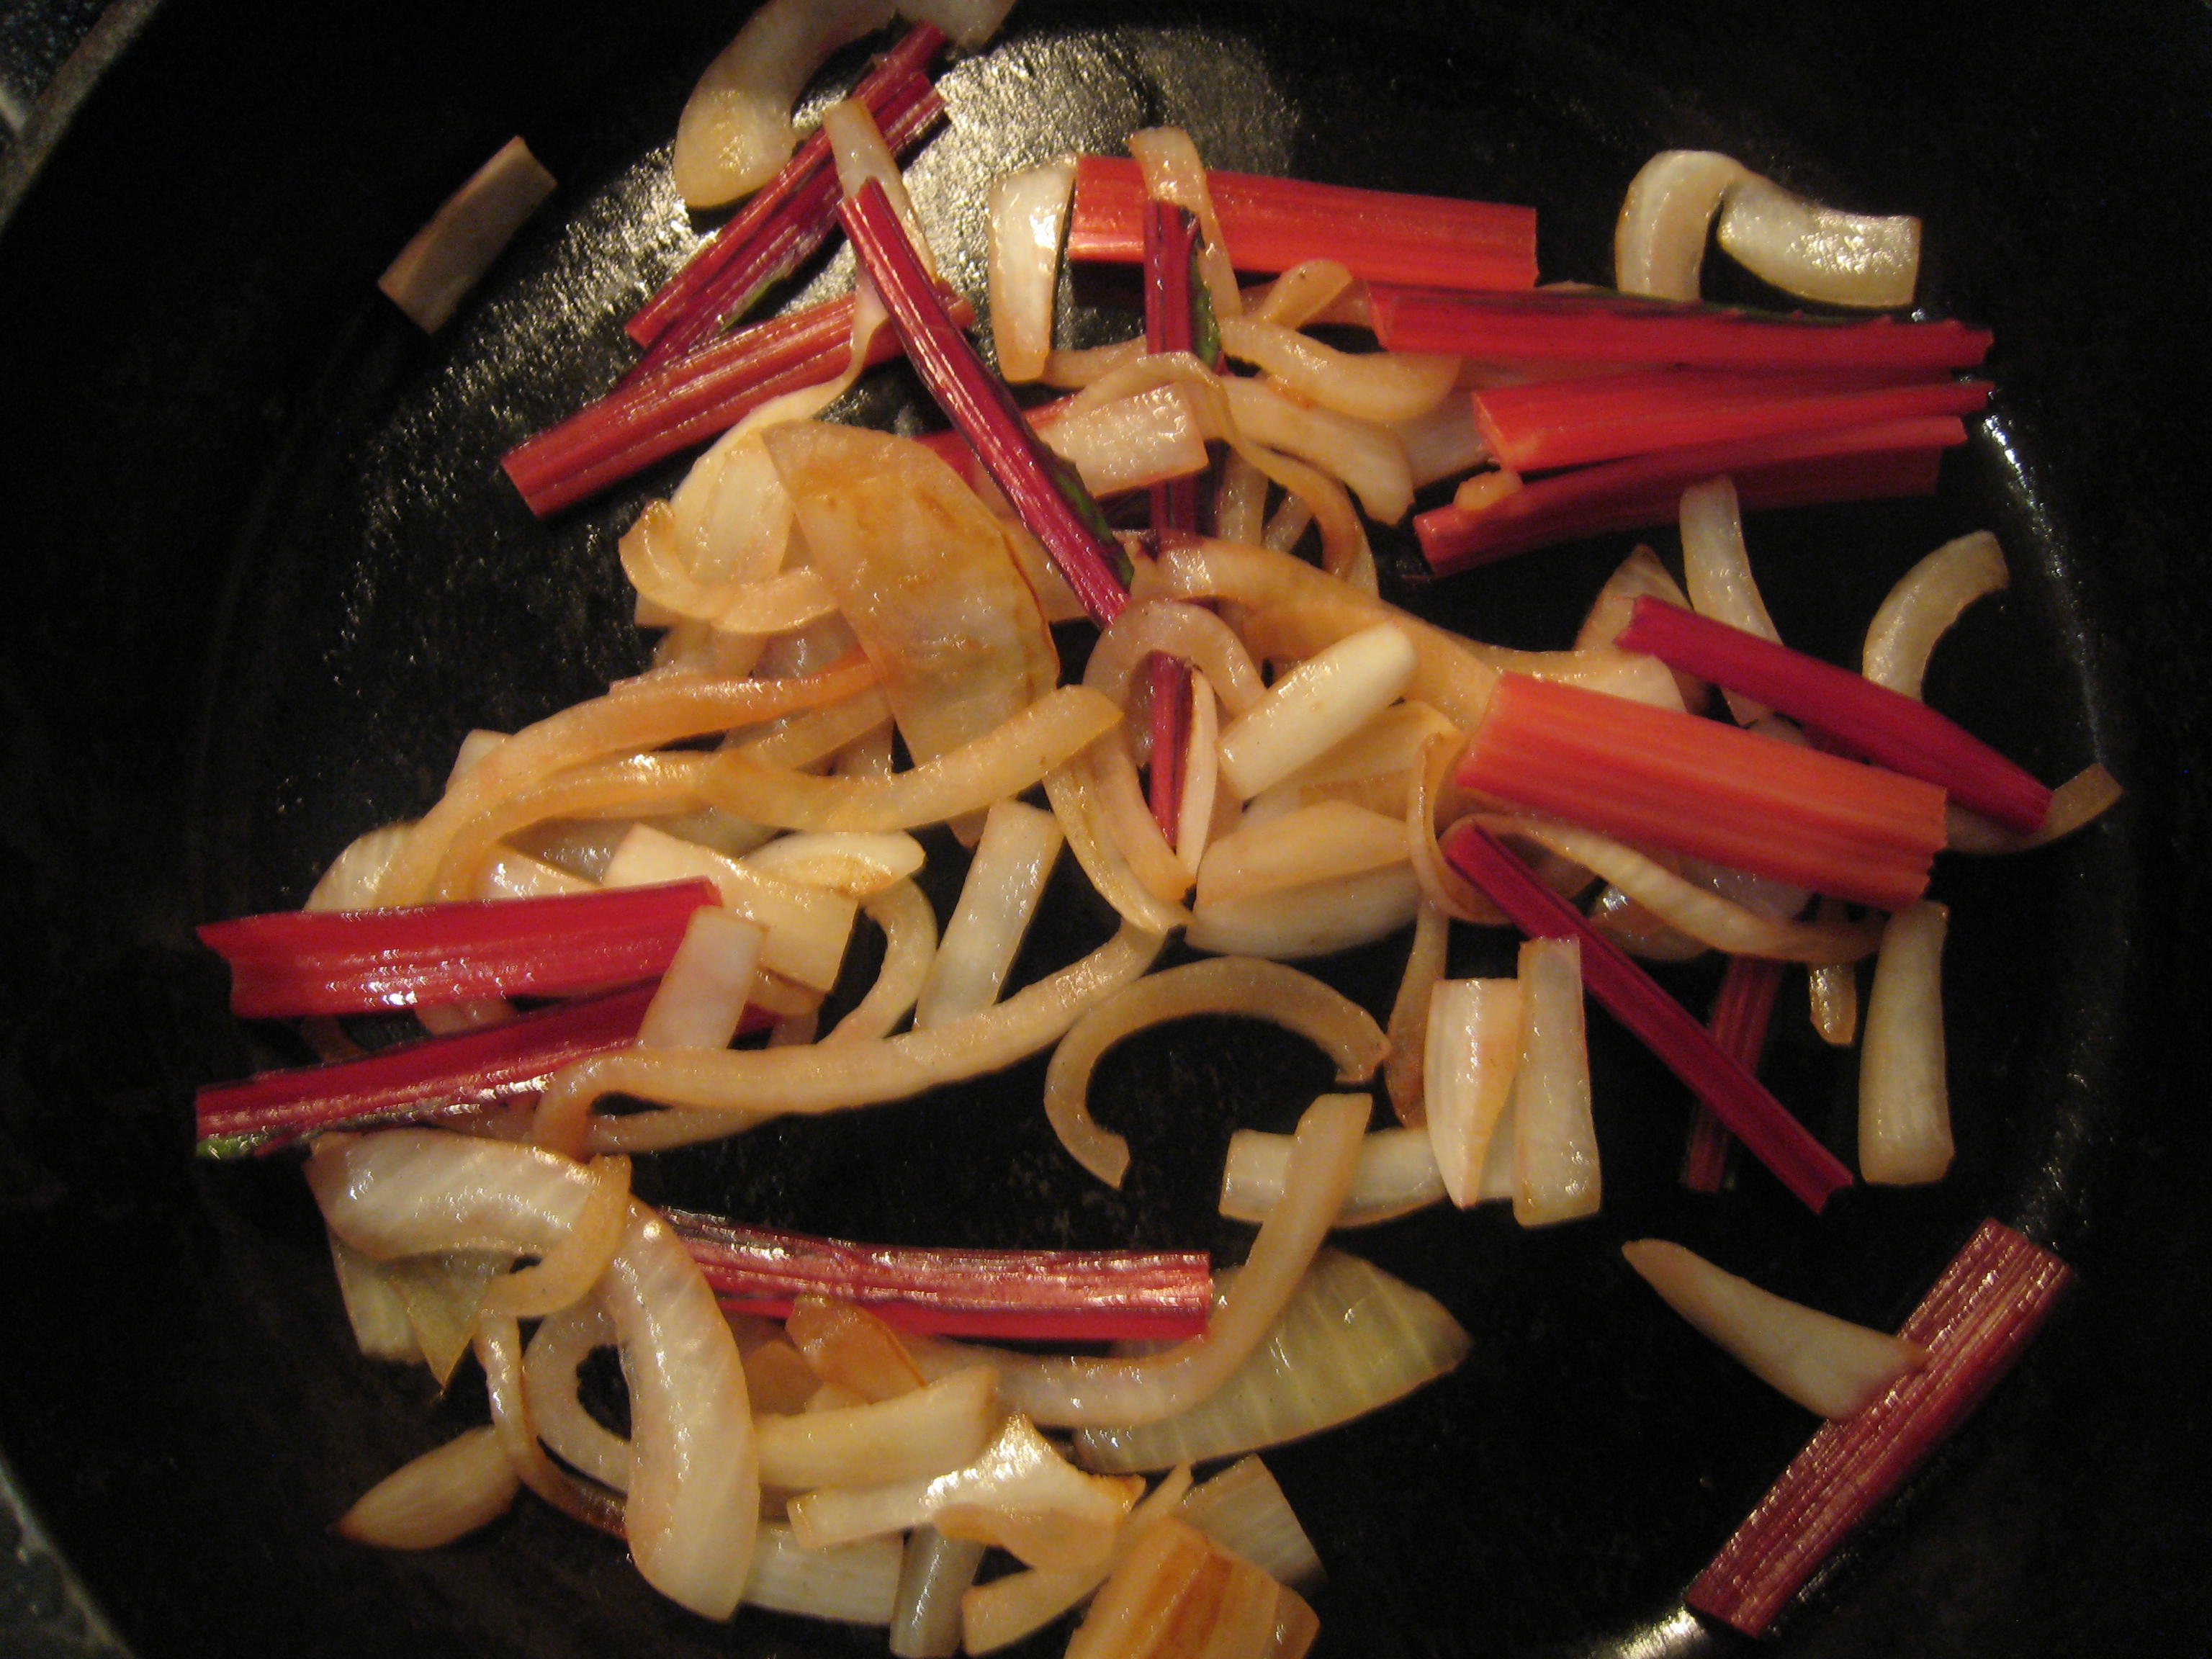
1.  Slice onions and fry on low in a little butter for 3-4 minutes.

2.  Remove the stalks from the swiss chard and chop them into 3-4 cm long pieces.  Add the chopped stalks to the onions and cook for a few more minutes.

3.  Once the onions and chard stems have started cooking, put about 1-2 cm water in a separate pot.  Bring it to a boil, add the cabbage, put a lid on it, and steam for 2-3 minutes.  The cabbage should be tender but not soggy.

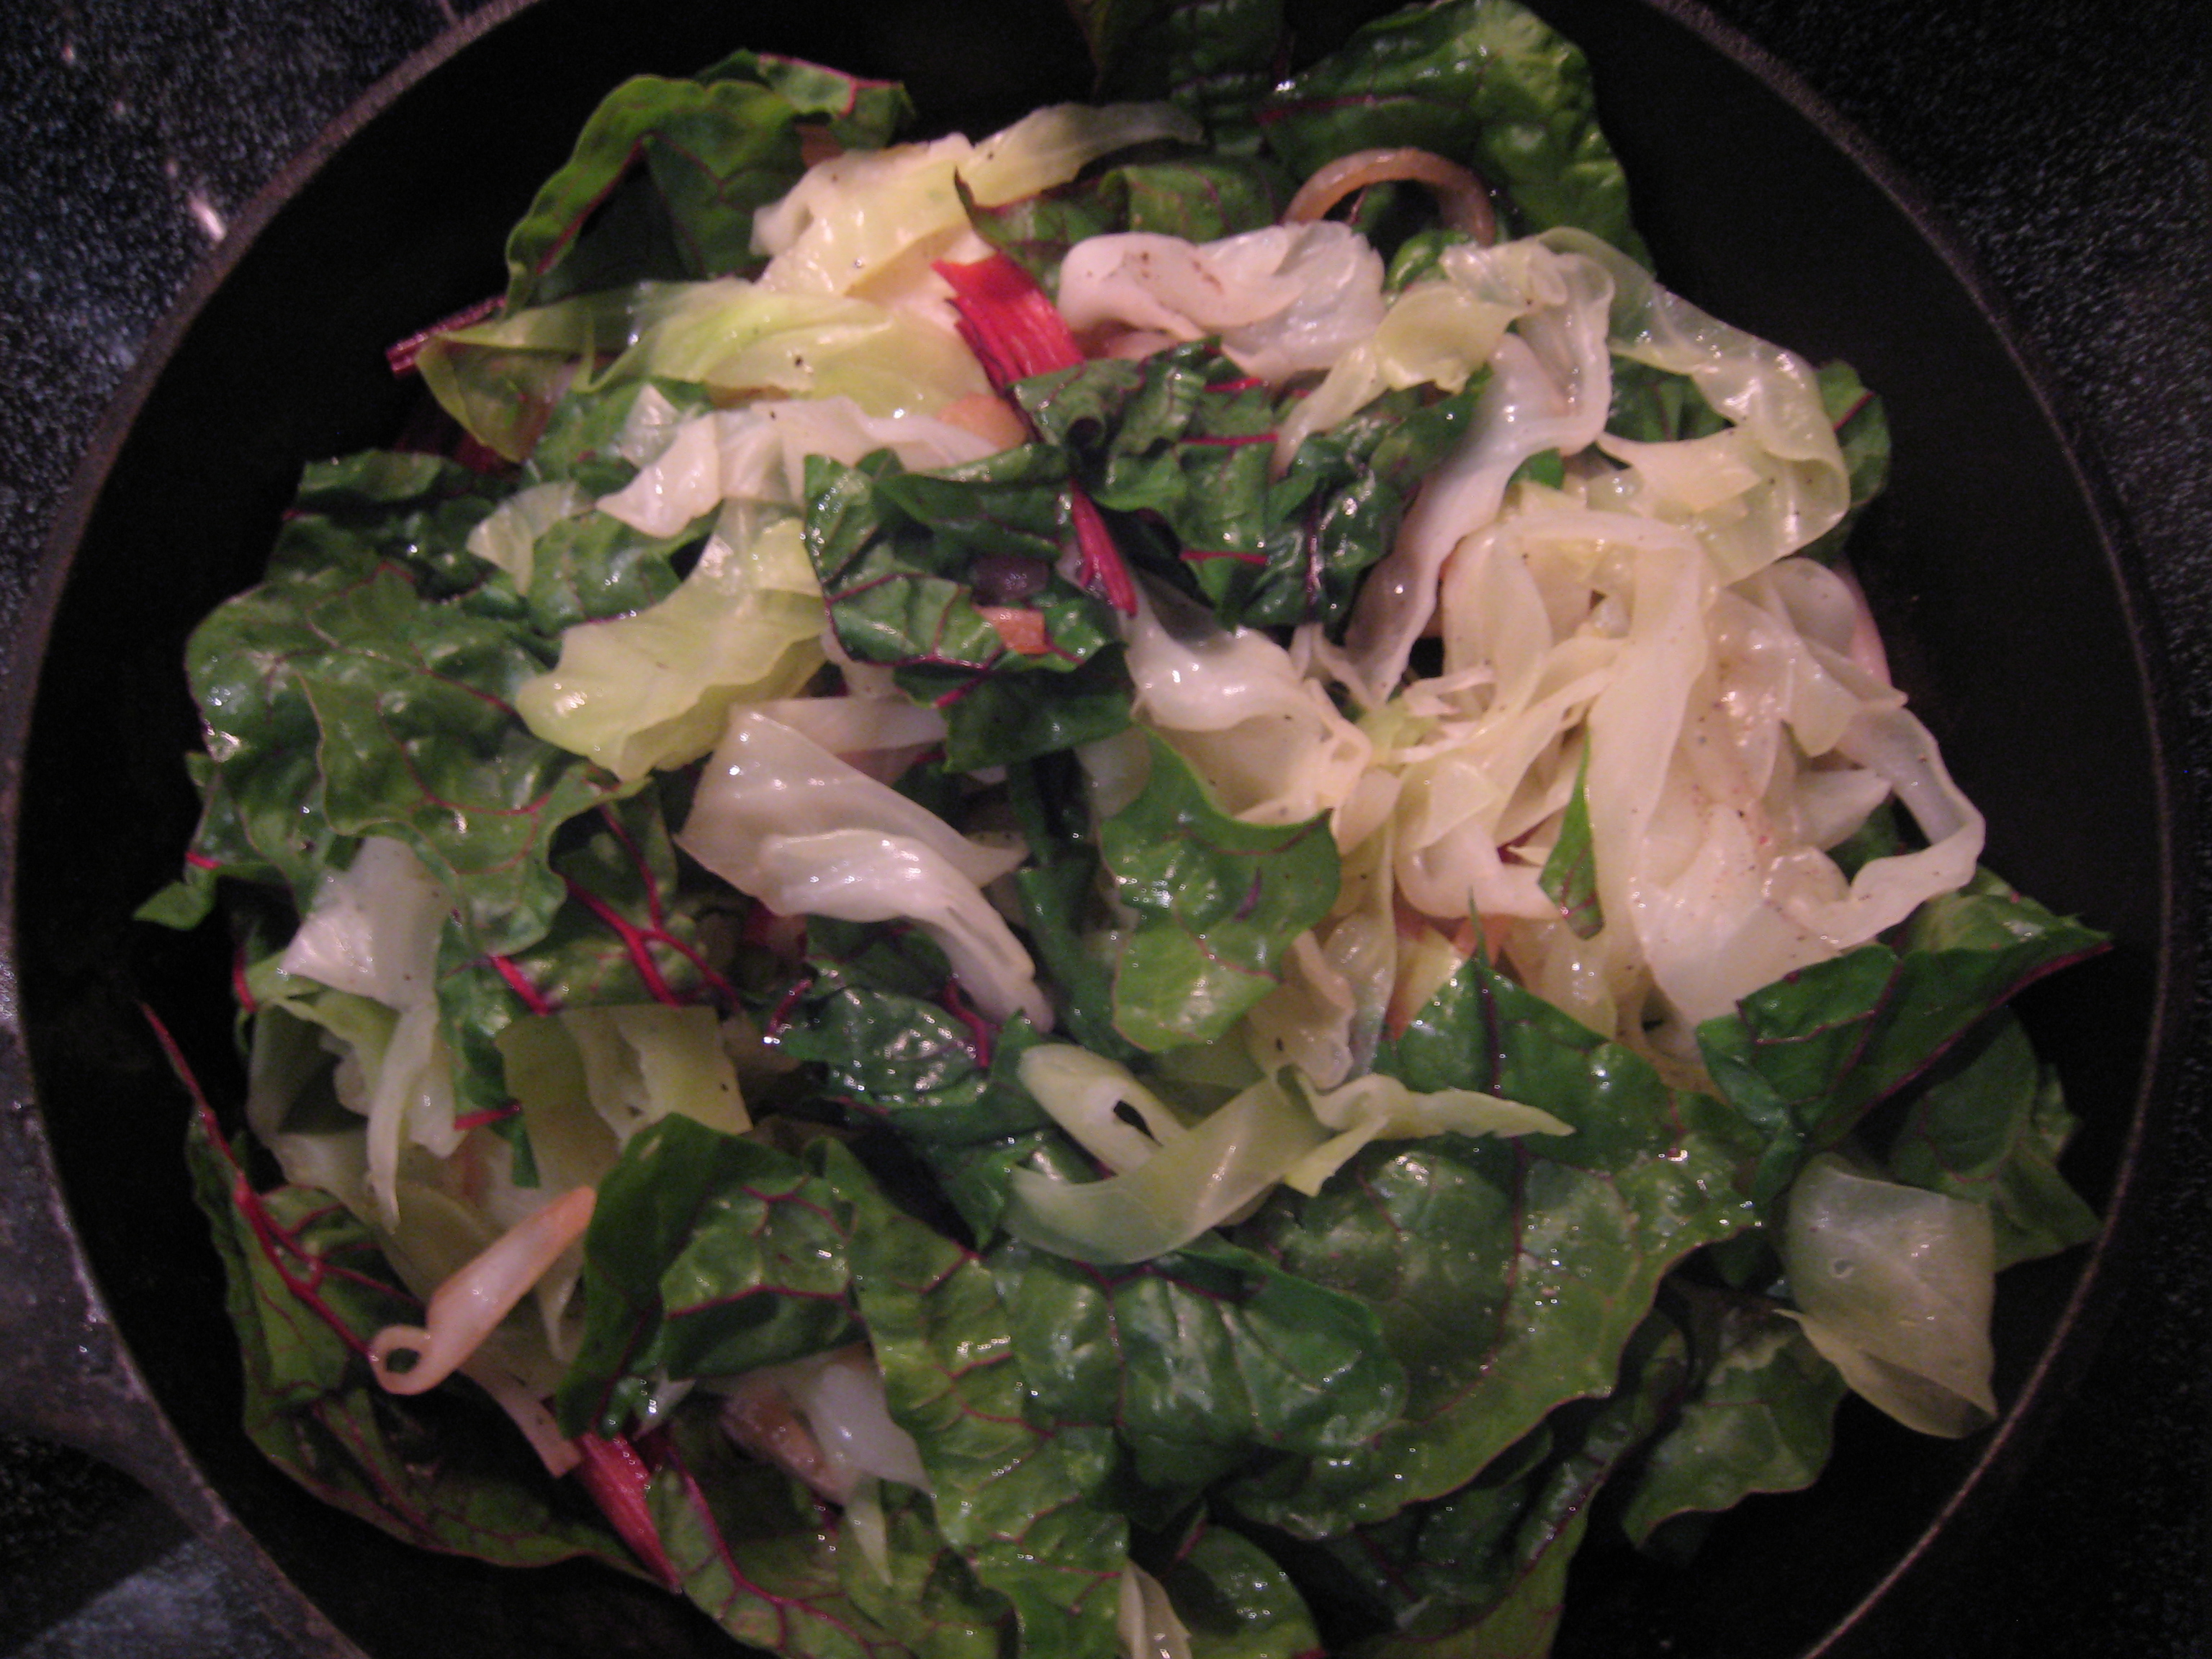
4.  Chop the swiss chard greens.  When the chard stems and cabbage have both cooked, add the swiss chard greens to the pan with the onion, then put the cabbage on top of the green.  Add a little butter, salt and pepper, and toss it all together until the greens have wilted.

5.  Mmm.  Eat up!

Brandied Cherries

In the middle of winter you are going to pull out a jar of these, and all the warmth of summer will come flooding back, just long enough to warm you up.

It’s really easy.  You just need:

a few canning jars (but we’re not doing proper canning, so don’t worry!)

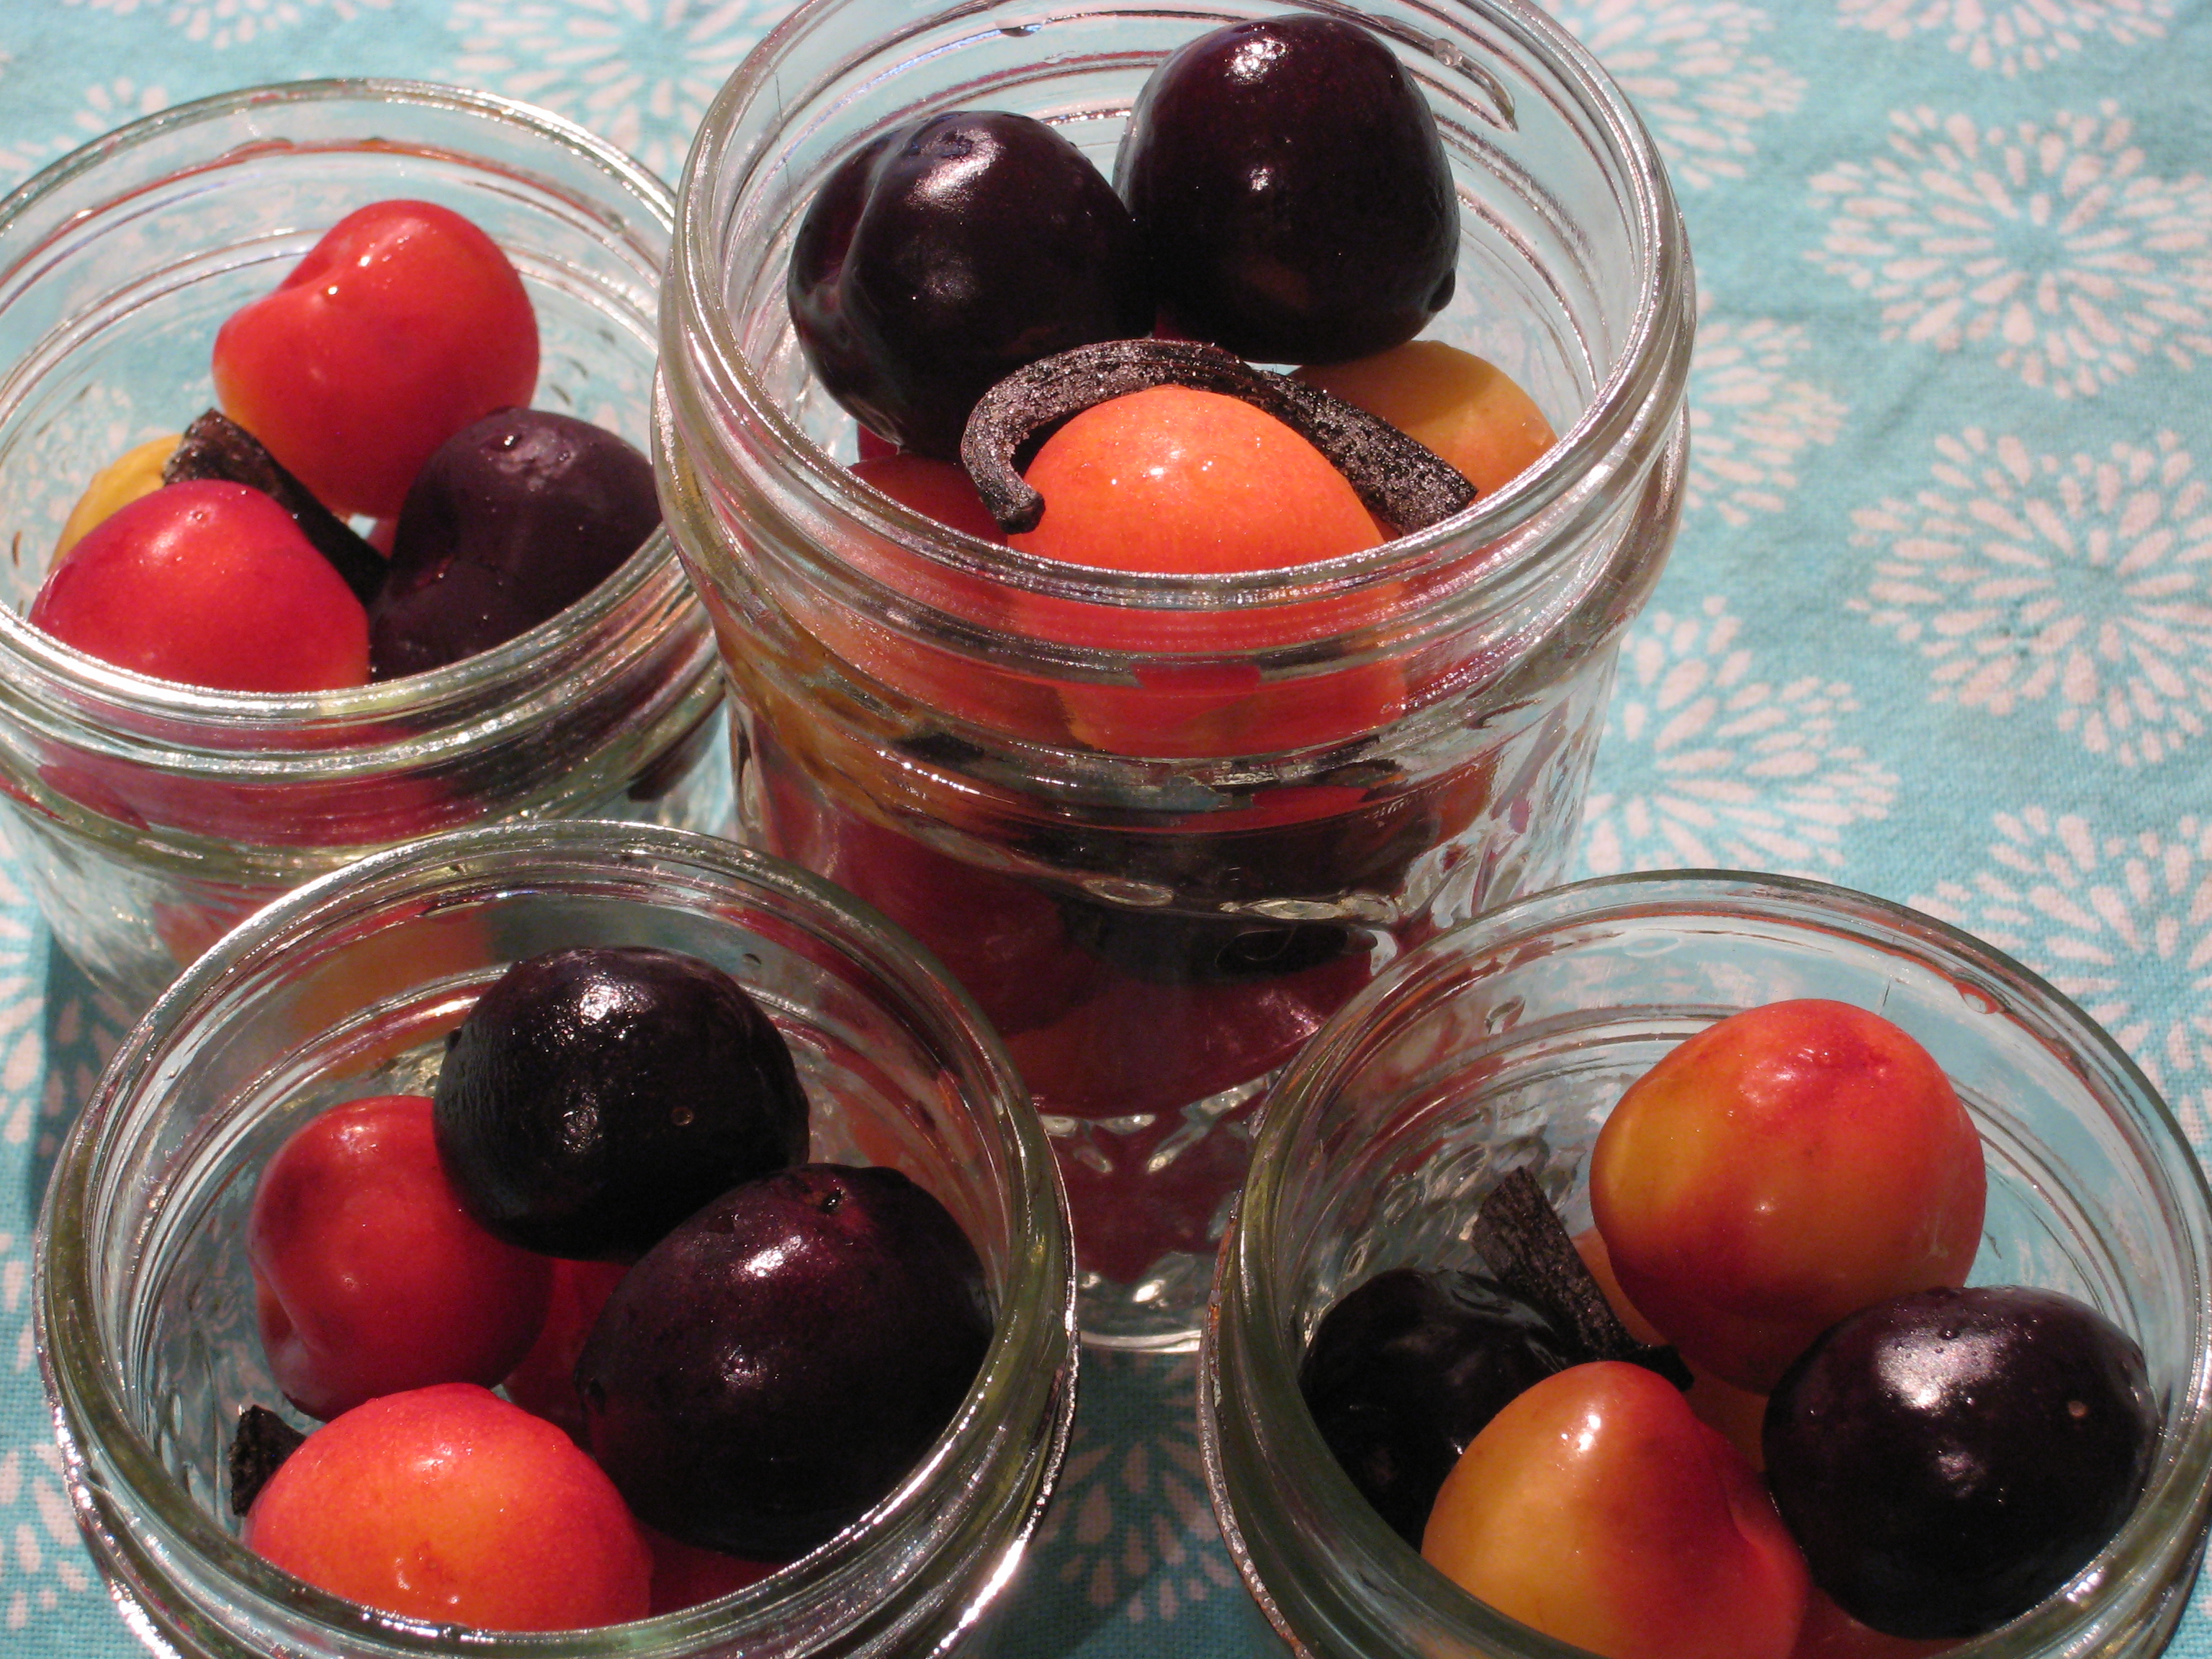
some fresh, plump cherries (I used Bing and Rainier so it would look pretty)

a little maple syrup

vanilla bean

brandy

Here’s what you do:

1.  Wash your jars and lids.

2.  Stuff as many cherries as you can into each jar without squishing them.

3.  Cut small pieces of vanilla bean and put one in each jar.

4.  Drizzle a little maple syrup in each jar.

5.  Top up with brandy.

6.  Screw the lids on tight and wait a few months.

7.  Enjoy straight out of the jar, or on top of some vanilla pudding or ice cream in the dead of winter.

Lemony Kale

Easy, good for you.  Need I say more?  Oh yeah, it tastes great too!

You need:

garlic cloves, sliced

olive oil

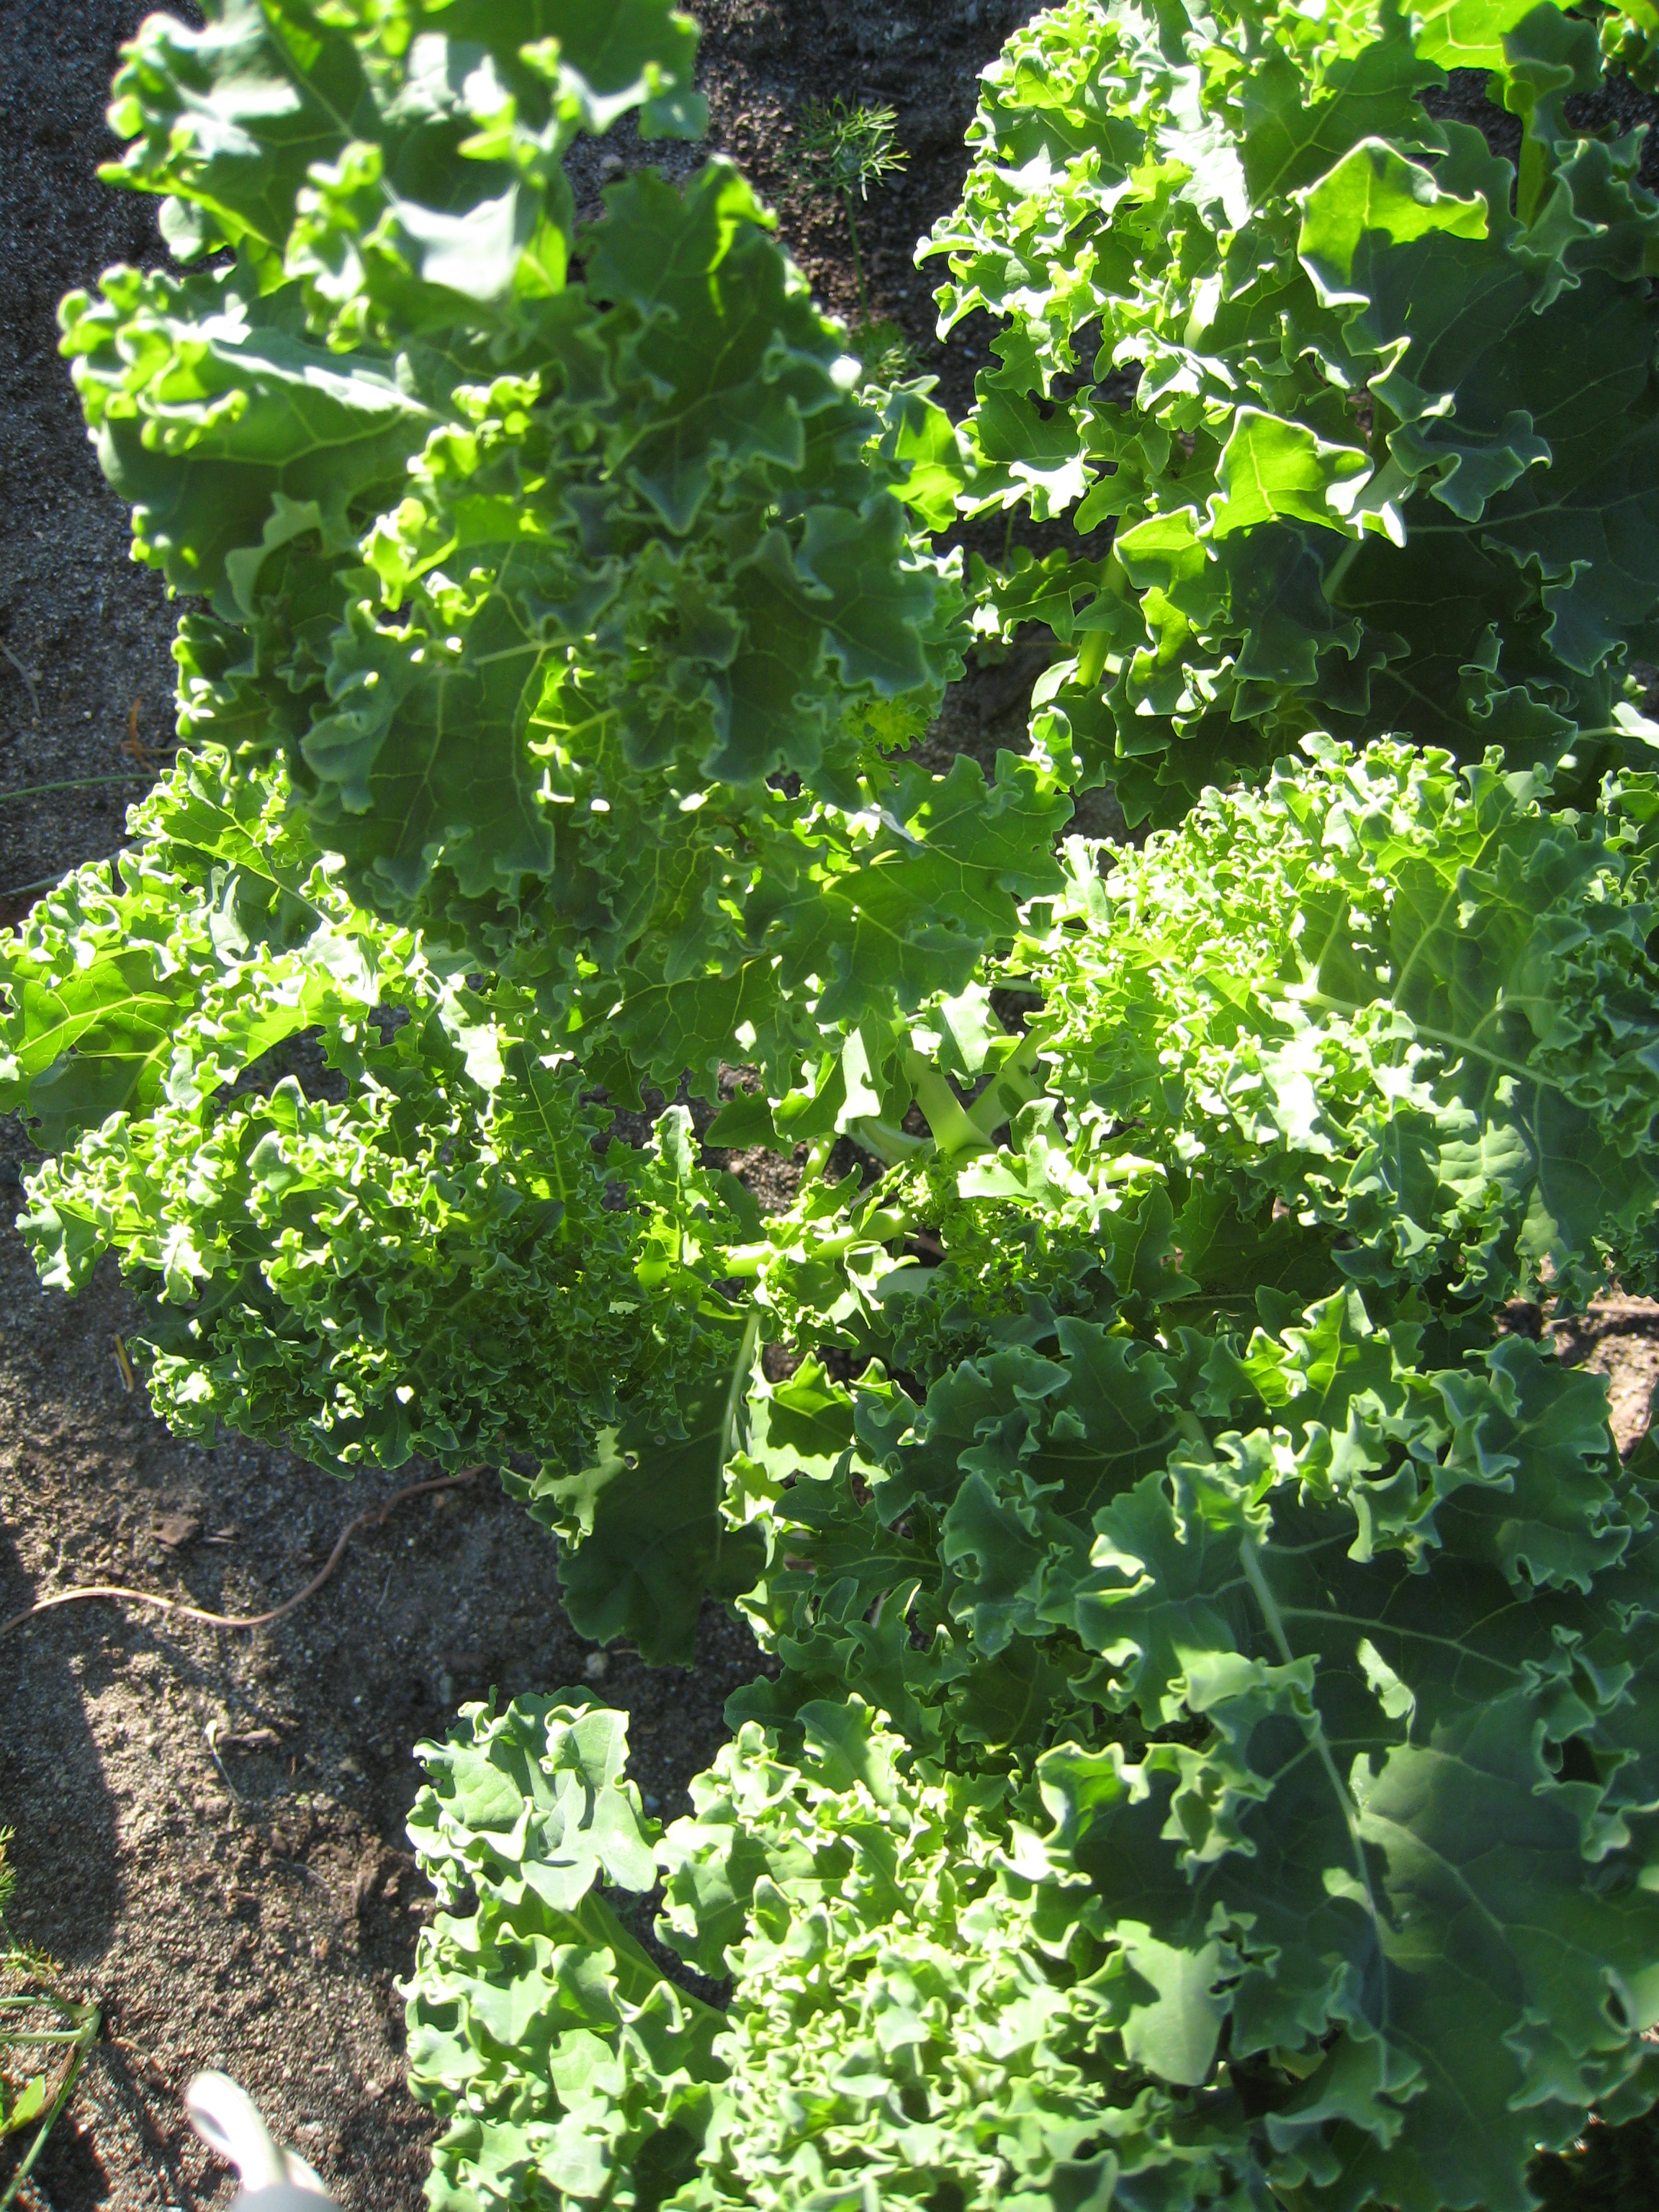
kale

lemon juice, fresh squeezed

What you do:

1.  Slice 1-2 garlic cloves per person.  Heat olive oil in frying pan on medium heat.   Add garlic, and fry briefly.  It should not turn brown.

2.  Cut the leaves of the kale off the stems, and chop roughly.  Add kale and stir, adding a tablespoon or so or lemon juice.  The kale will begin to wilt, and it will be ready to go!  It should be bright green and fresh looking when it is, finished cooking, which only takes a few seconds.

3.  Eat it right now, while it is still warm and fresh!

Kale is an anti-oxidant, and is a good source of beta carotene (good for the eyes), vitamin C, lutein (also good for the eyes), calcium, and has cancer fighting properties.  It’s a superfood!  So eat up!

Honeyed Ginger Carrots

Here is an easy and tasty way to serve carrots.

What you need:

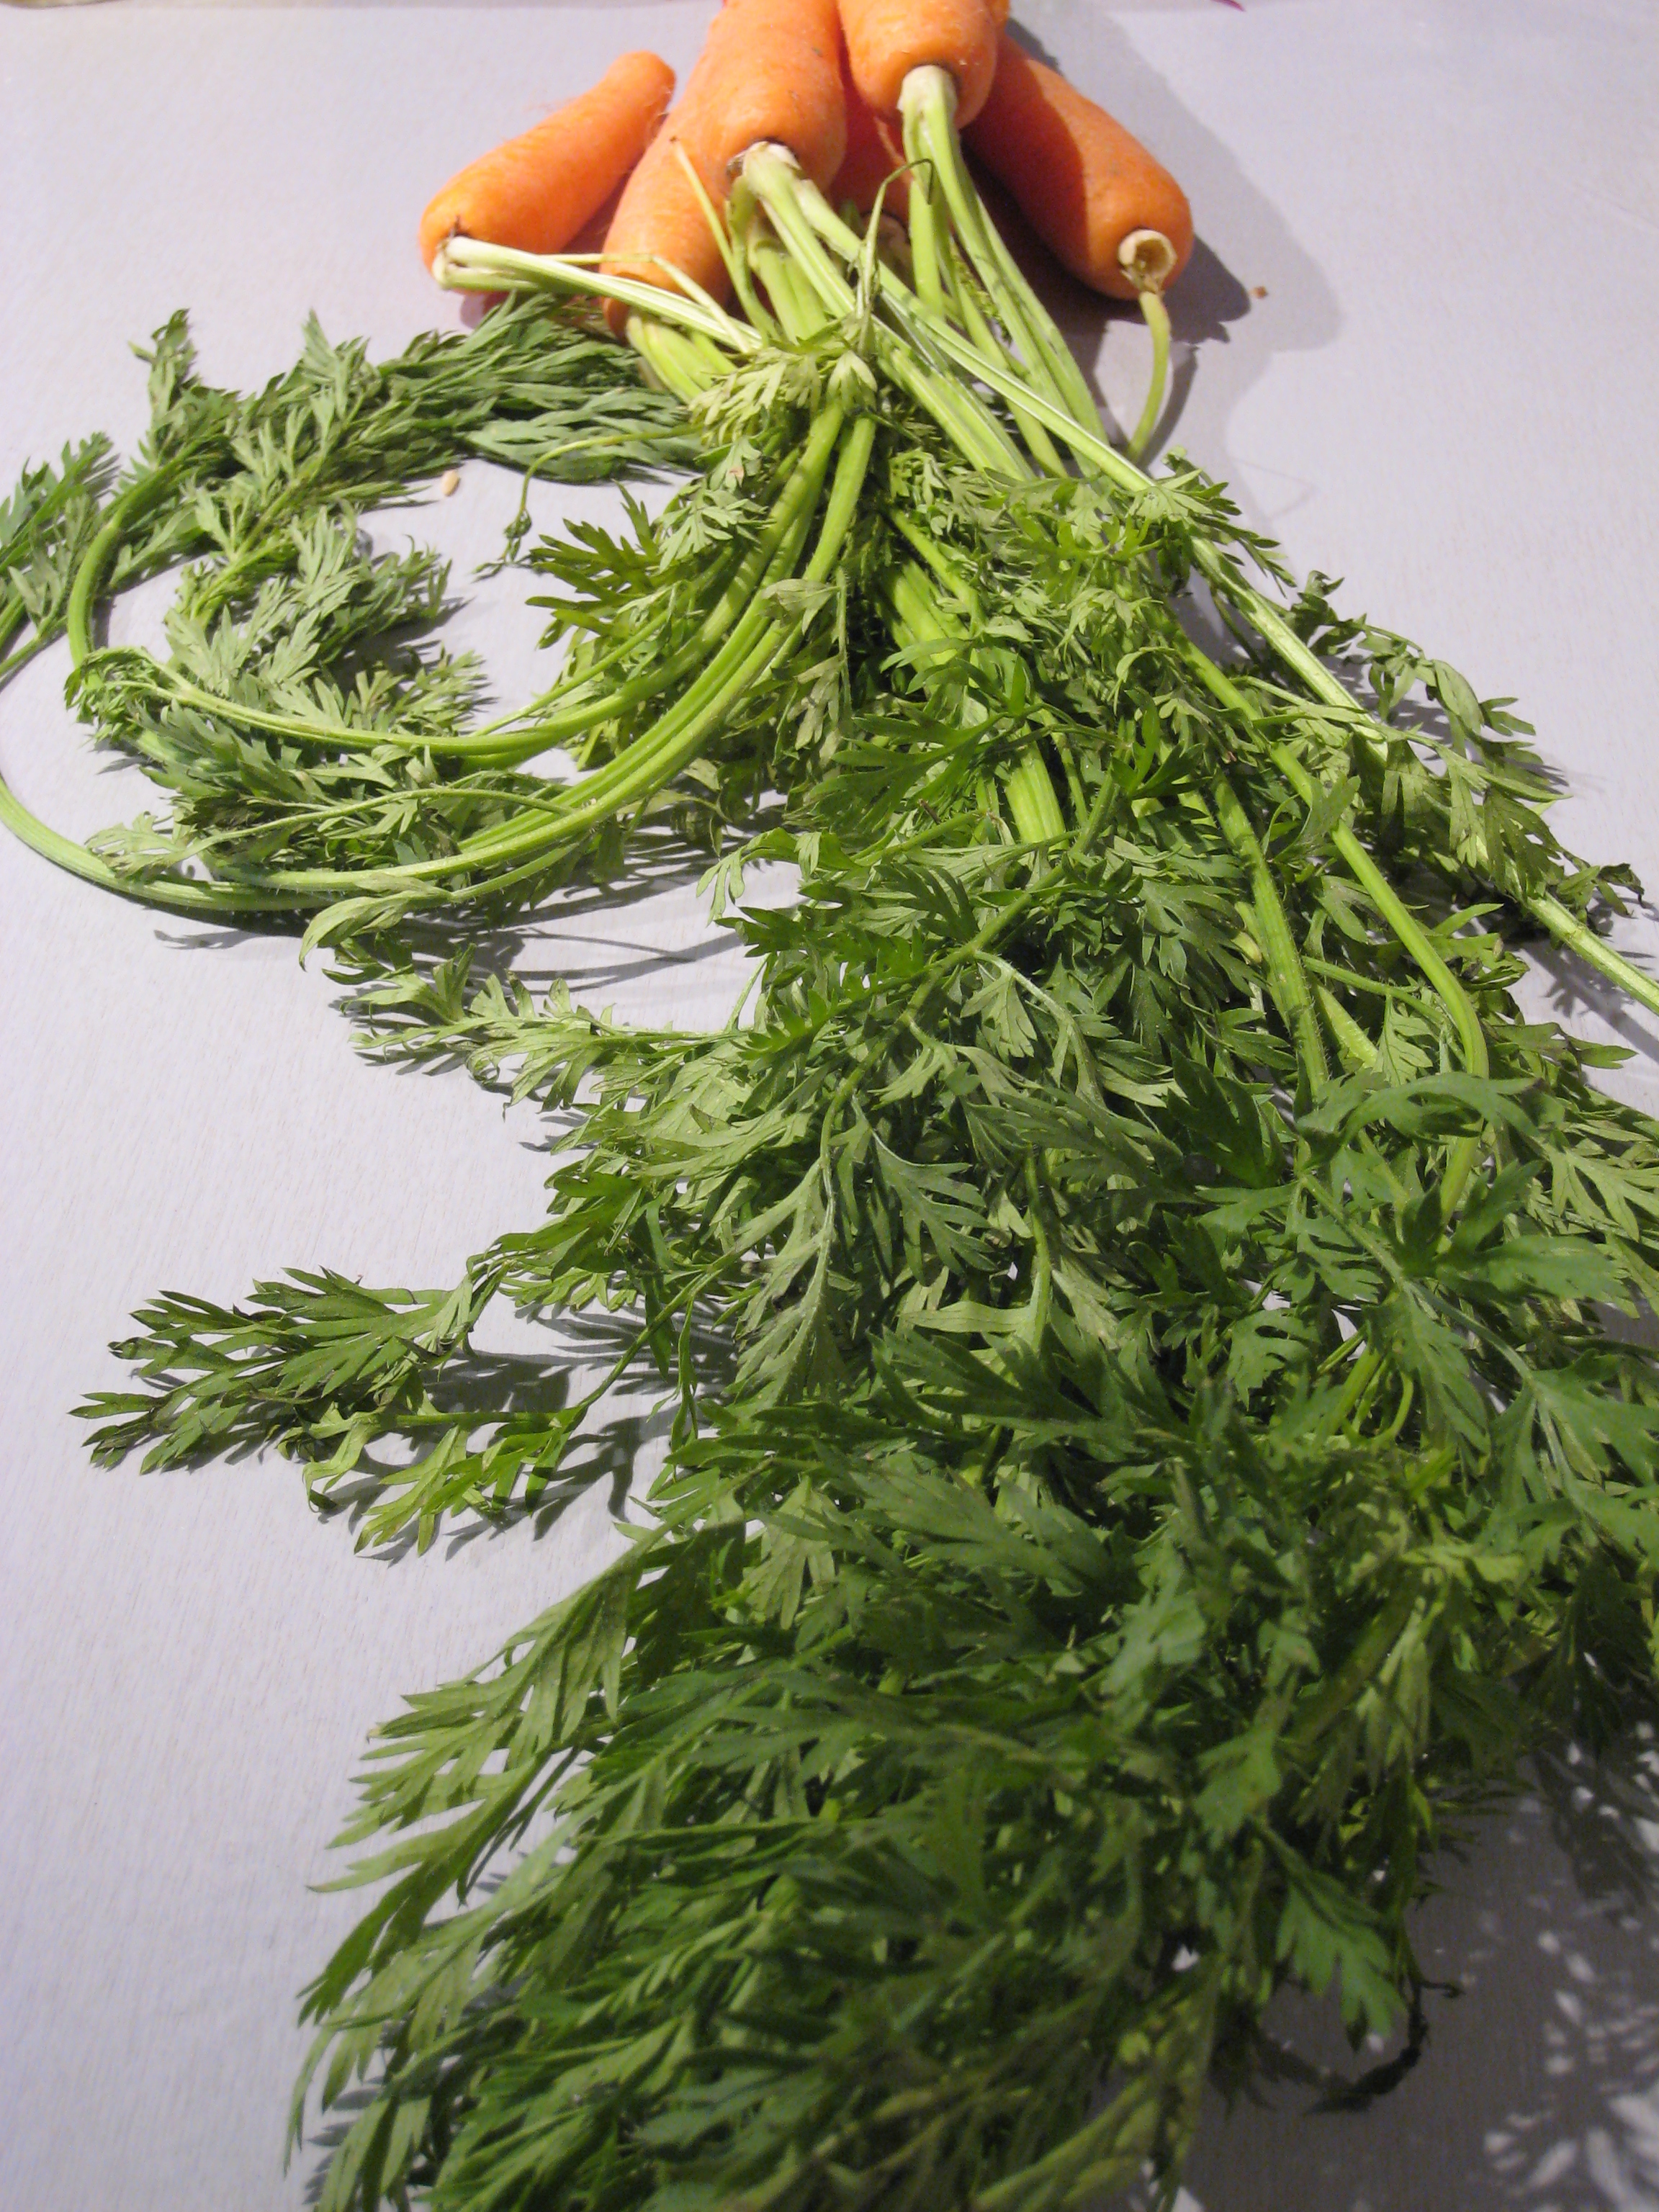
A bunch of carrots

1 tablespoon butter (olive oil for vegans)

2 cloves garlic, minced

1 tablespoon ginger, grated finely

1 tablespoon honey

salt

What you do:

1.  Scrub peel carrots and slice diagonally.

2.  Place carrots into a steamer basket and bring water to a boil.  Cook for about 5 minutes, making sure they don’t get overcooked.  They should still be a little firm.

3.  While the carrots are steaming, heat the butter in a frying pan, then add ginger and garlic, cooking for just a minute.  Add the honey.

4.  When the carrots are cooked add them to the pan with the ginger and garlic.  Stir until they are all coated.  Transfer to a serving dish.  Yum.

Balsamic Watermelon Appetizer

This is so easy and so refreshing.  You can buy reduced balsamic, or use the following recipe.

You need:

watermelon

pistachios

reduced balsamic

3 tablespoons brown sugar (if you make your own balsamic)

What you do:

1.  If you are reducing your own balsamic, boil 1/2 cup of balsamic vinegar on low until it is reduced by about half.  Add the sugar and stir until dissolved.

2. Toast the pistachios in a dry frying pan on medium low, being careful not to burn them.  When cooled, chop pistachios.

3.  Cut watermelon into cubes.

4.  Drizzle a little of the cooled reduced balsamic on each piece of watermelon, then top with chopped pistachios.

Enjoy!

Wild and Brown Rice, Pepper and Pecan Salad

If you like pecans, whole grains and vitamin C-rich peppers, then you’ll love this hearty salad.  It’s great for a lunch or picnic.

What you need:

3/4 cup brown rice

1/4 cup wild rice

1 each of red, orange and yellow peppers

1/2 cup pecans

1/2 bunch parsley

1- 2 green onions

1/3 cup dried currants

For the dressing:

1/4 cup olive oil

1/4 cup apple cider vinegar

2 Tablespoons honey or maple syrup

1 teaspoon tamari

What you do:

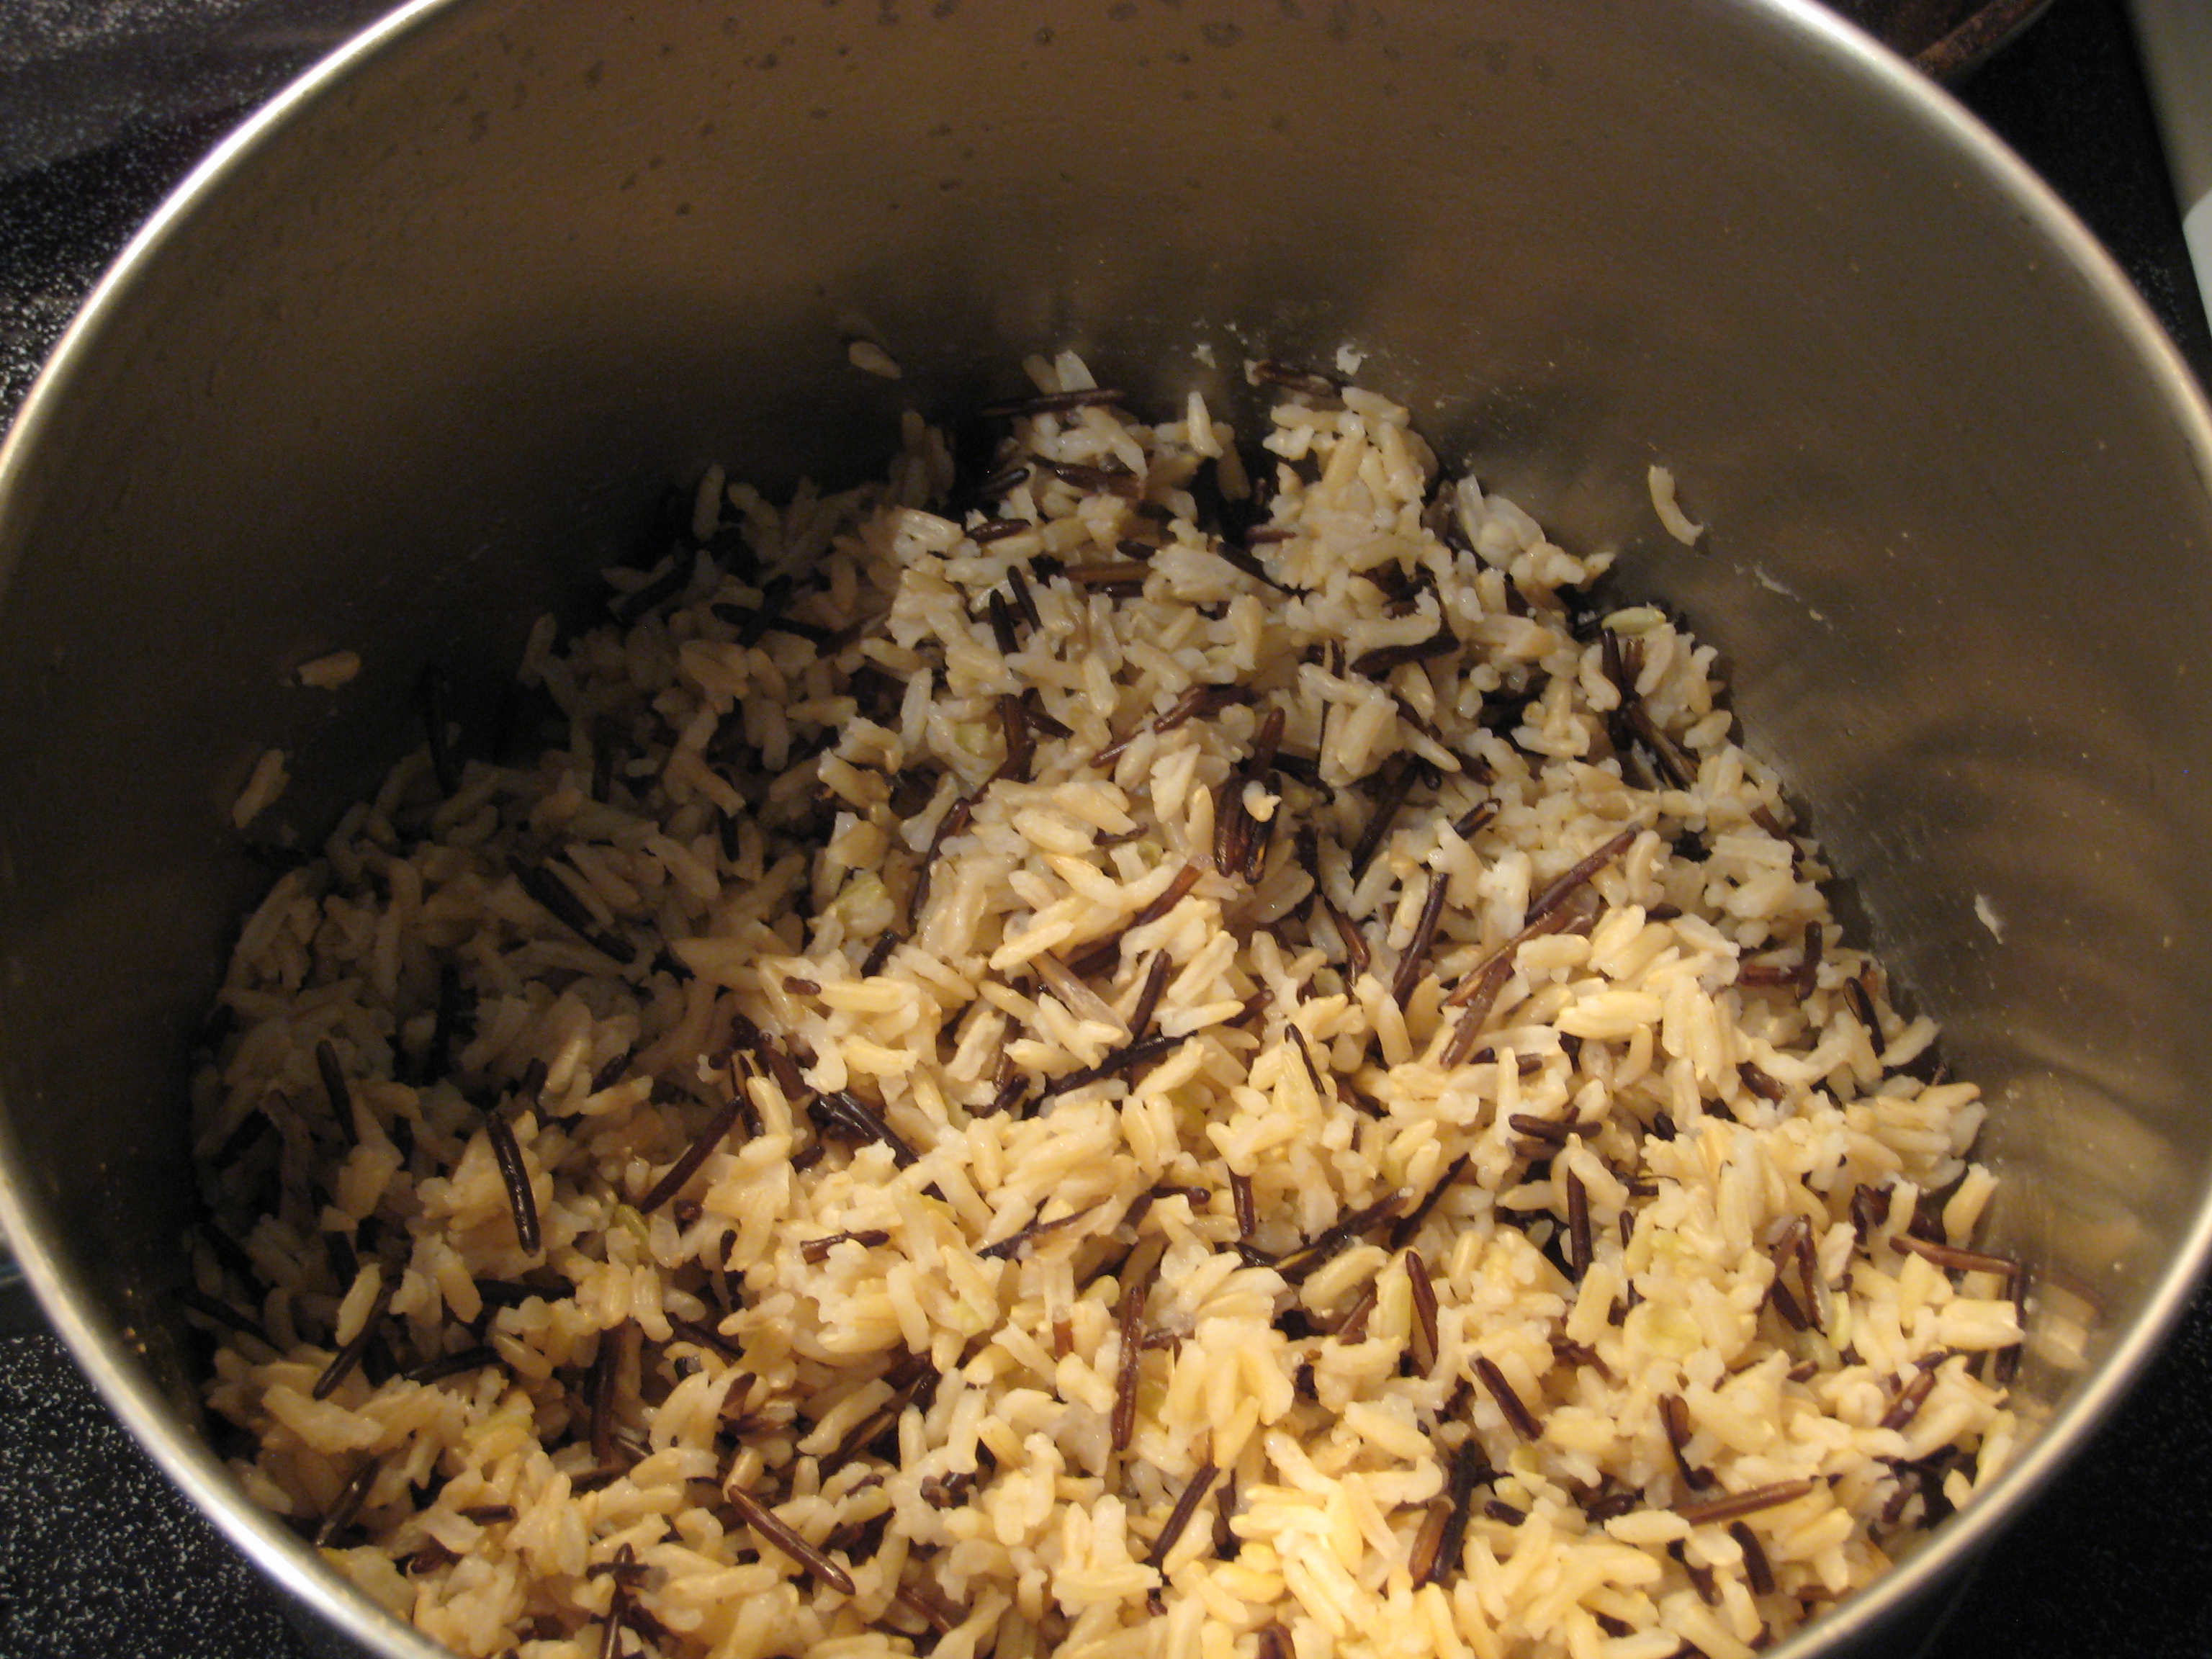
1.  Put the rices in a pot with 1 & 1/2 cups of water.  Bring to a boil, then cover and turn heat to low.  Cook for 45 minutes, then take off the heat, leaving the lid on, for 10 minutes.

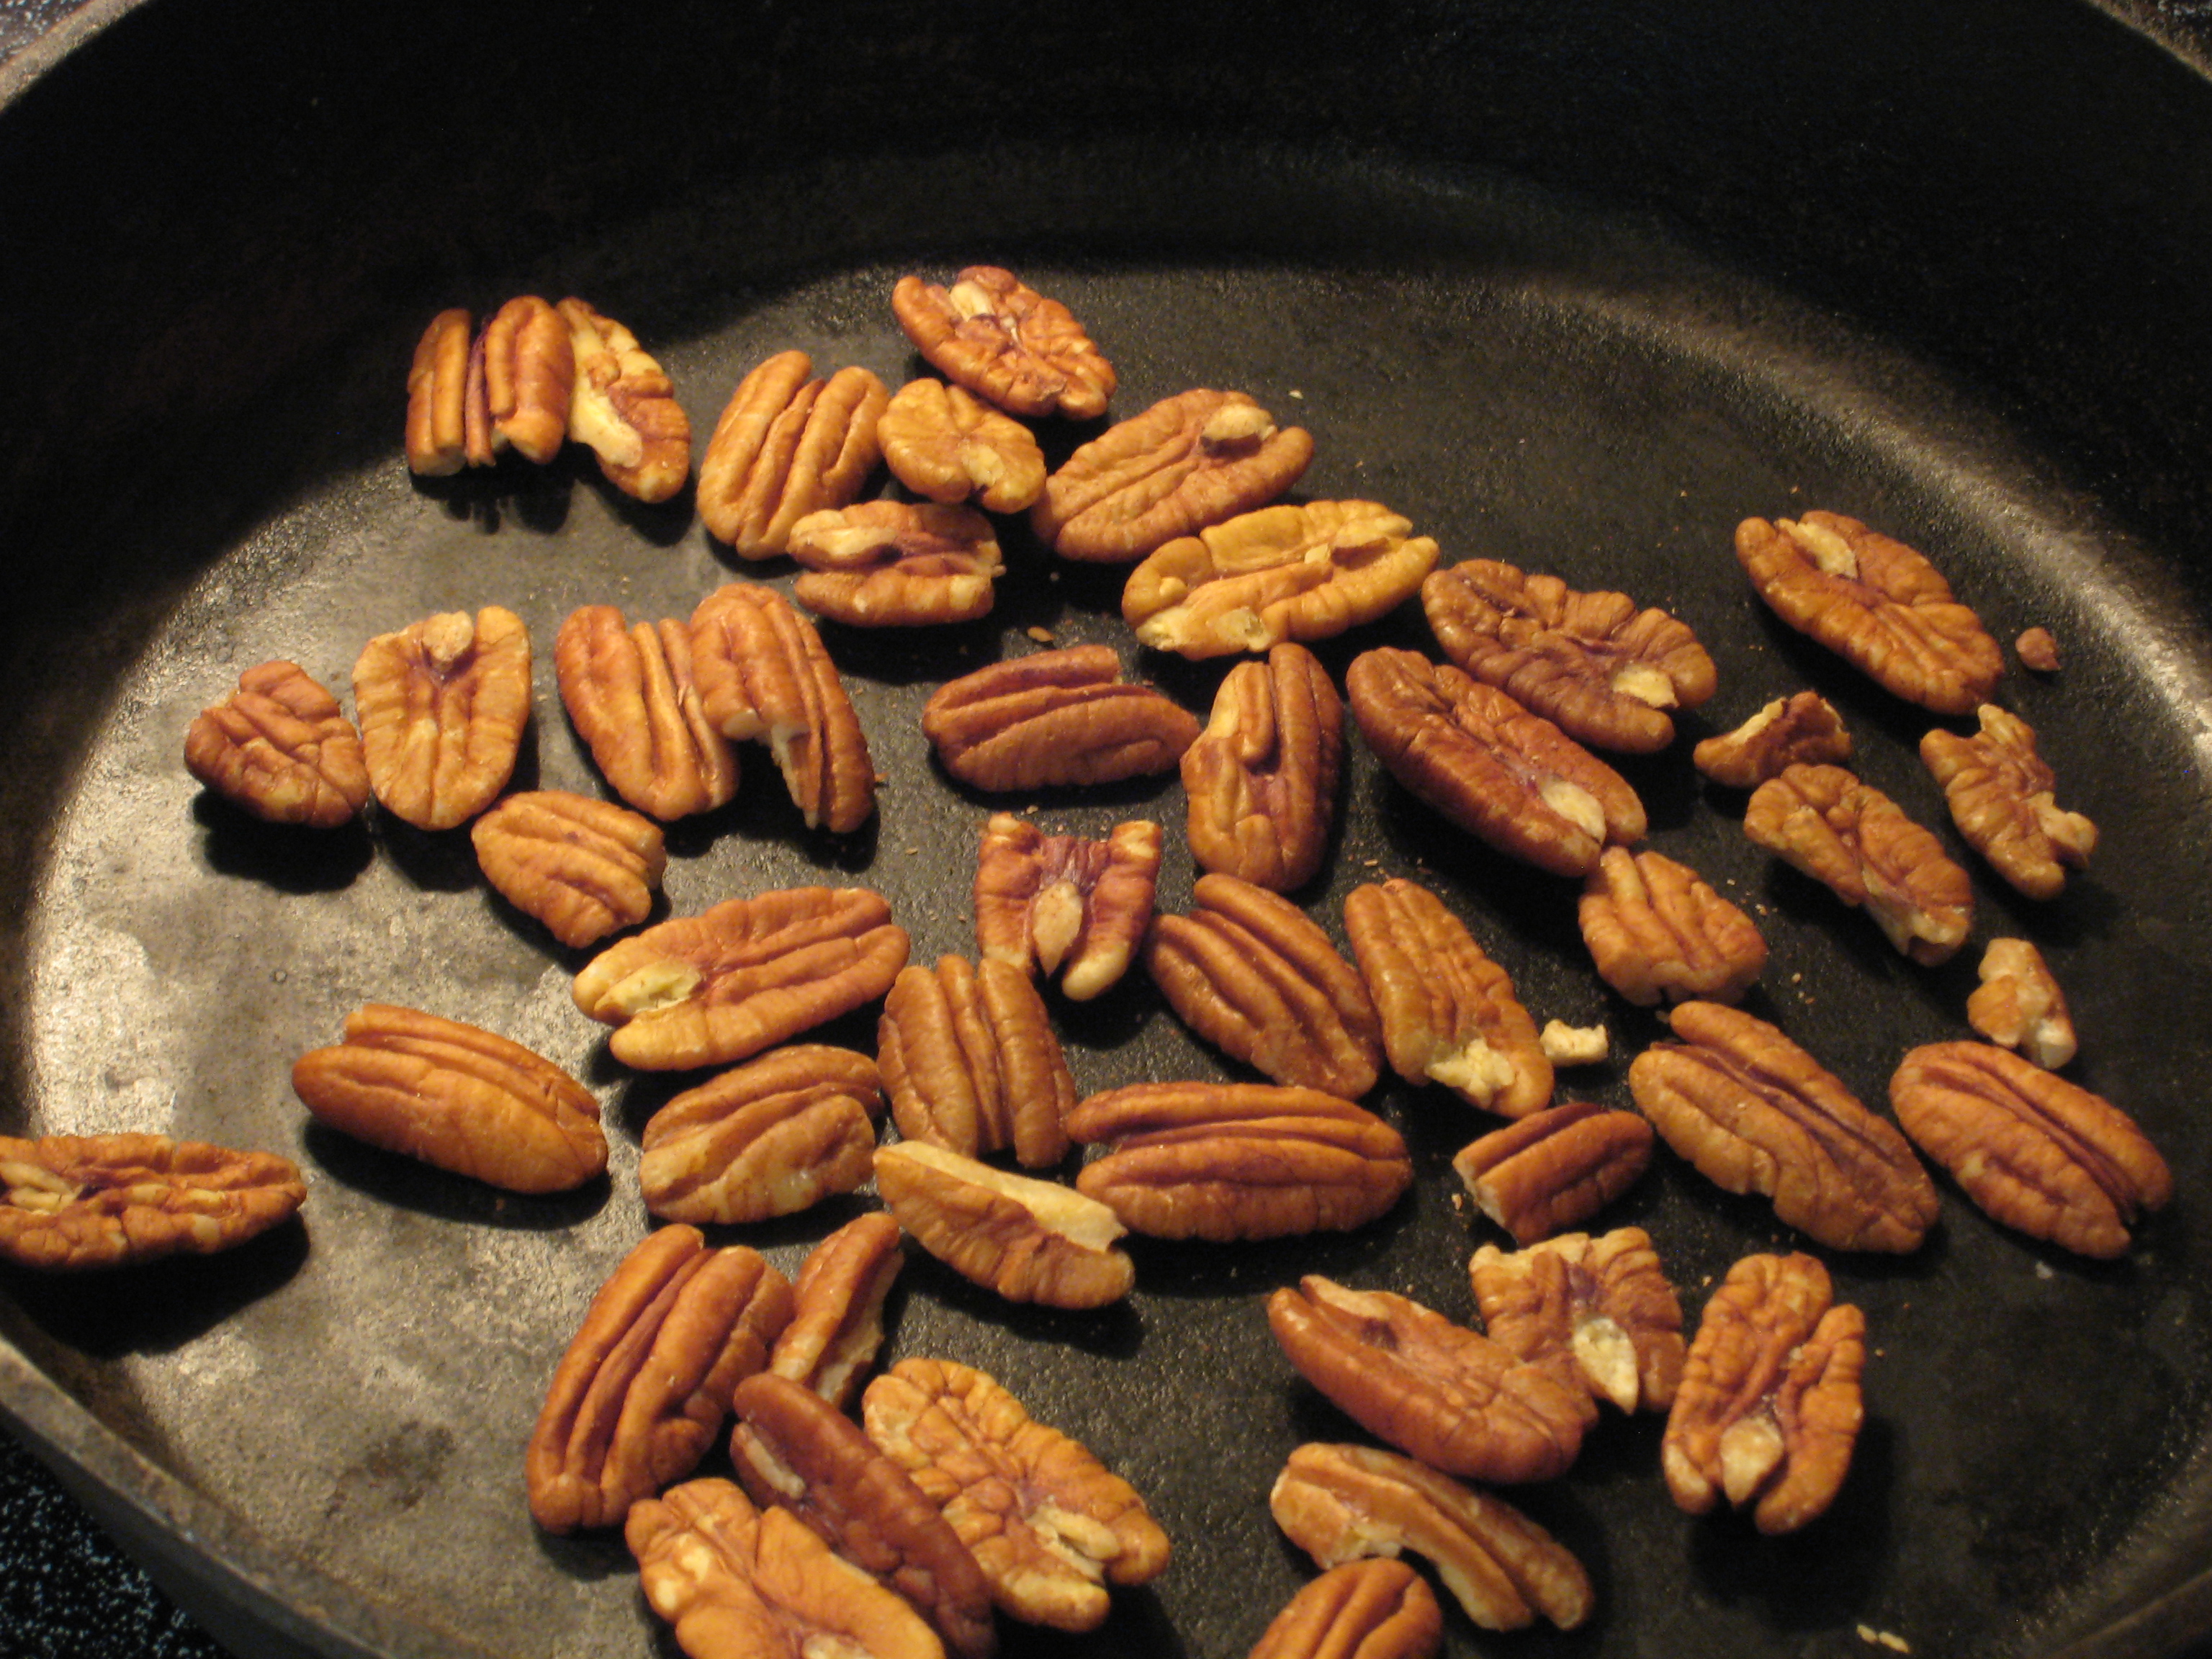
2.  Toast pecans by heating in a frying pan for 5-8 minutes on medium-low heat.  Be careful!  It’s easy to burn them.

3.  Chop peppers into approximately 2 cm chunks.

4.  Chop parsley and green onion.

5.  Mix oil, vinegar, honey and tamari together, then stir in a large bowl with all the veggies and the currants.

6.  Let the veggies and sauce do their thing while you are waiting for the rice to cook and cool.  Mix the rice in, and you’re good to go!  It’s really nice served with a few slices of avocado.

Great for leftovers!

Oma’s Chicken Soup

There’s a tickle in the back of my throat and I’m doing my best to fight it off, so it’s time to turn to my Oma’s chicken soup for some healing.  At 98 years of age, she’s not making soup anymore, so I’ve gleaned her wisdom, and I’m doing my best to use the basic elements of her recipe.  Oma’s recipes are stored in her memory, not written down, so a recipe from her sounds like “a little of this, a bunch of that.”  Here’s how I make it, based on what my Oma has told me about how she makes her chicken soup:

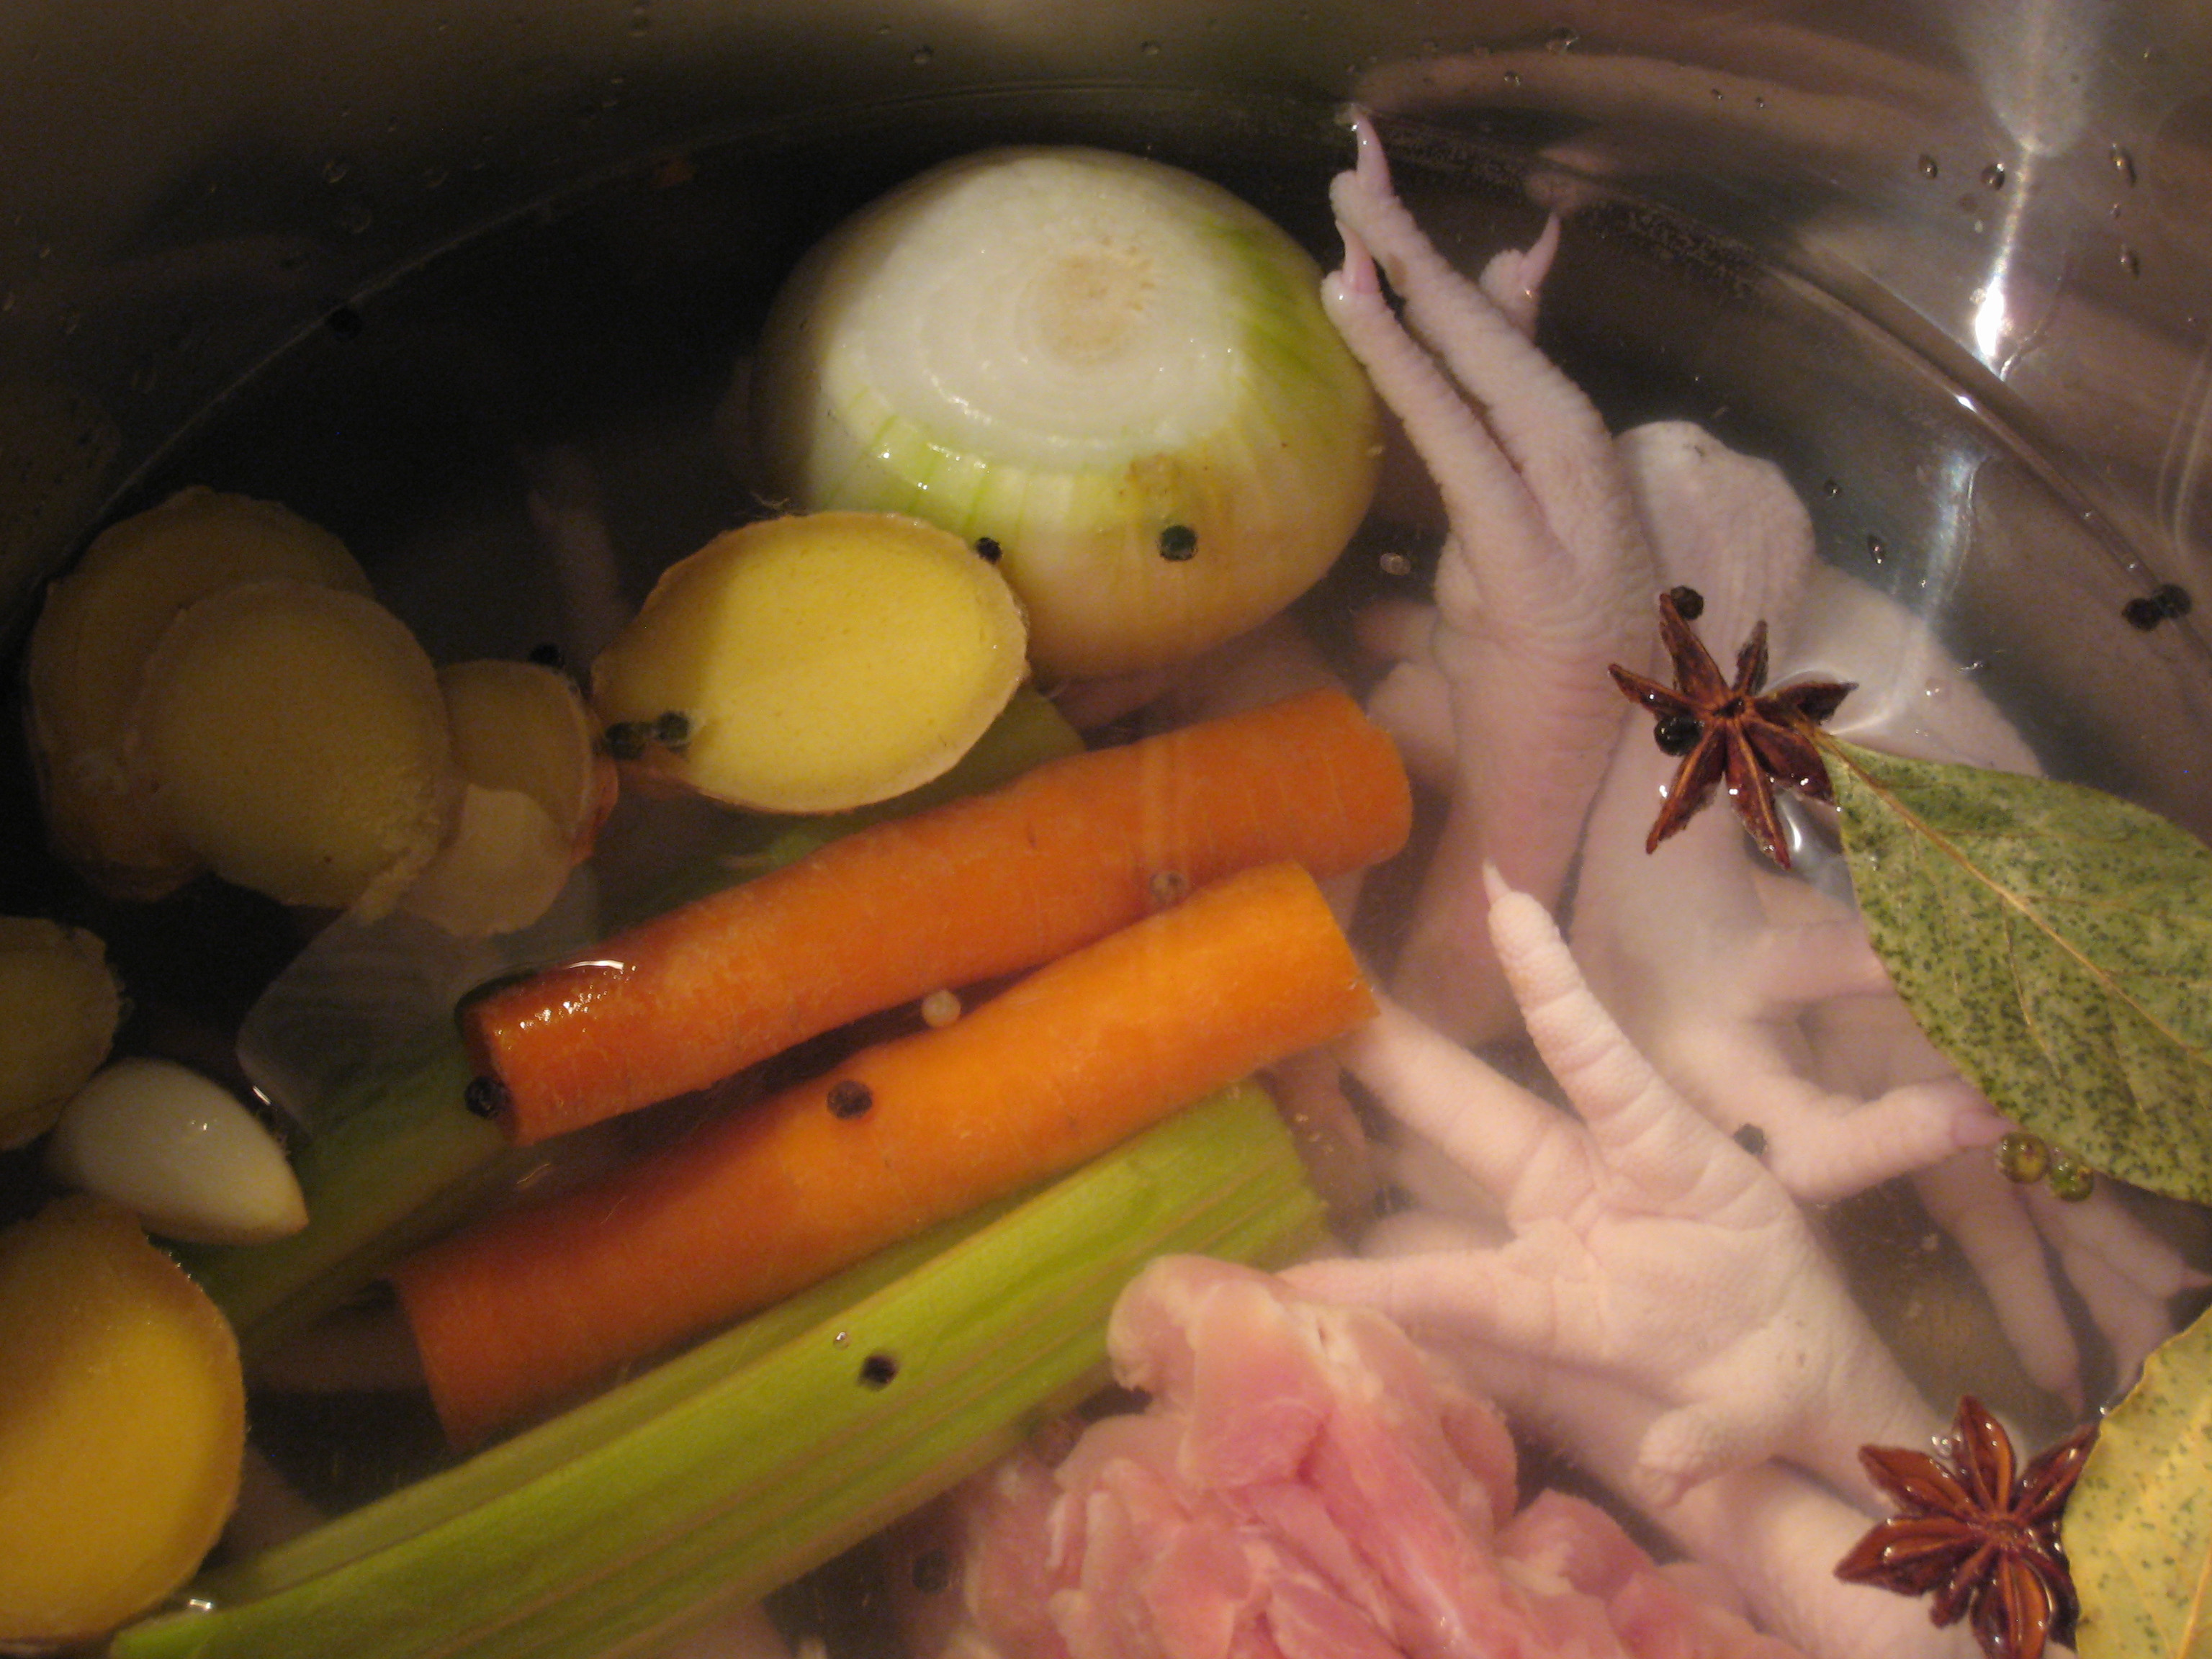
Put the following into a stock pot:

chicken backs and necks and feet (yes, feet!)

carrot (I used one)

celery (I used one stalk)

onion ( I used one, skin removed)

garlic (I used two cloves, but only because I was running out)

ginger (this is a key ingredient for fighting illness – I used about 1/4 cup or more sliced)

bay leaves (I used two.  I keep them in the freezer because I think they taste better when I  buy them fresh & then freeze them)

star anise (I used two)

peppercorns (I used about 2 teaspoons)

this time I added some parsley stems because I had them on hand, but it’s an experiment

sometimes I add an apple or sun-dried tomatoes, depending on what kind of flavour I want to impart, and what I have on hand

enough water to cover it all up

I never add salt to the broth – I wait until I use it in a soup recipe

When it’s all in the pot:

Now bring to almost a boil, lower the heat and let it simmer for hours – 4-5 if you’ve got the time.

To cool it I place the pot in a sink filled with cold water.

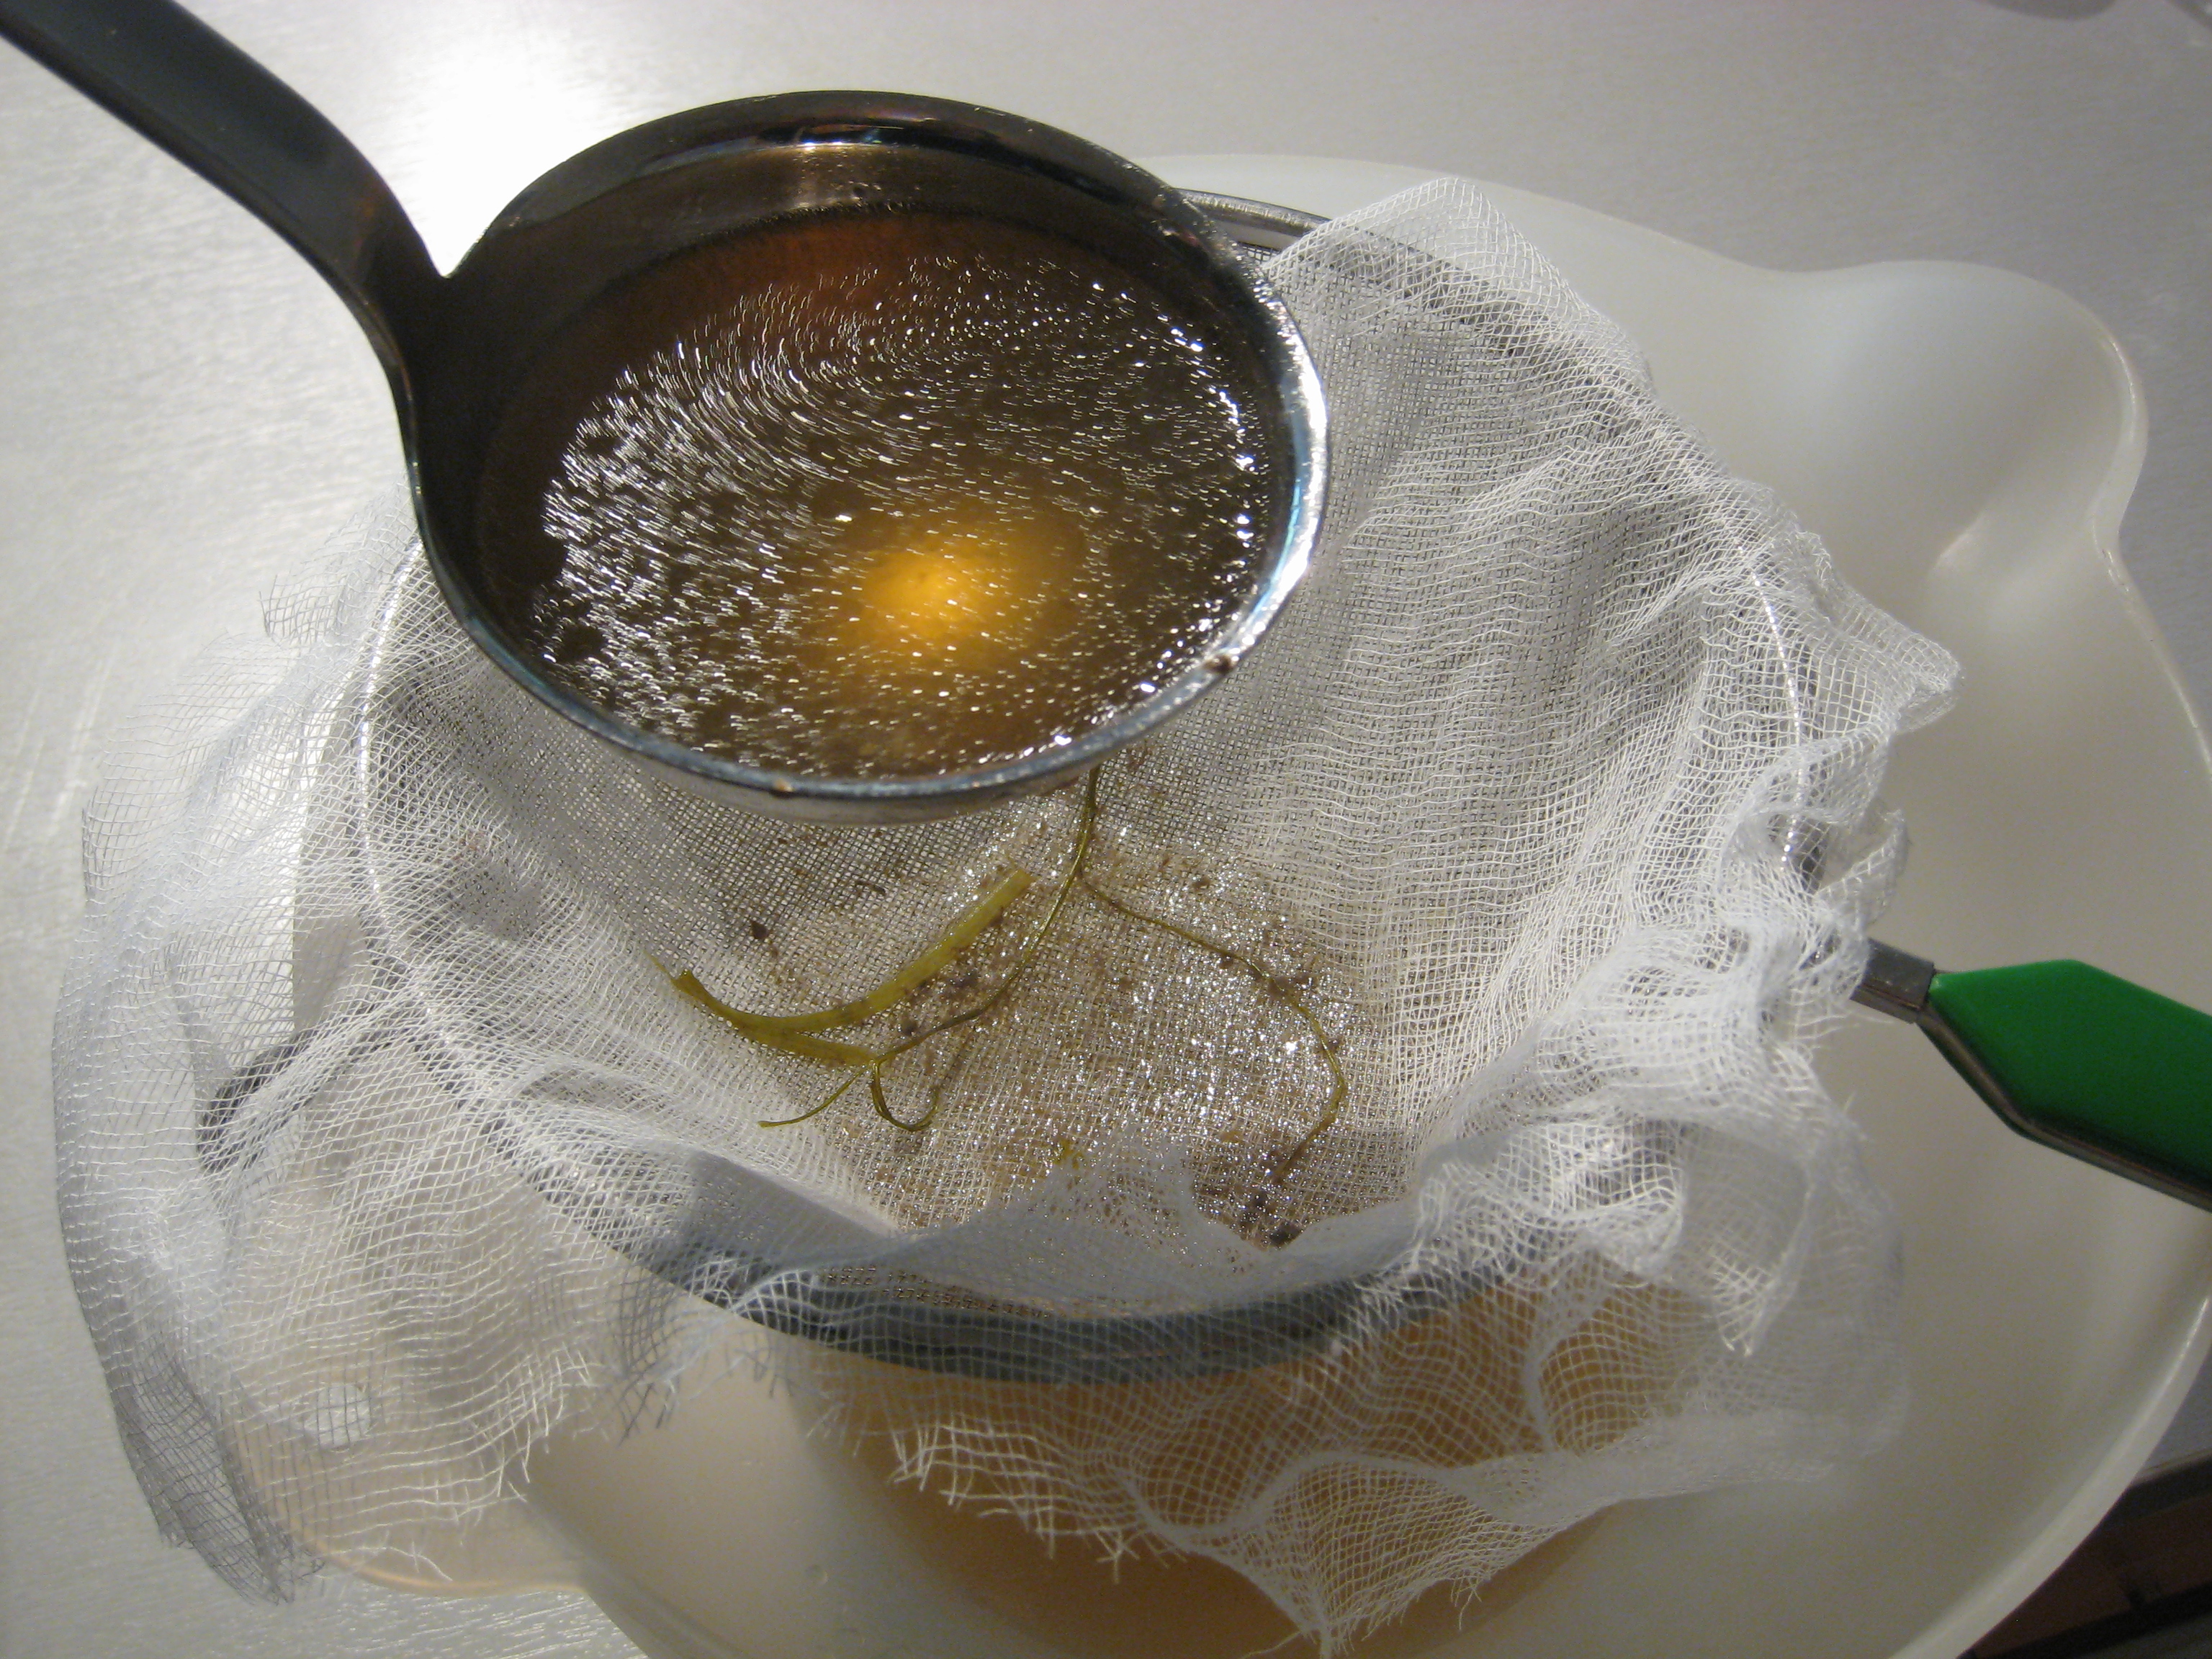
When it has cooled a bit I pour the liquid through a cheesecloth-lined sieve, and store the liquid in canning jars.  Refrigerate it until the stock is cold, then skim off the fat.  (My relatives would have saved this to make soap.  I just throw it away.)

I store some of the broth in canning jars in the freezer, making sure to leave some space for it to expand as it freezes – if you don’t do this you end up with broken jars and wasted broth.

When refrigerated, the best chicken soup broth will become gelatinous – all the chicken stock makers in my family, Oma, Tante Katje, and Mom, say that it’s really good for you.  No reasons why, it’s just “good for you.”

Oma served this with her homemade noodles – something I’ll try after the soup has healed me!